openstack icehousesingleWord格式文档下载.docx
《openstack icehousesingleWord格式文档下载.docx》由会员分享,可在线阅读,更多相关《openstack icehousesingleWord格式文档下载.docx(15页珍藏版)》请在冰豆网上搜索。
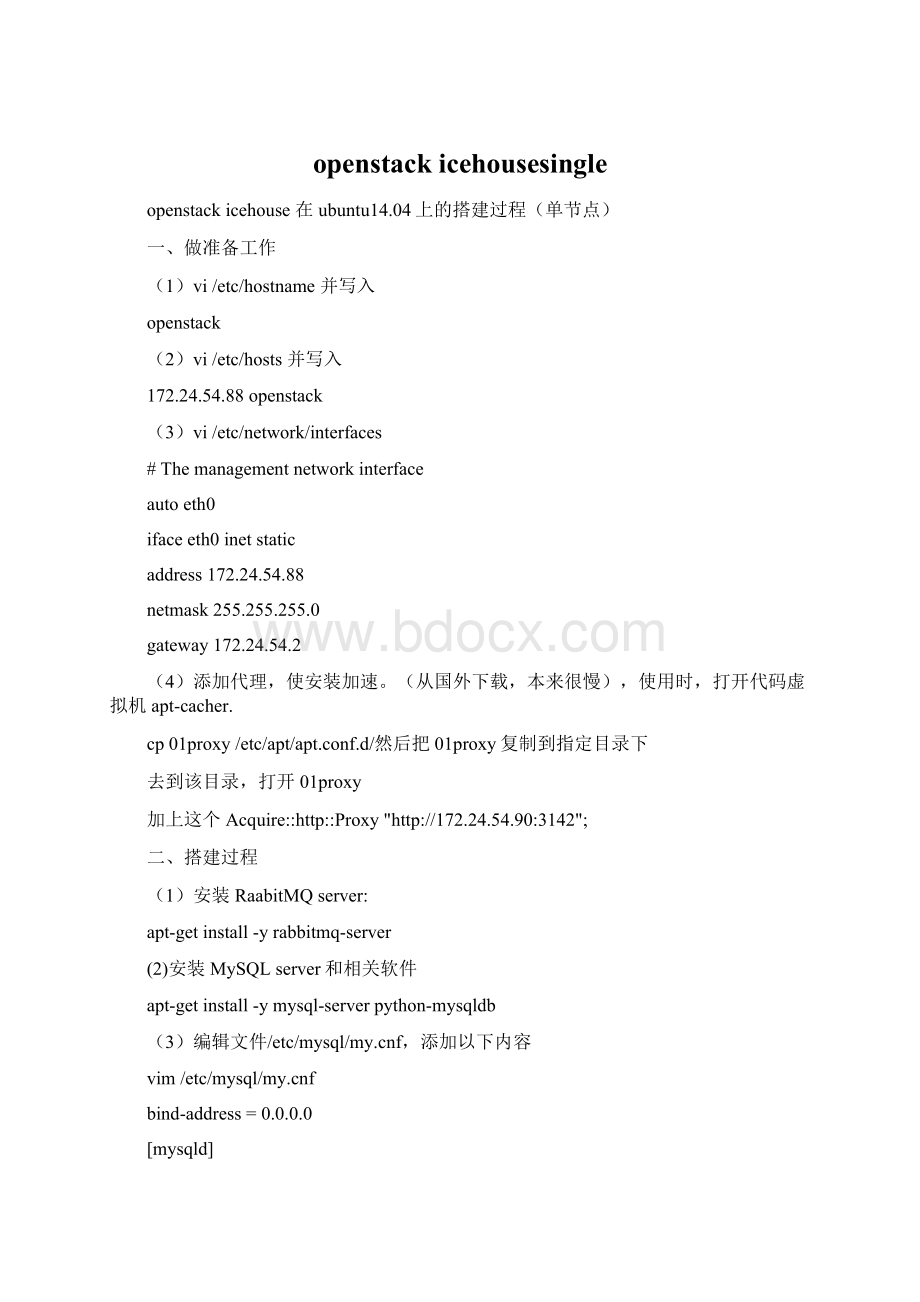
(3)编辑文件/etc/mysql/f,添加以下内容
vim/etc/mysql/f
bind-address=0.0.0.0
[mysqld]
...
collation-server=utf8_general_ci
init-connect='
SETNAMESutf8'
character-set-server=utf8
(4)重启MySQLservice
servicemysqlrestart
(5)安装其它服务包
apt-getinstall-yntpvlanbridge-utils
(6)编辑文件/etc/sysctl.conf添加以下内容
vim/etc/sysctl.conf
net.ipv4.ip_forward=1
net.ipv4.conf.all.rp_filter=0
net.ipv4.conf.default.rp_filter=0
(7)加载上一步修改的值
sysctl–p
keystone
(8)安装keystone
apt-getinstall-ykeystone
(9)创建名为keystone的数据库并添加信任权限
mysql-uroot-p
CREATEDATABASEkeystone;
GRANTALLPRIVILEGESONkeystone.*TO'
keystone'
@'
%'
IDENTIFIEDBY'
keystone_dbpass'
quit
(10)编辑文件/etc/keystone/keystone.conf把下面这行
vim/etc/keystone/keystone.conf
connection=sqlite:
////var/lib/keystone/keystone.db替换成:
connection=mysql:
//keystone:
keystone_dbpass@openstack/keystone
(11)重启keystoneservice并同步数据库
servicekeystonerestart
keystone-managedb_sync
(12)输入下面环境变量来初始化keystone命令
exportOS_SERVICE_TOKEN=ADMIN
exportOS_SERVICE_ENDPOINT=http:
//172.24.54.88:
35357/v2.0
(13)创建adminuser,admintenant,adminroleandservicetenant.Alsoaddadminusertoadmintenantandadminrole.
keystonetenant-create--name=admin--description="
AdminTenant"
keystonetenant-create--name=service--description="
ServiceTenant"
keystoneuser-create--name=admin--pass=ADMIN--email=admin@
keystonerole-create--name=admin
keystoneuser-role-add--user=admin--tenant=admin--role=admin
(14)创建keystoneservice
keystoneservice-create--name=keystone--type=identity--description="
KeystoneIdentityService”
(15)创建keystone端点
keystoneendpoint-create--service=keystone--publicurl=http:
5000/v2.0--internalurl=http:
5000/v2.0--adminurl=http:
(16)删除环境变量
unsetOS_SERVICE_TOKEN
unsetOS_SERVICE_ENDPOINT
(17)新建一个文件取名为creds并添加以下内容:
exportOS_USERNAME=admin
exportOS_PASSWORD=ADMIN
exportOS_TENANT_NAME=admin
exportOS_AUTH_URL=http:
(18)启用环境变量
sourcecreds
(19)测试keysone
keystonetoken-get
keystoneuser-list
Glance(ImageStore)
(20)安装Glance
apt-getinstall-yglance
(21)创建数据库Glance,并为Glance授权
CREATEDATABASEglance;
GRANTALLONglance.*TO'
glance'
glance_dbpass'
quit;
(22)创建glance以及相关的keystone入口:
keystoneuser-create--name=glance--pass=glance_pass--email=glance@
keystoneuser-role-add--user=glance--tenant=service--role=admin
keystoneservice-create--name=glance--type=image--description="
GlanceImageService"
keystoneendpoint-create--service=glance--publicurl=http:
9292--internalurl=http:
9292--adminurl=http:
9292
(23)编辑文件/etc/glance/glance-api.conf添加以下内容
注释掉#sqlite_db=/var/lib/glance/glance.sqlite
//glance:
glance_dbpass@openstack/glance
[keystone_authtoken]
auth_host=172.24.54.88
auth_port=5000
auth_protocol=http
admin_tenant_name=service
admin_user=glance
admin_password=glance_pass
[paste_deploy]
flavor=keystone
(24)编辑文件/etc/glance/glance-registry.conf修改以下内容
vim/etc/glance/glance-registry.conf
#sqlite_db=/var/lib/glance/glance.sqlite
(25)重启Glanceservices
serviceglance-apirestart
serviceglance-registryrestart
(26)同步database
glance-managedb_sync
(27)下载一个用于测试的image
glanceimage-create--name"
cirros-0.3.2-x86_64"
--is-publictrue--container-formatbare--disk-formatqcow2--locationhttp:
//cdn.download.cirros-
glanceimage-list
computeService(Nova)
(28)安装nova包:
apt-getinstall-ynova-apinova-certnova-conductornova-consoleauthnova-novncproxynova-schedulerpython-novaclientnova-computenova-console
(29)创建数据库并给Nova授权
CREATEDATABASEnova;
GRANTALLPRIVILEGESONnova.*TO'
nova'
nova_dbpass'
(30)为Nova创建Keystone入口
keystoneuser-create--name=nova--pass=nova_pass--email=nova@
keystoneuser-role-add--user=nova--tenant=service--role=admin
keystoneservice-create--name=nova--type=compute--description="
OpenStackCompute"
keystoneendpoint-create--service=nova--publicurl=http:
8774/v2/%\(tenant_id\)s--internalurl=http:
8774/v2/%\(tenant_id\)s--adminurl=http:
8774/v2/%\(tenant_id\)s
(31)打开文件并编辑如下
vim/etc/nova/nova.conf
[DEFAULT]
logdir=/var/log/nova
state_path=/var/lib/nova
lock_path=/var/lock/nova
force_dhcp_release=True
iscsi_helper=tgtadm
libvirt_use_virtio_for_bridges=True
connection_type=libvirt
root_helper=sudonova-rootwrap/etc/nova/rootwrap.conf
verbose=True
rpc_backend=nova.rpc.impl_kombu
rabbit_host=172.24.54.88
my_ip=172.24.54.88
vncserver_listen=172.24.54.88
vncserver_proxyclient_address=172.24.54.88
novncproxy_base_url=http:
6080/vnc_auto.html
glance_host=172.24.54.88
auth_strategy=keystone
network_api_class=work.neutronv2.api.API
neutron_url=http:
9696
neutron_auth_strategy=keystone
neutron_admin_tenant_name=service
neutron_admin_username=neutron
neutron_admin_password=neutron_pass
neutron_metadata_proxy_shared_secret=openstack
neutron_admin_auth_url=http:
linuxnet_interface_driver=work.linux_net.LinuxOVSInterfaceDriver
firewall_driver=nova.virt.firewall.NoopFirewallDriver
security_group_api=neutron
vif_plugging_is_fatal:
false
vif_plugging_timeout:
0
[database]
//nova:
nova_dbpass@openstack/nova
auth_uri=http:
5000
auth_port=35357
admin_user=nova
admin_password=nova_pass
(32)同步Novadb
nova-managedbsync
(33)重启所有的nova服务
servicenova-apirestart;
servicenova-certrestart;
servicenova-consoleauthrestart;
servicenova-schedulerrestart;
servicenova-conductorrestart;
servicenova-novncproxyrestart;
servicenova-computerestart
(34)测试Nova,笑脸:
-)表示正常
nova-manageservicelist
Neutron(Networkingservice)
(35)安装Neutronservices
apt-getinstall-yneutron-serverneutron-commonneutron-plugin-ml2neutron-plugin-openvswitch-agentdnsmasqneutron-l3-agentneutron-dhcp-agent
(36)安装数据库并为Neutron提供认证服务
CREATEDATABASEneutron;
GRANTALLONneutron.*TO'
neutron'
neutron_dbpass'
(36)为Neutron创建Keystone入口
keystoneuser-create--name=neutron--pass=neutron_pass--email=neutron@
keystoneservice-create--name=neutron--type=network--description="
OpenStackNetworking"
keystoneuser-role-add--user=neutron--tenant=service--role=admin
keystoneendpoint-create--service=neutron--publicurlhttp:
9696--adminurlhttp:
9696--internalurlhttp:
(37)修改文件
vim/etc/neutron/neutron.conf
core_plugin=ml2
notification_driver=mon.notifier.rpc_notifier
rabbit_host=172.24.54.88
rpc_backend=mon.rpc.impl_kombu
service_plugins=router
allow_overlapping_ips=True
service_neutron_metadata_proxy=True
nova_admin_password=nova_pass
notify_nova_on_port_data_changes=True
notify_nova_on_port_status_changes=True
nova_admin_auth_url=http:
nova_admin_tenant_id=service
nova_url=http:
8774/v2
nova_admin_username=nova
admin_user=neutron
admin_password=neutron_pass
signing_dir=$state_path/keystone-signing
rpc_backend=mon.rpc.impl_kombu
rabbit_port=5672
notify_nova_on_port_status_changes=True
notify_nova_on_port_data_changes=True
nova_url=http:
8774
nova_admin_username=nova
##ReplacetheSERVICE_TENANT_IDwiththeoutputofthiscommand(keystonetenant-list|awk'
/service/{print$2}'
)
nova_admin_tenant_id=be37106f31924f7390e042de3124cc2d(把ID粘贴到这里)
nova_admin_password=nova_pass
nova_admin_auth_url=http:
//neutron:
neutron_dbpass@172.24.54.88/neutron
[agent]
root_helper=sudo/usr/bin/neutron-rootwrap/etc/neutron/rootwrap.conf
(38)打开文件,作出如下修改
vim/etc/neutron/plugins/ml2/ml2_conf.ini
[ml2]
type_drivers=flat,vlan
tenant_network_types=vlan,flat
mechanism_drivers=openvswitch
[ml2_type_flat]
flat_networks=External
[ml2_type_vlan]
network_vlan_ranges=Intnet1:
100:
200
[ml2_type_gre]
[ml2_type_vxlan]
[securitygroup]
firewall_driver=neutron.agent.linux.iptables_firewall.OVSHybridIptablesFirewallDriver
enable_security_group=True
[ovs]
bridge_mappings=External:
br-ex,Intnet1:
br-eth1
(39)现在创建网桥,需要两块网卡
ovs-vsctladd-brbr-int
ovs-vsctladd-brbr-eth1
ovs-vsctladd-brbr-ex
ovs-vsctladd-portbr-eth1eth1
ovs-vsctladd-portbr-exet
 升级会员
升级会员 