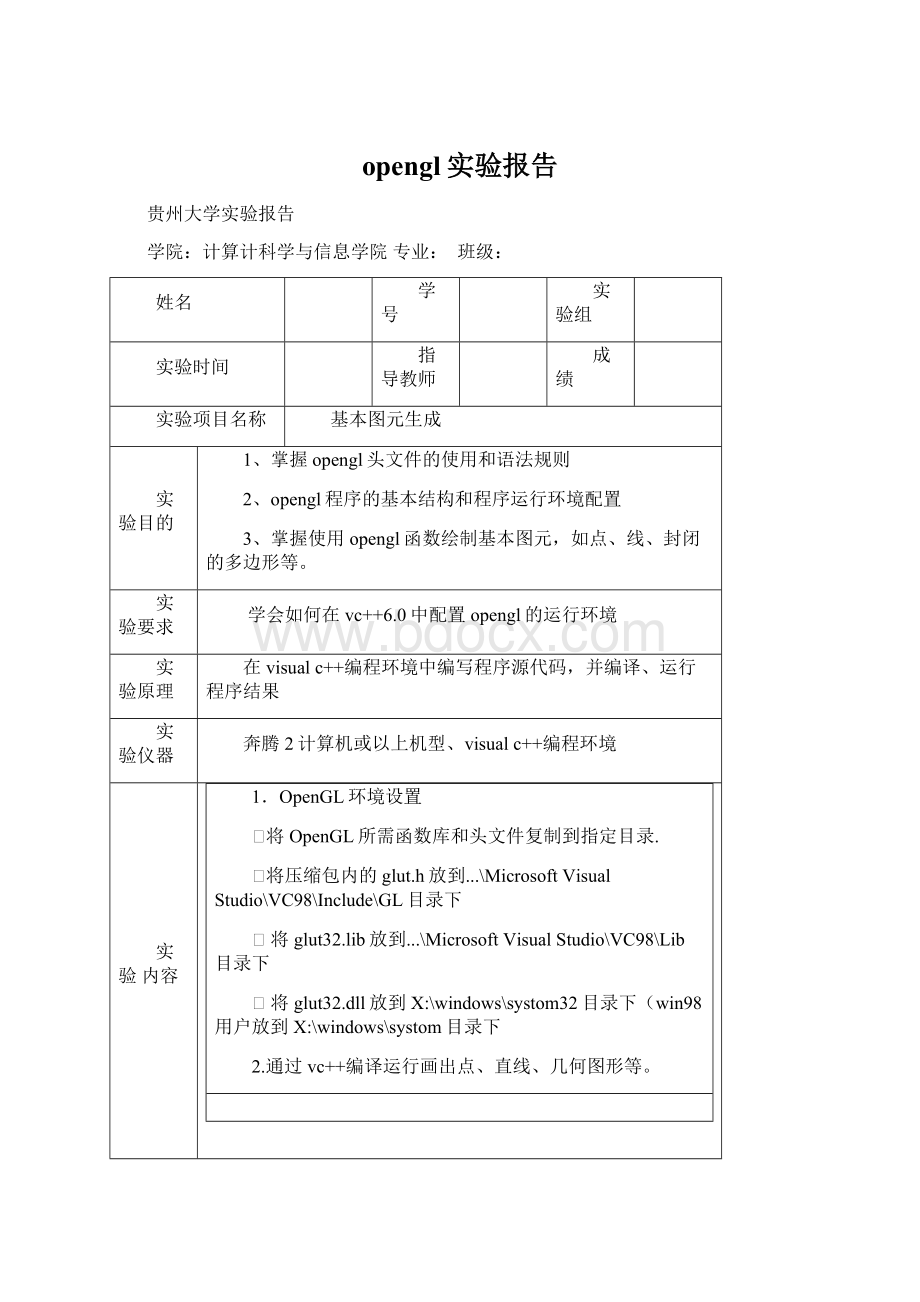
opengl实验报告.docx
《opengl实验报告.docx》由会员分享,可在线阅读,更多相关《opengl实验报告.docx(25页珍藏版)》请在冰豆网上搜索。

opengl实验报告
贵州大学实验报告
学院:
计算计科学与信息学院专业:
班级:
姓名
学号
实验组
实验时间
指导教师
成绩
实验项目名称
基本图元生成
实验目的
1、掌握opengl头文件的使用和语法规则
2、opengl程序的基本结构和程序运行环境配置
3、掌握使用opengl函数绘制基本图元,如点、线、封闭的多边形等。
实验要求
学会如何在vc++6.0中配置opengl的运行环境
实验原理
在visualc++编程环境中编写程序源代码,并编译、运行程序结果
实验仪器
奔腾2计算机或以上机型、visualc++编程环境
实验内容
1.OpenGL环境设置
v将OpenGL所需函数库和头文件复制到指定目录.
v将压缩包内的glut.h放到...\MicrosoftVisualStudio\VC98\Include\GL目录下
v将glut32.lib放到...\MicrosoftVisualStudio\VC98\Lib目录下
v将glut32.dll放到X:
\windows\systom32目录下(win98用户放到X:
\windows\systom目录下
2.通过vc++编译运行画出点、直线、几何图形等。
实验步骤
v1.找到vc++的安装路径...\MicrosoftVisualStudio\VC98\Include\GL目录,然后将压缩包里的glut.h文件复制一份到该目录下。
v2.找到vc++的安装路径..\MicrosoftVisualStudio\VC98\Lib目录下,然后将glut32.lib放到该目录下。
v3.找到路径windows\systom32目录,然后将glut32.dll文件复制一份到该目录下。
v4.OpenGL环境设置好后就可以开始编写程序了,接下来就是打开vc++编辑器,在编辑器里输入如下代码:
#include
#include
#include
#include
voidmyinit(void);
voiddisplay(void);
voidinit(void)
{
glClearColor(0.0,0.0,0.0,1.0);
}
voiddisplay(void)
{
glClear(GL_COLOR_BUFFER_BIT);
glColor4f(0.5,0.2,1.0,0.8);
glPointSize(5.0);
glBegin(GL_POINTS);
glVertex3f(0.1,0.5,0.0);
glVertex3f(0.4,0.7,0.0);
glVertex3f(0.6,0.2,0.0);
glEnd();
glFlush();
}
voidmain(intargc,char**argv)
{
glutInit(&argc,argv);
glutInitDisplayMode(GLUT_SINGLE|GLUT_RGB);
glutInitWindowPosition(50,100);
glutInitWindowSize(800,600);
glutCreateWindow("thefirstopenglsample");
init();
glutDisplayFunc(display);
glutMainLoop();
}
3.单击“启动调试”按钮后可在屏幕上看到生成的点的图案
4.接着在voiddisplay(void)函数里面依次输入下面代码编译后可看到相应的图案
5.glBegin(GL_LINES);
glVertex3f(0.1,0.2,0.0);
glVertex3f(0.5,0.9,0.0);
glEnd();
6.glBegin(GL_POLYGON);
glVertex3f(0.1,0.2,0.0);
glVertex3f(0.2,0.7,0.0);
glVertex3f(0.5,0.8,0.0);
glVertex3f(0.3,0.6,0.5);
glEnd();
7.glBegin(GL_LINE_STRIP);
glVertex3f(0.1,0.2,0.0);
glVertex3f(0.2,0.7,0.0);
glVertex3f(0.5,0.8,0.0);
glVertex3f(0.3,0.6,0.5);
glEnd();
8.glBegin(GL_LINE_LOOP);
glVertex3f(0.1,0.2,0.0);
glVertex3f(0.2,0.7,0.0);
glVertex3f(0.5,0.8,0.0);
glVertex3f(0.3,0.6,0.5);
glEnd();
9.glBegin(GL_QUADS);
glVertex3f(0.1,0.1,0.0);
glVertex3f(0.2,0.4,0.0);
glVertex3f(0.5,0.6,0.0);
glVertex3f(0.7,0.2,0.0);
glEnd();
glBegin(GL_TRIANGLE_FAN);
glVertex2f(0.5,0.5);
glVertex2f(0.5,1.0);
glVertex2f(0.8,0.9);
glVertex2f(0.9,0.8);
glVertex2f(1.0,0.5);
glEnd();
10.运行后,在屏幕上就可以出现相应的各种图案,如实验结果所示。
实验结果
实验总结
这次试验的主要任务是学会配置opengl的运行环境,并通过编写程序来测试能否正确的生成相应的图案,所以还算比较简单的,做实验时只要看一下老师发给我们的ppt,然后按照上面的步骤一步一步的操作就行,先是把下载好的压缩包解压然后找到安装目录,然后将相应的文件放到相应的目录下。
配置好后就按照相应的格式在编辑器里输入代码,当要显示不同的图形时就写入相应的函数,设置相应的点。
最后运行就可以了。
当然这些都还是简单的,规则的图形,所以只要代码没有问题就好了。
在设置点的时候会出现一个问题,那就是设置的点的值不当时就有可能无法显示在窗口中,也就是说在窗口外了,这是就学要重新设置点的坐标。
指导教师意见
签名:
年月日
贵州大学实验报告
学院:
计算计科学与信息学院专业:
数字媒体技术班级:
数媒091
姓名
杨涵松
学号
0908060209
实验组
实验时间
指导教师
陈静
成绩
实验项目名称
opengl线属性函数和位图与图像
实验目的
1、掌握并会使用opengl线属性函数glLineWidth(width)、glLineStripple(repeatFactor,pattern)、glShadeModel()。
2、理解位图与图像的相同与不同之处,并会使用opengl函数生成位图与图象。
3、掌握使用glBitmap()、glRasterPos*()、glReadPixels()、glDrawPixels()、glCopyPixels()、glPixelZoom()等函数的使用。
实验要求
学会设置各种属性
实验原理
在visualc++编程环境中编写程序源代码,并编译、运行程序结果
实验仪器
奔腾2计算机或以上机型、visualc++编程环境
实验内容
1、在第一次实验的基础上使用opengl线属性函数设置绘制的线的各种属性,如线宽、线效果、线颜色等属性。
请将程序缺少的部分填写完整。
#include
#include
#include
#include
voidinit(void)//初始化
{
glClearColor(0.0,0.0,0.0,0.0);//将窗口清为黑色
}
voiddisplay(void)
{
glClear(GL_COLOR_BUFFER_BIT);//将颜色缓存清为glClearColor命令所设置的颜色,即背景色
……
glFlush();//强制绘图,不驻留缓存
}
voidmain(intargc,char**argv)
{
glutInit(&argc,argv);
glutInitDisplayMode(GLUT_SINGLE|GLUT_RGB);
glutInitWindowPosition(50,100);
glutInitWindowSize(1000,1000);
glutCreateWindow("thefirstopenglsample");
init();
glutDisplayFunc(display);
glutMainLoop();
}
2、使用合适的函数,绘制位图字符,结合所绘制的位图图形理解其中每个函数的含义及参数的含义。
请将程序缺少的部分填写完整。
#include
#include
#include
#include
voidmyinit(void);
voiddisplay(void);
GLubyterasters[12]={………};
voidinit(void)//初始化
{
glPixelStorei(GL_UNPACK_ALIGNMENT,1);
glClearColor(0.0,0.0,0.0,0.0);//将窗口清为黑色
}
voiddisplay(void)
{
glClear(GL_COLOR_BUFFER_BIT);//将颜色缓存清为glClearColor命令所设置的颜色,即背景色
……
glFlush();//强制绘图,不驻留缓存
}
voidmain(intargc,char**argv)
{
glutInit(&argc,argv);
glutInitDisplayMode(GLUT_SINGLE|GLUT_RGB);
glutInitWindowPosition(….);
glutInitWindowSize(….);
glutCreateWindow("…..");
init();
glutDisplayFunc(display);
glutMainLoop();
}
3、使用合适的函数,绘制图像,结合所绘制的图象理解其中每个函数的含义及参数的含义。
请将程序缺少的部分填写完整。
#include
#include
#include
#include
voidmyinit(void);
voiddisplay(void);
voidinit(void)//初始化
{
glClearColor(0.0,0.0,0.0,0.0);//将窗口清为黑色
}
voidtriangle(){
……
}
voidSourceImage(){
……
}
voiddisplay(void)
{
glClear(GL_COLOR_BUFFER_BIT);//将颜色缓存清为glClearColor命令所设置的颜色,即背景色
……
glFlush();//强制绘图,不驻留缓存
}
voidmain(intargc,char**argv)
{
glutInit(&argc,argv);
glutInitDisplayMode(GLUT_SINGLE|GLUT_RGB);
glutInitWindowPosition(……);
glutInitWindowSize(……);
glutCreateWindow("……");
init();
glutDisplayFunc(display);
glutMainLoop();
}
实验步骤
打开vc++编辑器,在编辑器里输入如下代码:
//线宽线效果
#include
#include
#include
#include
voidmyinit(void);
voiddisplay(void);
voidinit(void)
{
glClearColor(0.0,0.0,0.0,1.0);
}
voiddisplay(void)
{
glClear(GL_COLOR_BUFFER_BIT);
glColor4f(0.5,0.2,1.0,0.8);
glPointSize(5.0);
glBegin(GL_LINES);
glVertex3f(0.1,0.2,0.0);
glVertex3f(0.5,0.9,0.0);
glEnd();
glFlush();
}
GLfloaty;//StoreageforvaryingYcoordinate
GLintfactor=1;//Stipplingfactor
GLushortpattern=0x5555;//Stipplepattern
//Clearthewindowwithcurrentclearingcolor
glClear(GL_COLOR_BUFFER_BIT);
//Savematrixstateanddotherotation
glPushMatrix();
glRotatef(xRot,1.0f,0.0f,0.0f);
glRotatef(yRot,0.0f,1.0f,0.0f);
//EnableStippling
glEnable(GL_LINE_STIPPLE);
//StepupYaxis20unitsatatime
for(y=-90.0f;y<90.0f;y+=20.0f)
{
//Resettherepeatfactorandpattern
glLineStipple(1,0xFF00);//线型
//Drawtheline
glBegin(GL_LINES);
glVertex2f(-80.0f,y);
glVertex2f(80.0f,y);
glEnd();
factor++;
}
//Restoretransformations
glPopMatrix();
//Flushdrawingcommands
glutSwapBuffers();
}
//Thisfunctiondoesanyneededinitializationon
GLfloatnRange=100.0f;
//Preventadividebyzero
if(h==0)
h=1;
//SetViewporttowindowdimensions
glViewport(0,0,w,h);
//Resetcoordinatesystem
glMatrixMode(GL_PROJECTION);
glLoadIdentity();
//Establishclippingvolume(left,right,bottom,top,near,far)
if(w<=h)
glOrtho(-nRange,nRange,-nRange*h/w,nRange*h/w,-nRange,nRange);
else
glOrtho(-nRange*w/h,nRange*w/h,-nRange,nRange,-nRange,nRange);
glMatrixMode(GL_MODELVIEW);
glLoadIdentity();
}
intmain(intargc,char*argv[])
{
glutInit(&argc,argv);
glutInitDisplayMode(GLUT_DOUBLE|GLUT_RGB|GLUT_DEPTH);
glutCreateWindow("StippledLineExample");
glutReshapeFunc(ChangeSize);
glutSpecialFunc(SpecialKeys);
glutDisplayFunc(RenderScene);
SetupRC();
glutMainLoop();
return0;
}
//位图字符
#include
//位图图形
#include
#include
#include
#include
voidmyinit(void);
voiddisplay(void);
voidinit(void)//初始化
{
glClearColor(0.0,0.0,0.0,0.0);//将窗口清为黑色¦
}
voidtriangle(){
glBegin(GL_TRIANGLES);
glColor3f(0.0,1.0,0.0);
glVertex2f(0.1,0.2);
glColor3f(0.0,0.0,1.0);
glVertex2f(0.2,0.7);
glColor3f(1.0,0.0,0.0);
glVertex2f(0.5,0.8);
glEnd();
}
voidSourceImage(){
glPushMatrix();
glLoadIdentity();
glTranslatef(0.5,0.5,0.0);
glScalef(0.5,0.5,0.5);
triangle();
glPopMatrix();
}
voidmain(intargc,char**argv)
{
glutInit(&argc,argv);
glutInitDisplayMode(GLUT_SINGLE|GLUT_RGB);
glutInitWindowPosition(50,100);
glutInitWindowSize(800,600);
glutCreateWindow("thefirstopenglsample");
glShadeModel(GL_SMOOTH);//线效果
glLineWidth(10);//线宽
init();
glutDisplayFunc(display);
glutMainLoop();
//绘制虚线
#include
//#include
//#include
#include
#include
//DefineaconstantforthevalueofPI
#defineGL_PI3.1415f
//Rotationamounts
staticGLfloatxRot=0.0f;
staticGLfloatyRot=0.0f;
//Calledtodrawscene
voidRenderScene(void)
{
therendering
//context.
voidSetupRC()
{
//Blackbackground
glClearColor(0.0f,0.0f,0.0f,1.0f);
//Setdrawingcolortogreen
glColor3f(0.0f,1.0f,0.0f);
}
voidSpecialKeys(intkey,intx,inty)
{
if(key==GLUT_KEY_UP)
xRot-=5.0f;
if(key==GLUT_KEY_DOWN)
xRot+=5.0f;
if(key==GLUT_KEY_LEFT)
yRot-=5.0f;
if(key==GLUT_KEY_RIGHT)
yRot+=5.0f;
if(key>356.0f)
xRot=0.0f;
if(key<-1.0f)
xRot=355.0f;
if(key>356.0f)
yRot=0.0f;
if(key<-1.0f)
yRot=355.0f;
//RefreshtheWindow
glutPostRedisplay();
}
voidChangeSize(intw,inth)
{
#include
#include
#include
voidmyinit(void);
voiddisplay(void);
GLubyterasters[12]={0xff,0xff,0xc0,0xc0,0xc0,0xfc,0xfc,0xc0,0xc0,0xc0,0xff,0xff};
voidinit(void)//初始化
{
glPixelStorei(GL_UNPACK_ALIGNMENT,1);
glClearColor(0.0,0.0,0.0,0.0);//将窗口清为黑色
}
voiddisplay(void)
{
glClear(GL_COLOR_BUFFER_BIT);//将颜色缓存清为glClearColor命令所设置的颜色,即背景色
glColor3f(1.0,0.0,1.0);
glRasterPos2i(0.5,0.8);
glBitmap(8,12,0.0,0.0,20.0,20.0,rasters);
glBitmap(8,12,0.0,40.0,10.0,0.0,rasters);
glFlush();//强制绘图,不驻留缓存
}
voidmain(intargc,char**argv)
{
glutInit(&argc,argv);
glutInitDisplayMode(GLUT_SINGLE|GLUT_RGB);
glutInitWindowPosition