Unity3dFPS游戏教程3.docx
《Unity3dFPS游戏教程3.docx》由会员分享,可在线阅读,更多相关《Unity3dFPS游戏教程3.docx(15页珍藏版)》请在冰豆网上搜索。
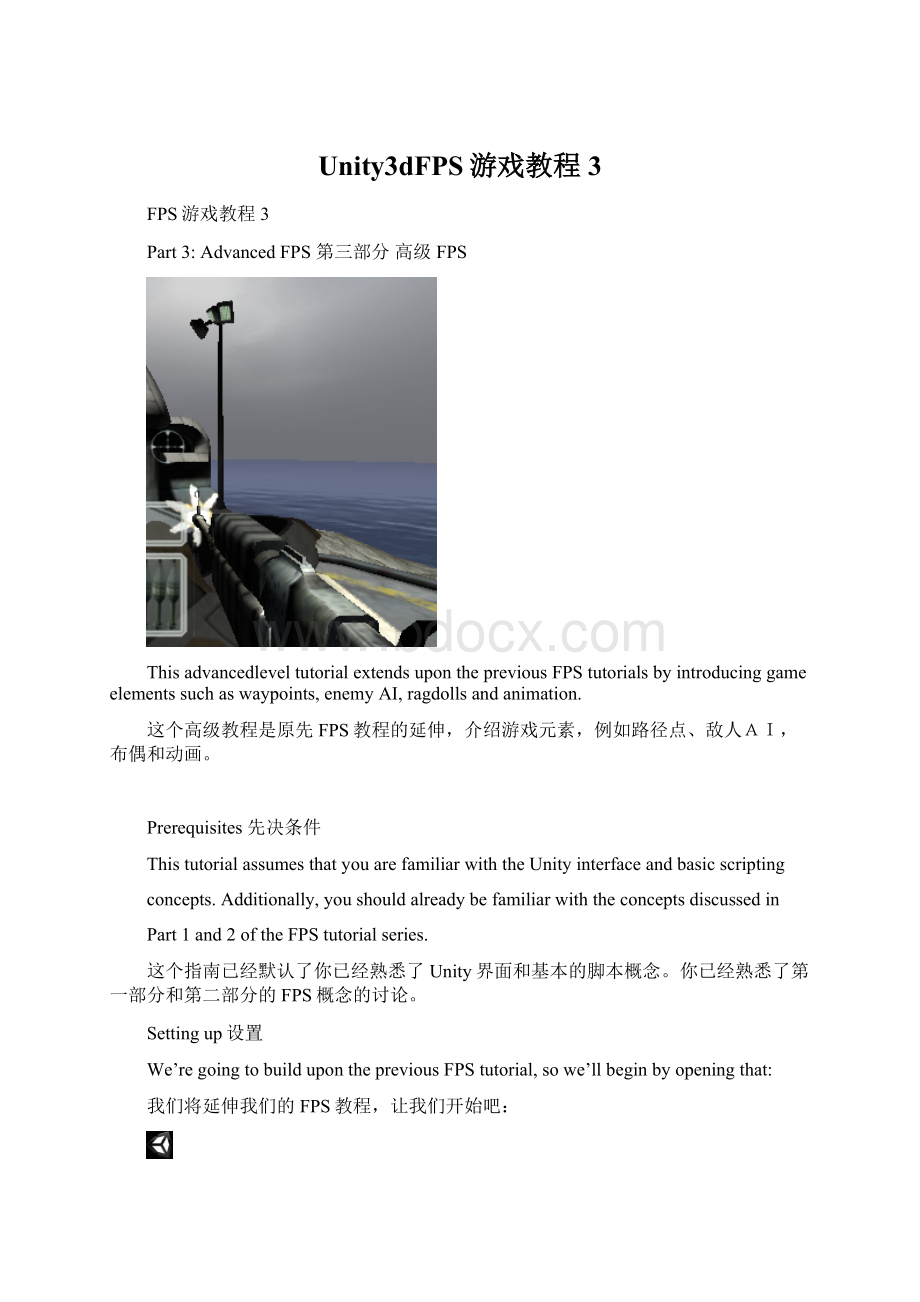
Unity3dFPS游戏教程3
FPS游戏教程3
Part3:
AdvancedFPS第三部分高级FPS
ThisadvancedleveltutorialextendsuponthepreviousFPStutorialsbyintroducinggameelementssuchaswaypoints,enemyAI,ragdollsandanimation.
这个高级教程是原先FPS教程的延伸,介绍游戏元素,例如路径点、敌人AI,布偶和动画。
Prerequisites先决条件
ThistutorialassumesthatyouarefamiliarwiththeUnityinterfaceandbasicscripting
concepts.Additionally,youshouldalreadybefamiliarwiththeconceptsdiscussedin
Part1and2oftheFPStutorialseries.
这个指南已经默认了你已经熟悉了Unity界面和基本的脚本概念。
你已经熟悉了第一部分和第二部分的FPS概念的讨论。
Settingup设置
We’regoingtobuilduponthepreviousFPStutorial,sowe’llbeginbyopeningthat:
我们将延伸我们的FPS教程,让我们开始吧:
Openthepreviousproject(FPSTutorial2).
打开原先的项目(FPS教程2)
Waypoints路径点
Thissectionwillintroducewaypointstoourgame,theseareusedtoinformtherobots
ofthepaththattheycanwalkaround.Let’saddthreewaypointstoourgame:
这一节将介绍路径点到我们游戏中,即告知机器人它们能够在周围巡逻的路径,让我们增加三个路径点到我们游戏中:
CreateanemptygameobjectandrenamethistoWaypoint.Makesurethegameobjectisplacedapproximatelyonemeterabovethegroundlevel.
建立一个空的游戏对象并且重命名它为路径点(Waypoint),确保游戏对象被定位在地面上大约一米左右。
AddAutoWayPointscripttoWaypoint.NoticehowtheemptygameobjectnowdisplaysaWintheSceneView.
给路径点增加一个自动路径点(AutoWayPoint)脚本,注意怎么在场景视窗中显示空游戏对象(按W键)
DuplicatetheWayPointgameobjecttwiceandarrangethewaypointsinatriangle
shape(positionquitefarapart).
重复制作两个路径点游戏对象并且把它们排成一个三角形(距离远一些)
CheckthatthewaypointsarevisibletoeachotherbyfirstlyclickingonanywaypointthenselectingUpdateWaypointfromthecontextmenuoftheAutoWayPointscript(therightmostbuttononthecomponentintheInspectorView).Agreenlinewillbedrawnbetweenvisiblewaypoints,aredlineforthosewhichdon’thaveaclearlineofsight.
检查一下这些路径点应该是彼此可见的,首先单击任一个路径点然后在自动路径点(AutoWayPoint)脚本的关联菜单上选择更新路径点(在检查视窗的组件上的最右边按钮),一个绿色的线将在可见的路径点之间画出来,一个红色的线表示视野中没有清晰的线。
Wehavenowdescribedthepaththatanenemycanwalkaround,nowlet’saddanopponenttothescene.
我们现在说明的是一个敌人的巡逻路线,现在让我们在场景中增加一个敌人。
RobotAI机器人人工智能
Thissectionwilladdanenemyrobottoourscene.
这一节将增加一个敌人在我们的场景中。
SelectRobotArtwork/robotanddragitintotheSceneViewmakingsurealloftherobotisabovetheground.
在Artwork/robot目录下选择机器人(Robot)并且拖拽它到场景中,确保所有的而机器人都在地面之上。
Let’sgivetherobotsomebehavior.
让我们给出机器人的一些行为。
AddWeaponsScripts/AItorobot.IntheAIscriptsectionorrobot,assigntheFPS
controllerasthetarget(sotherobotknowswhotohuntdown).
增加一个WeaponsScripts/AI脚本给机器人。
在AI脚本部分或机器人,都要将FPS控制器作为目标(所以机器人才能知道猎捕谁)
AddtheAIAnimationscripttotherobot.Thiscontrolstheanimationofourrobot(whentorun,whentoaimetc).ThiscommunicateswiththeAIscripttofindoutwhattheAIscriptiscurrentlydoing,e.g.arewerunning,shootingetc.Itthencrossfadestheanimationstoprovideasmoothtransition.
增加一个AIAnimation脚本给机器人,这些会控制我们机器人的动画(什么时候跑,什么时候瞄准等等)。
与人工智能进行交流,找出AI脚本当前应该做什么,例如,我们正在跑,射击等。
然后他排演一个动画以提供一个平滑过渡。
Nowweneedtomaketherobotcontrollerobjectalittlelargersothathedoesn’tintersectwiththeground.ThisisbecausethecharactercontrollerwhichisusedtopreventtheenemyfrommovingthroughwallsisusingacapsuletorepresenttheAI.Weneedtomakethiscapsulealittlelargertomatchtheactualgraphics,thiswayhewillnotintersectwiththegroundanymore.
现在我们需要建造一个机器人控制器对象,稍大一点,以便它不会和地面相交。
这时因为胶囊代表的人工智能使用的特性控制器(charactercontroller)会阻止敌人穿墙移动。
我们需要制造稍大一点的胶囊以匹配实际的图像,这样他不会再与地面相交。
Selecttherobot,thenintheInspectorViewmodifytheheightandradiusvalues
oftheCharacterControllercomponentsothatitenclosestherobot.Pressplay
tomakesureitworkscorrectly.
选择机器人,然后再检查视窗中编辑特性控制器组件的高度和半径值以便它能包住机器人。
按运行按钮确保它工作正确。
Trymakingtheheightandradiusvaluessmallerandlargertoseethedifference.
试着将高度和半径值改的稍大一些看看有什么不同。
Nowweneedtogivetherobottheabilitytofirehisgun.Therobotiscontinuouslymovingandanimating.Whenheshootshisgunweplayananimationonthehandsandthegraphicalgunthenspawntherocketfromtransformrelativetotherobot.Thistransformdoesnotanimate,itissimplyplacedapproximatelyatthepointwherethegunwillbewhentheshootanimationfirestherocket.
现在我们需要给机器人的枪开火的能力。
该机器人在不断移动和动画(用动画表现其反应),当拍摄它手上的枪时我们播放一个动画和枪的图形然后相对于机器人变形衍生出火箭。
这个transform不能做成动画,它很简单地大约放置在枪将发射火箭弹的动画的那个点。
Createanemptygameobjectandmakeitachildoftherobot(usethehierarchyview).
建立一个空的游戏对象并且确保它是机器人对象的子对象(使用层次视窗)
Renamethegameobjectgun_spawn.
重命名游戏对象为gun_spawn
Nowweneedtoplaceitproperly.InthetransforminspectorselectResetfromthecontextmenu,thenmoveitforwardinthez-axis.
现在我们需要配置它的属性。
在关联菜单上的transform检查器中选择Reset,然后沿Z轴移动它。
Addtherocketlauncherscripttothegun_spawngameobject.Assigntherocketprefabtotheprojectilevariable.
增加rocketlauncher脚本到gun_spawn游戏对象上,分配火箭预制物体到projectile变量上。
Makeaprefabofthisrobot,callitRobot.Thiswillallowyoutocreatemoreenemieseasily.
制造一个机器人预制物体,调用它,这将允许你建立更多的敌人。
Playthegameandcheckthattherobotfiresatyou.
运行游戏并且检查那个朝你开火的机器人。
Althoughyoucanshoottherobot,itisnotconfiguredtotakedamage,we’llremedy
thisinthenextsection.
尽管你能朝机器人射击,但它没有配置获得伤害,在下一节中我们将补救这些。
RobotDamage机器人伤害
AttachtheCharacterDamagescripttotheRobotprefab.
附着CharacterDamage脚本到机器人预制物体上。
Playthegame,shoottherobotwiththemachinegunandheshoulddisappear.
运行游戏,用机枪朝机器人射击并且它会消失。
Ragdolls布偶
Ragdollsemulateanaturalskeletalbonestructure,thiswillallowourrobottofallnaturallywhenkilled.Thissectionwillshowhowtosetuparagdoll.
布偶模仿一个天然的骨骼结构,这些将允许我们的机器人在被杀死时自然跌倒,这一节将显示如何设置一个布偶。
Firstly,createanewscene(File>NewScene).We’regoingtosetupourragdollinhere.Saveyourcurrentsceneifnecessary.
首先,建立一个新的场景(File>NewScene)。
我们将在这装配我们的布偶,如果需要保存你当前的场景。
Createacube(resizeifnecessary),thiswillbeusedasaplatformforourrobot.DragintherobottotheSceneViewsothatitispositionedabovethecube.
建立一个cube(如果需要就重定义一下尺寸),这将被用作我们的机器人的平台,拖拽机器人到场景视窗中以便它被定位到cube之上。
Removetheanimationcomponent.Thisisimportantotherwisetheanimationswillinterferewiththephysics.
删除动画组件,这一点很重要,否则动画在物理上将被干扰。
Nowusetheragdollwizard:
Gameobject>CreateOther>Ragdoll.
现在使用布偶向导:
Gameobject>CreateOther>Ragdoll
Adialogboxappears,nowwehavetoassignallthebonestothecorrectslotsinthewizard.WeassignthebonesbydraggingthevaluesfromtheRobotintheHierarchyViewontothecorrectplaceinthedialogbox.ExpandtheRobotgameobjectintheHierarchyViewifnecessarytorevealthis.
出现一个对话框,现在我们必须在向导的正确插槽中指定所有的骨头,我们通过拖拽层次面板上的值分配机器人的骨头到对话框中正确的地方,如果需要在层次视窗中扩大机器人游戏对象以显露出它。
Firstly,rootHandle(HierarchyView)mapsontoroot(inthedialogbox).DragrootHandleontotheplaceholderbesiderootinthedialogbox.
首先,rootHandle(层次视窗)映射到root(在对话框中),拖拽rootHandle到对话框的root旁边的定位手柄处。
SetTotalMassto4
设置总质量为4
Legs腿
Assignupleg_LtoLeftHip.
分配左大腿(upleg_L)到LeftHip。
Assignlowleg_LgoestoLeftKnee.
分配左小腿(lowleg_L)到LeftKnee
Assignheel_LgoestoLeftFoot.
分配左脚踝(heel_L)到LeftFoot
Repeatfortherightleg.
重复分配右腿
Upperbody/Arms上半身和胳膊
AssignupArm_LgoestoLeftArm.
分配左手(upArm_L)到LeftArm
Assignelbow_LgoestoLeftElbow.
分配左肘(elbow_L)到LeftElbow
Repeatfortherightarm.
重复分配右手
Assignspine3goestoMiddlespine.
分配脊柱3到中间脊柱。
Finally,headgoestoHead.
最后头部到头部
Hitcreatethenpressplay,therobotshouldfall,howeverthegunwon’t.
单击建立并运行游戏,机器人将会倒下,然而枪没有这样做。
Tomakethegunfall:
制造枪落下:
SelectthegunintheHierarchyView.
在层次视窗中选择枪
Addarigidbodycomponent.
给它增加一个刚体组件。
Addaboxcollider.Adjustthesizeoftheboxcollidertofitthegun,you’llneed
toadjustthecenterpositionalso.
增加一个盒子碰撞器,调整盒子碰撞器的尺寸以适应枪的大小,你也需要调整位置中心。
Nowweputthefullyriggedrobotintoaprefab.Tocreatetheprefab:
现在我们把这个全操纵机器人放到预制物体中,建立这个预制物体:
Assets>Create>Prefab.
RenameittoRobotRagdoll.
重命名它为机器布偶
Dragtherobot(rootlevel)fromthehierarchyviewintotheprefab.Thiswillmakesurethegunisattachedalso.
从层次视窗中拖拽机器人(根层)到预制物体上,这将确保枪也附带着放进去。
Nowwhentherobotiskilled,wedeletetheoldrobotandinstantiatethenewragdollrobot,thisallowsourrobottofalltothegroundnaturally.
现在当机器人被杀死时,买我们将删除老的机器人并且初始化一个新的玩偶机器人,使我们的机器人很自然的倒在地面上。
UsingtheRagdoll使用布偶
Opentheoriginalscene(noneedtosavethecurrentscene),selecttherobotfromtheHierarchyViewandintheCharacterDamageinspector,dragintheRobotRagdollprefabtotheDeadReplacement.
打开一个原始场景(不需要保存当前场景),从层次视窗中选择机器人并且在伤害特性检查器中,拖拽一个机器人玩偶预制物体到死亡替代物上。
Playthegame,shoottherobotanditshouldnowfalldownwhenshot.
运行游戏,朝机器人射击当射中时可以看到机器人会倒下
Youmaywanttotweakthemassoftherobottoimprovethelook&feeloftheragdoll.Youcandothisintheragdollwizard,bychangingthemassproperty.Thisisespeciallyimportantinexplosionforceswheretherobotisthrownintotheair.
你可能想调整一下机器人的质量以改善机器玩偶看到的感觉。
你能在机器玩偶向导中通过改变质量属性做到。
当机器人手爆炸影响被抛到空气中时这点特别重要。
Sound声音
Thissectionwilladdsoundeffectstoourgame.
这一节将给我们的游戏增加声音效果。
Machinegun机枪
DragmachineGunSingleShotLoopableontotheMachineGungameobject.
拖拽machineGunSingleShotLoopable声音文件到机枪游戏对象上
TurnoffPlayonAwake.
关闭PlayonAwake
RocketLauncher火箭发射器
Wewanttoattachthesoundsourceoftherockettotherocketsothattheaudiolevelsreducesasitfliesaway.
我们想附加一个火箭弹声音源到火箭弹上,以便随着它的飞行,声音的大小也在减弱。
SelecttheRocketprefab.
选择火箭弹预制物体
AddanAudioSourcecomponenttotheprefab.
增加一个声音源组件到预制物体上
DragtheRocketLauncherFireaudiosourcetotheAudioClippropertyoftheAudioSource.
拖拽RocketLauncherFire声音文件到声音源的AudioClip属性上。
AdjusttheRolloffFactorsothatthesoundfadesoutfaster(0.5mightbeok).
调整RolloffFactor以便声
 升级会员
升级会员 