Windchill面试资料总结.docx
《Windchill面试资料总结.docx》由会员分享,可在线阅读,更多相关《Windchill面试资料总结.docx(34页珍藏版)》请在冰豆网上搜索。
Windchill面试资料总结
Windchill面试资料
1、UI部分:
1.1、navigation(菜单)
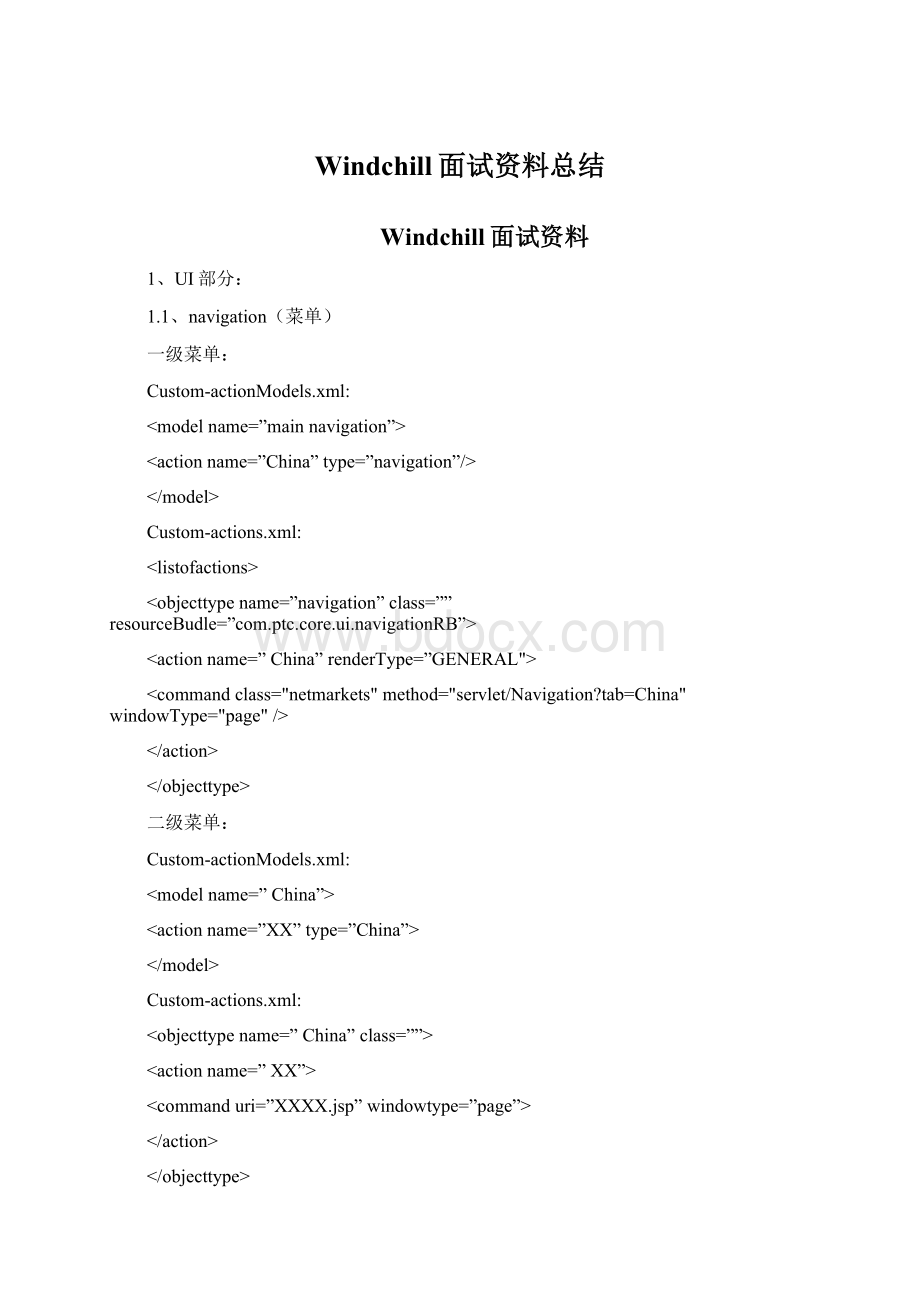
一级菜单:
Custom-actionModels.xml:
Custom-actions.xml:
tab=China"windowType="page"/>
二级菜单:
Custom-actionModels.xml:
Custom-actions.xml:
三级菜单(partManagement-actionmodels.xml,
changemanagement-actionmodel.xml,
DocumentManagement-actionmodel.xml):
Custom-actionModels.xml:
下拉菜单:
Custom-actionModels.xml:
1.2、button(按钮)
创建按钮是一个十分简单的过程,例如要在如图所示的部分创建一个按钮:
第一步:
在导航中输入&jcaDebug=1
第二步:
查看debug之后发现此工具栏的ActionModelName=productlist
第四步:
点击“定制”、“工具”后出现:
第五步:
在productlist点击“搜索”后出现:
第六步:
点击“
”后出现:
第七步:
查看PartManager-actionmodels.xml
复制
到custom-actionModels.xml
然后添加
第八步:
在custom-action.xml中添加
</p><p>创建产品</p><p>
创建产品
创建产品
netmarkets/images/arrow_rightright.gif
第九步:
reloadxml:
javamarkets.util.misc.NmActionServiceHelper
1.3、页面客制化Tree
1写两个方法:
publicListgetRootNodes()throwsWTException和
publicMapgetNodes(Listlist)throwsWTException
getRootNodes()方法如下
publicListgetRootNodes()throwsWTException{
NmCommandBeannmcommandbean=getModelContext().getNmCommandBean();
if(nmcommandbean==null){
returnnull;
}
//获取上下文的一个对象
NmOidnmoid=nmcommandbean.getPrimaryOid();
WTPartwtpart;
if(nmoid==null){
wtpart=getGolfCart();
}else{
//确定这个对象nmoid是否是这个类(WTPart)提供的实例
if(!
nmoid.isA(wt.part.WTPart.class)){
//Thefollowing2linesareoneline
thrownewClassCastException((newStringBuilder()).append(
"Expectedpart,butwas:
").append(nmoid).toString());
}
//获得指向的对象
wtpart=(WTPart)nmoid.getRef();
}
if(wtpart==null){
returnnull;
}else{
configSpec=ConfigHelper.service.getConfigSpecFor(wtpart);
//返回一个一个指定的wtpart的list
returnCollections.singletonList(wtpart);
}
}
getNodes()方法如下
publicMapgetNodes(Listlist)throwsWTException{
if(configSpec==null){
configSpec=getDefaultConfigSpec();
}
HashMaphashmap=newHashMap();
Persistablep[][][]=WTPartHelper.service.getUsesWTParts(
newWTArrayList(list),configSpec);
ListIteratorlistiterator=list.listIterator();
do{
if(!
listiterator.hasNext()){
break;
}
WTPartwtpart=(WTPart)listiterator.next();
wt.fc.Persistablep1[][]=p[listiterator.previousIndex()];
if(p1!
=null){
ArrayListarraylist=newArrayList(p1.length);
hashmap.put(wtpart,arraylist);
wt.fc.Persistablep2[][]=p1;
inti=p2.length;
intj=0;
while(jwt.fc.Persistablep3[]=p2[j];
arraylist.add(p3[1]);
j++;
}
}
}while(true);
returnhashmap;
}
上面两个方法大概是讲获得上下文对象的节点和子节点,具体意思还没弄懂,懂的麻烦告诉一下。
2增加自定义.xconf文件存储配置信息,如下
serviceClass="com.gsdev.client.CustomTreeHandler"
selector="customTreeHandler"
cardinality="duplicate"/>
其中serviceClass属性是指写步骤①中两个方法的类,selector属性是指在页面引入Tree的时候getModeltreeHandler=""/>treeHandler的属性值,这个值一定要跟selector属性值一样
3将.xconf文件注册完成后写一个jsp页面,下面主要给出引入Tree的代码
describeTableTreevar="treeDescriptor"type="wt.part.WTPart"
id="com.gsdev.client.tree"label="${treeName}">
describeColumnid="name"/>
describeColumnid="number"/>
describeTableTree>
getModelvar="treeModel"descriptor="${treeDescriptor}"treeHandler="customTreeHandler"/>
renderTableTreemodel="${treeModel}"/>
其中label属性是显示在tree左上角的名称,需要做国际化;describeColumn是指Tree下面的属性,有多少个describeColumn就有多少个属性。
4在Tree上面添加一些页面上的属性
在describeTableTree/>中添加menubarName属性,就是在Tree上添加下拉菜单,属性值就是在actionModels.xml文件中配置的model属性中name的属性值;
在describeColumn/>下面添加setComponentPropertykey="selectable"value="true"/>标签就是在Tree上面添加全选菜单;
在describeColumn/>下面添加setComponentPropertykey="actionModel"value="customToolbar"/>标签就是在Tree上面添加工具栏,其中的value属性值就是在actionModels.xml文件中配置的model属性中name的属性值。
1.4、客制化view
做View是建立在已经做好的Tree或Table上的,针对上面做的Tree做View就是在Tree的页面上添加一些其它的属性,如
在renderTableTree"/>中添加属性configurable="true"属性就会有视图,要做自己的视图的话还要写自己的方法;添加helpContext="xx"属性就是一个帮助按钮,针对Tree或Table里面的内容不同可以更换XX的值;添加singleSelect="true"属性就会有单选框,当然是建立在已经有全选菜单的情况下,如果没有添加全选菜单添加该属性也没有效果;添加pageLimit="10"属性就是分页,Tree或Table中的内容过多时就可以分页显示,属性值是多少就标示一页显示多少条内容;添加showPagingLinks="true"属性就是给链接,例如Tree下面是一个文件夹,加了该标签之后就可以点击该文件夹进入文件夹内的详细内容。
附上自己写View的代码
publicclassConfigTableextendsAbstractConfigurableTable{
publicListgetSpecialTableColumnsAttrDefinition(Localelocale)
{
Listresult=newArrayList();
result.add(newTextAttribute(/*id*/"foo",/*label*/"Foo",locale));
result.add(newTextAttribute(/*id*/"bar",/*label*/"Bar",locale));
returnresult;
}
publicListgetOOTBTableViews(StringtableId,Localelocale)throwsWTException{
Listresult=newArrayList();
Vectorcolumns=newVector();
columns.add(TableColumnDefinition.newTableColumnDefinition(/*name*/ColumnIdentifiers.NAME,/*lockable*/false));
TableViewDescriptortvd=TableViewDescriptor.newTableViewDescriptor(/*name*/"SapmpleView",tableId,/*system*/true,/*global*/true,columns,/*constraints*/null,/*match*/true,/*descriptption*/"SampleView");
result.add(tvd);
returnresult;
}
publicStringgetOOTBActiveViewName(){
returnnull;
}
publicStringgetLabel(Localelocael){
return"Custmomconfigtable";
}
publicClass[]getClassTypes(){
returnnewClass[]{WTPart.class};
}
publicStringgetDefaultSortColumn(){
returnColumnIdentifiers.NAME;
}
}
这段代码首先是获得试图下拉菜单中属性,然后添加两个自己的视图属性,再获取TableView,设置添加视图选项所需的属性(如Name、Number等),再设置TableView的名称描述并添加到TableView。
下面的四个方法分别是获取TableView的名称,在TableView上显示的第一名称是默认的,返回null就使用默认名称;获取用户可见的表的名称;获取表中的对象的类型;获取默认情况下排序列的ID。
1.5、创建表格
第一步:
建立jsp页面。
存放在jsp/lenovo目录下,引入标签。
第二步:
设置表格的属性。
describeTablevar="tableDescribe"label="${tableName}"type="wt.part.WTPart"menubarName="customMenubar"id="table"configurable="true">
setComponentPropertykey="selectable"value="true"/>
setComponentPropertykey="actionModel"value="customToolbar"/>
describeTable>
属性包括,设置菜单栏,和工具条,分页,是否全部可选,建立视图,表格名称的国际化等。
第三步:
描述表格的列名称
jca:
describeColumnid="name"/>
describeColumnid="number"/>
有两列,列名分别是名字和编号。
第四步:
获得表的模型getModelvar="treeModel"descriptor="${tableDescriptor}"treeHandler="customTreeHandler"/>属性descriptor的值要等于表格属性的变量var的值。
第五步:
生成表,调用类的方法获得数据。
renderTablemodel="${treeModel}"showTreeLines="true"pageLimit="10"helpContext="reportQueriesInfoAuditRptRef_help"showCount="true"/>
第六步:
怎么去获得服务器的数据,根据的对象的名称,编号等属性可以获得数据。
QuerySpecqs;
QueryResultqr=null;
WTPartdoc=null;
try{
qs=newQuerySpec(WTPart.class);
SearchConditionsc=newSearchCondition(WTPart.class,WTPart.NamedocName,false);
qs.appendSearchCondition(sc);
qr=PersistenceHelper.manager.find(qs);
}catch(QueryExceptione){
e.printStackTrace();
1.6、客制化Wizard
创建Wiard需要用用到的元素
①、Amainwizardpage–定义wizard的所有的子步骤。
wizardbuttonList="DefaultWizardButtons"helpSelectorKey="AssignView_help"title="staffWizard">
wizardStepaction="setFirstWizStep1"type="object"label="Fillinyourpersonalinformation"/>
wizardStepaction="setSecondWizStep1"type="object"label="checkinfomationofstaff"/>
wizard>
向导两步,第一个是选择创建对象的类型,第二个是创建对象的属性
②、Oneormorewizardsteppages–包含Wizard的所有子页面。
③、custom-actions.xml---定义wizard和所有子步骤action。
--case2-->
 升级会员
升级会员 