mininet使用教程.docx
《mininet使用教程.docx》由会员分享,可在线阅读,更多相关《mininet使用教程.docx(21页珍藏版)》请在冰豆网上搜索。

mininet使用教程
第1部分:
EverydayMininetUsage
首先是是命令语法
∙$ 这个符号代表现在处于Linux的shell交互下,需要使用的是Linux命令
∙mininet> 这个符号表示现在处于Mininet交互下,需要使用的是Mininet的命令
∙# 这个符号表示的是现在处于Linux的root权限下。
以上相应的状态下下属于对应的命令,就能够得到正常的输出。
需要注意的是mininet>的情况比较特殊,需要使用minient的命令来进行交互。
DisplayStartupOptions
我们首先来启动Mininet。
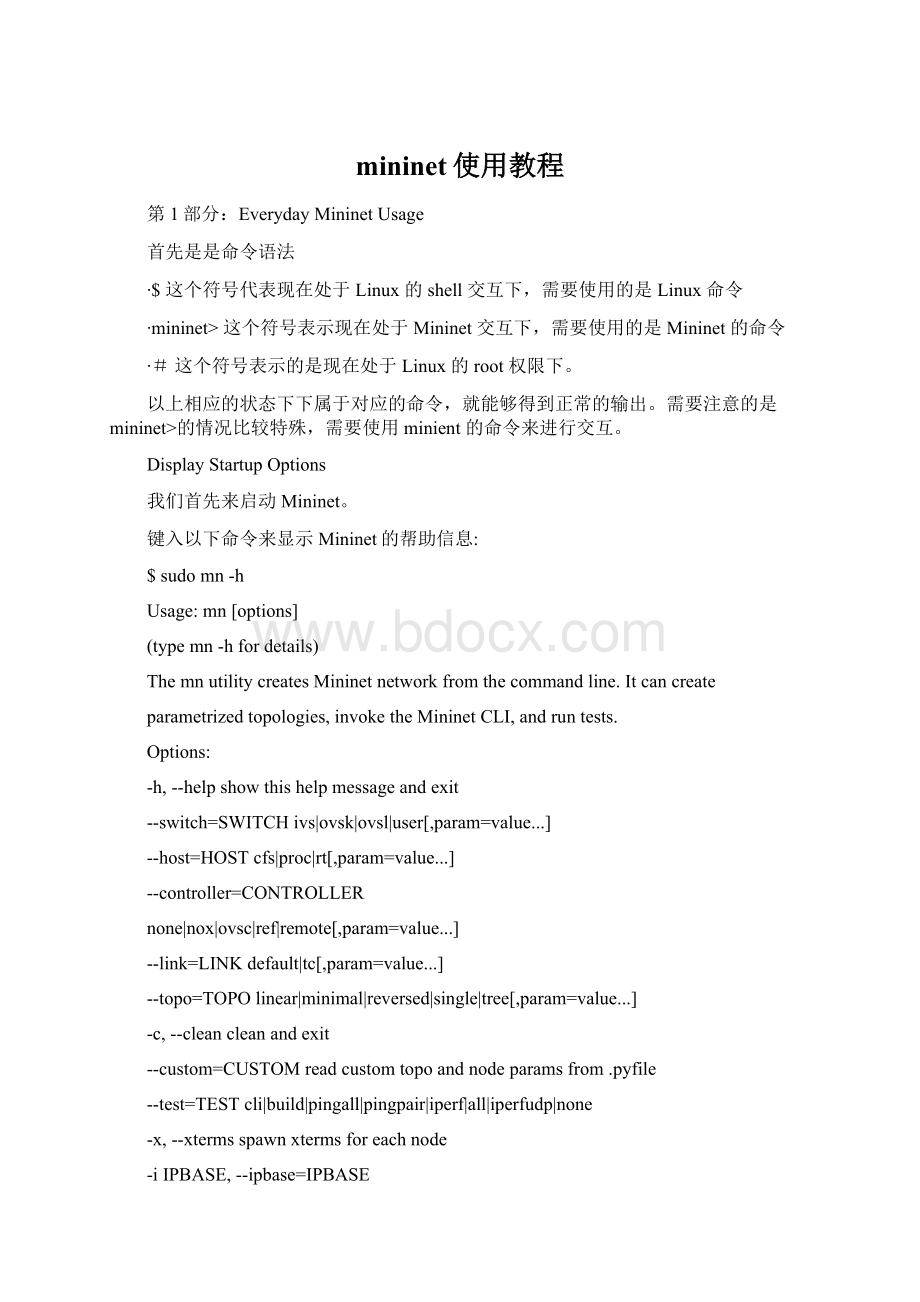
键入以下命令来显示Mininet的帮助信息:
$sudomn-h
Usage:
mn[options]
(typemn-hfordetails)
ThemnutilitycreatesMininetnetworkfromthecommandline.Itcancreate
parametrizedtopologies,invoketheMininetCLI,andruntests.
Options:
-h,--helpshowthishelpmessageandexit
--switch=SWITCHivs|ovsk|ovsl|user[,param=value...]
--host=HOSTcfs|proc|rt[,param=value...]
--controller=CONTROLLER
none|nox|ovsc|ref|remote[,param=value...]
--link=LINKdefault|tc[,param=value...]
--topo=TOPOlinear|minimal|reversed|single|tree[,param=value...]
-c,--cleancleanandexit
--custom=CUSTOMreadcustomtopoandnodeparamsfrom.pyfile
--test=TESTcli|build|pingall|pingpair|iperf|all|iperfudp|none
-x,--xtermsspawnxtermsforeachnode
-iIPBASE,--ipbase=IPBASE
baseIPaddressforhosts
--macautomaticallysethostMACs
--arpsetall-pairsARPentries
-vVERBOSITY,--verbosity=VERBOSITY
info|warning|critical|error|debug|output
--innamespaceswandctrlinnamespace?
--listenport=LISTENPORT
baseportforpassiveswitchlistening
--nolistenportdon'tusepassivelisteningport
--pre=PRECLIscripttorunbeforetests
--post=POSTCLIscripttorunaftertests
--pinpinhoststoCPUcores(requires--hostcfsor--host
rt)
--version
如上所示,输出了mn的帮助信息。
StartWireshark
为了使用Wireshark来查看OpenFlow的控制信息,我们先打开Wireshark并让他在后台运行。
$sudowireshark&
在Wireshark的过滤选项中,输入of,然后选择Apply。
InWireshark,clickCapture,thenInterfaces,thenselectStartontheloopbackinterface(lo).
现在窗口上暂时应该没有任何OpenFlow的数据包。
注:
在MininetVM镜像中Wireshark是默认已经安装的。
如果你的系统中没有Wireshark的和OpenFlow,您可以使用Mininet的install.sh脚本,按以下步骤安装:
$cd~
$gitclone
$mininet/util/install.sh-w
如果已经安装了Wireshark,但是运行不了(e.g.你得到一个类似$DISPLAYnotset之类的错误信息,可以参考FAQ,:
设置好X11就可以正常运行GUI程序,并且使用xterm之类的终端仿真器了,后面的演示中可以用到。
InteractwithHostsandSwitches
StartaminimaltopologyandentertheCLI:
$sudomn
默认的最小拓扑结构包含有两台主机(h1,h2),还有一个OpenFlow的交换机,一个OpenFlow的控制器四台设备。
这种拓扑接口也可以使用--topo=minimal来指定。
当然我们也可以使用其他的拓扑结构,具体信息可以看 --topo的信息。
现在四个实体(h1,h2,c0,s1)都在运行着。
c0作为控制器,是可以放在虚拟机外部的。
如果没有具体的测试作为参数传递时,我们可以使用Mininet交互。
在Wireshark的窗口中,你会看到内核交换机连接到控制器。
显示MininetCLI命令:
mininet>help
Documentedcommands(typehelp):
========================================
EOFexitintfslinknoechopingpairpysourcexterm
dpctlgtermiperfnetpingallpingpairfullquittime
dumphelpiperfudpnodespingallfullpxshx
Youmayalsosendacommandtoanodeusing:
command{args}
Forexample:
mininet>h1ifconfig
TheinterpreterautomaticallysubstitutesIPaddresses
fornodenameswhenanodeisthefirstarg,socommands
like
mininet>h2pingh3
shouldwork.
Somecharacter-orientedinteractivecommandsrequire
noecho:
mininet>noechoh2vifoo.py
However,startingupanxterm/gtermisgenerallybetter:
mininet>xtermh2
显示节点:
mininet>nodes
availablenodesare:
c0h1h2s1
显示网络链接:
mininet>net
h1h1-eth0:
s1-eth1
h2h2-eth0:
s1-eth2
s1lo:
s1-eth1:
h1-eth0s1-eth2:
h2-eth0
c0
输出所有节点的信息:
mininet>dump
h1-eth0:
10.0.0.1pid=3278>
h2-eth0:
10.0.0.2pid=3279>
lo:
127.0.0.1,s1-eth1:
None,s1-eth2:
Nonepid=3282>
127.0.0.1:
6633pid=3268>
从上面的输出中,你可以看到有一台交换机和两台主机。
在Mininet的CLI中第一个字符串是设备名,那后面的命令就在该设备上执行。
例如我们想在h1设备上执行ifconfig则输入如下命令:
mininet>h1ifconfig-a
h1-eth0Linkencap:
EthernetHWaddr3e:
94:
43:
b1:
ad:
48
inetaddr:
10.0.0.1Bcast:
10.255.255.255Mask:
255.0.0.0
inet6addr:
fe80:
:
3c94:
43ff:
feb1:
ad48/64Scope:
Link
UPBROADCASTRUNNINGMULTICASTMTU:
1500Metric:
1
RXpackets:
22errors:
0dropped:
0overruns:
0frame:
0
TXpackets:
8errors:
0dropped:
0overruns:
0carrier:
0
collisions:
0txqueuelen:
1000
RXbytes:
1764(1.7KB)TXbytes:
648(648.0B)
loLinkencap:
LocalLoopback
inetaddr:
127.0.0.1Mask:
255.0.0.0
inet6addr:
:
:
1/128Scope:
Host
UPLOOPBACKRUNNINGMTU:
65536Metric:
1
RXpackets:
0errors:
0dropped:
0overruns:
0frame:
0
TXpackets:
0errors:
0dropped:
0overruns:
0carrier:
0
collisions:
0txqueuelen:
0
RXbytes:
0(0.0B)TXbytes:
0(0.0B)
上面的输出中,可以看见 h1-eth0 跟 lo两个接口,需要注意的是,在Linux系统的shell中运行ifconfig是看不到h1-eth0。
与h1-eth0相反的是,switch 默认是跑在root的网络namespace上面,所以在switch上执行命令与在Linux下的shell中是一样的。
mininet>s1ifconfig-a
eth0Linkencap:
EthernetHWaddr08:
00:
27:
98:
dc:
aa
inetaddr:
10.0.2.15Bcast:
10.0.2.255Mask:
255.255.255.0
inet6addr:
fe80:
:
a00:
27ff:
fe98:
dcaa/64Scope:
Link
UPBROADCASTRUNNINGMULTICASTMTU:
1500Metric:
1
RXpackets:
46716errors:
0dropped:
0overruns:
0frame:
0
TXpackets:
40265errors:
0dropped:
0