8结构体.docx
《8结构体.docx》由会员分享,可在线阅读,更多相关《8结构体.docx(10页珍藏版)》请在冰豆网上搜索。

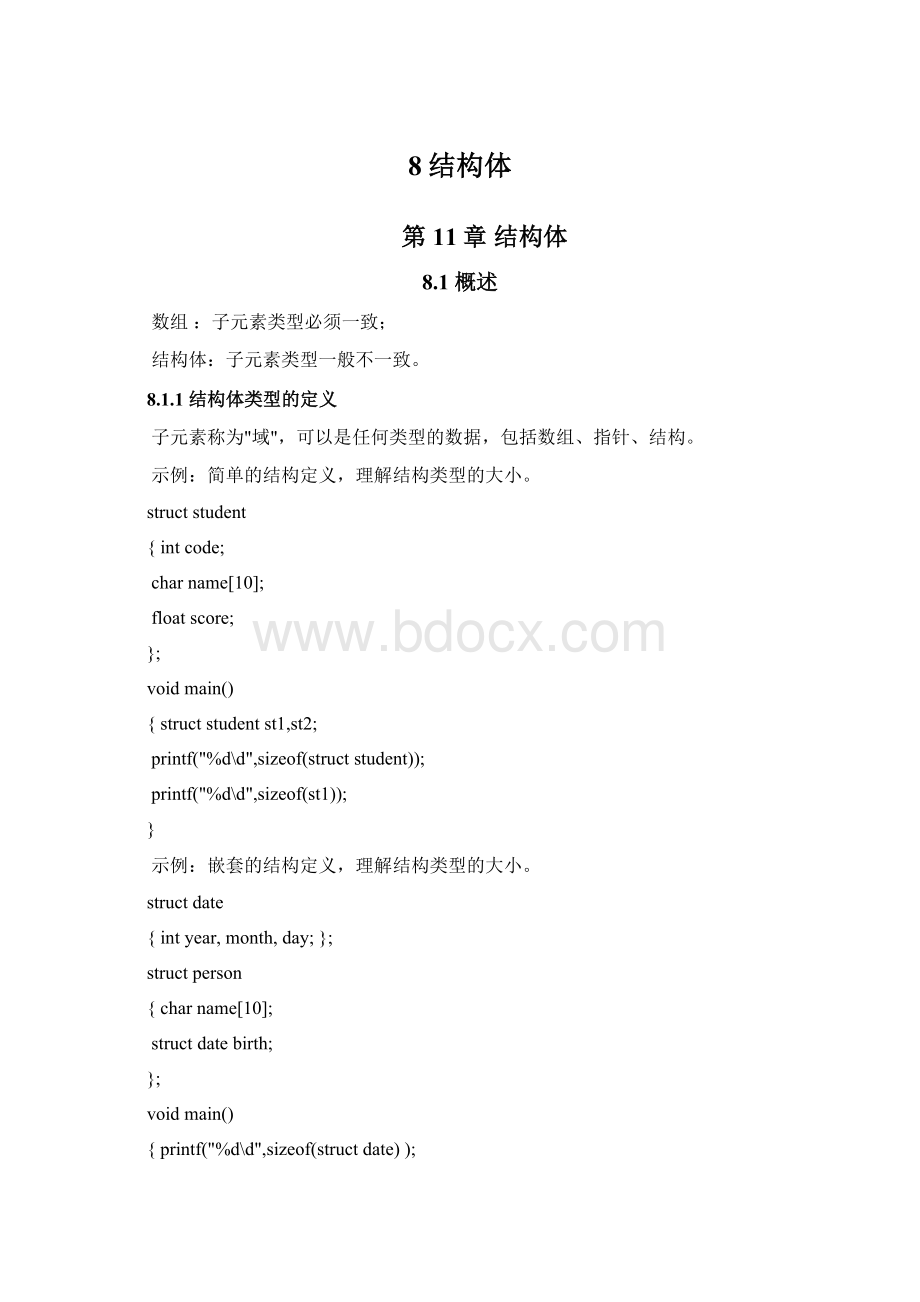
8结构体
第11章结构体
8.1概述
数组:
子元素类型必须一致;
结构体:
子元素类型一般不一致。
8.1.1结构体类型的定义
子元素称为"域",可以是任何类型的数据,包括数组、指针、结构。
示例:
简单的结构定义,理解结构类型的大小。
structstudent
{intcode;
charname[10];
floatscore;
};
voidmain()
{structstudentst1,st2;
printf("%d\d",sizeof(structstudent));
printf("%d\d",sizeof(st1));
}
示例:
嵌套的结构定义,理解结构类型的大小。
structdate
{intyear,month,day;};
structperson
{charname[10];
structdatebirth;
};
voidmain()
{printf("%d\d",sizeof(structdate));
printf("%d\d",sizeof(structperson));
}
8.1.2类型的定义位置
类型的定义位置
类型的有效范围
某函数内部
某函数内部
函数外部
全文件
示例:
voidmain()
{
structstudent
{intcode;
charname[10];
floatscore;
};
structstudentst1,st2;
}
voidf()
{
structstudentst1,st2;
}
structstudent
{intcode;
charname[10];
floatscore;
};
voidmain()
{
structstudentst1,st2;
}
voidf()
{
structstudentst1,st2;
}
错误
正确
良好的编程风格:
将所有类型定义至于程序首部,以便所有函数共享。
更良好的编程风格:
将所有类型保存为单独的*.h文件,使用#include以便更大范围的程序共享。
Usertypes.h
Test.c
structstudent
{intcode;
charname[10];
floatscore;
};
structdate
{intyear,month,day;};
structperson
{charname[10];
structdatebirth;
};
#include"Usertypes.h"
voidmain()
{
structstudentst1,st2;
}
voidf()
{
structstudentst1,st2;
}
8.1.3结构体变量的定义
在定义类型的同时,定义变量
structstudent
{.......
}st1,st2;
在定义了类型之后,定义变量
structstudentst1,st2;
利用typedef简化类型的书写:
typedefstructstudentSTUDENT;
typedefstructdateDATE;
typedefstructpersonPERSON;
8.1.4结构体变量
示例:
注意结构体变量的初始化方法;注意结构体变量中域值的操作方法。
注意只有同类型的结构变量才可以相互赋值。
#include"Usertypes.h"
voidmain()
{STUDENTst1={1,"XX",99},st2;
DATEd1={1998,9,1};
st2.code=2;st2.name="YY";st2.score=100;
st1=st2;
d1.year++;
d1=st1;/*语法错误*/
}
示例:
注意嵌套的结构变量的使用方法。
voidmain()
{structpersonp={"XXX",{2007,2,28}};
puts(p.name);p.birth.year=2008;
p.birth.month=1;p.birth.day=31;
}
8.2结构体数组的应用
8.2.1结构体数组的初始化
示例:
注意结构数组的初始化方法;结构数组变量的使用方法。
#include"Usertypes.h"
voidmain()
{STUDENTsts[3]={{1,"AA",66},{2,"BB",77}};
sts[2].code=3;
sts[2].name="CC";/*错在哪里?
*/
sts[2].score=sts[0].score+sts[1].score;
}
8.2.2结构体数组的输入/输出
#include"Usertypes.h"
voidmain()
{STUDENTsts[3];inti;
for(i=0;i<3;i++)
{scanf("%d",&sts[i].code);
scanf("%s",sts[i].name);
scanf("%f",&sts[i].score);
}
for(i=0;i<3;i++)
{printf("%d",sts[i].code);
printf("%s",sts[i].name);
printf("%f",sts[i].score);
}
}
改进版本:
voidInput(STUDENTsts[],intn);
voidOutput(STUDENTsts[],intn);
voidmain()
{STUDENTsts[3];
Input(sts,3);
Ouput(sts,3);
}
voidInput(STUDENTsts[],intn)
{inti;
for(i=0;i{scanf("%d",&sts[i].code);
scanf("%s",sts[i].name);
scanf("%f",&sts[i].score);
}
}
voidOutput(STUDENTsts[],intn)
{inti;
for(i=0;i{printf("%d",sts[i].code);
printf("%s",sts[i].name);
printf("%f",sts[i].score);
}
}
8.2.3结构体数组的查找
intsearch(STUDENTs[],intn,charname[])
voidmain()
{STUDENTsts[3]={{1,"w1",66},{2,"w2",77},{3,"w3",88}};
inti=search(sts,3,"w2");
if(i!
=-1)printf("%d\n",sts[i].score);
elseprintf("NoFind!
");
}
intsearch(STUDENTs[],intn,charname[])
{inti;
for(i=0;iif(strcmp(s[i].name,name)==0)return(i);
return(-1);
}
8.2.3结构体数组的排序
voidBubbleSort(STUDENTs[],intn);
voidmain()
{STUDENTsts[4]={{1,"w1",99},{2,"w2",77},
{3,"w3",66},{2,"w4",88},};
BubbleSort(sts,4);
Output(sts,4);
}
voidBubbleSort(STUDENTsts[],intn)
{inti,j;
STUDENTtmp;
for(i=1;i<=n-1;i++)
for(j=n-1;j>=i;j--)
if(sts[j-1].score>sts[j].score)
{tmp=x[j-1];x[j-1]=x[j];x[j]=tmp;}
}
}
8.3指向结构体的指针
STUDENT*p;
8.3.1用结构指针遍历结构数组
示例:
输出结构数组所有数据。
voidmain()
{STUDENTsts[3]={{1,"w1",66},{2,"w2",77},{3,"w3",88}};
for(p=sts;pprintf("%d,%f\n",(*p).code,(*p).score);
for(p=sts;pprintf("%d,%f\n",p->code,p->score);
}
8.3.2用结构指针作为函数参数
示例:
用结构变量作为函数参数,观察“单向值传递”的效果。
voidf(STUDENTs);
voidmain()
{STUDENTst1={1,"AAA",75.5};
f(st1);
}
voidf(STUDENTs)
{s.score+=20;strcpy(s.name,"bbb");}
示例:
用结构变量的指针作为函数参数,实现“双向传递”的效果。
voidf(STUDENT*s);
voidmain()
{STUDENTst1={1,"AAA",75.5};
f(&st1);
}
voidf(STUDENT*s)
{s->score+=20;strcpy(s->name,"bbb");}
8.4用指针处理链表
8.4.1链表概述
数据集合中,每个元素除存储自身信息外,还需存储其后继元素的信息。
结点(数据域,指针域):
链表的逻辑结构图:
链表的存储示意图:
链表的标识:
头指针(head)
8.4.2最简单链表:
将3个结点串成一个链表
仔细观察链表的内存结构、逻辑结构。
structnode
{intdata;
structnode*next;
};
typedefstructnodeNODE;
voidmain()
{NODEst1,st2,st3,*head;
st1.data=10;st2.data=10;st3.data=10;
head=&st1;st1.next=&st2;st2.next=&st3;
st3.next=NULL;
print(head);
}
voidprint(NODE*head)
{NODE*p;
for(p=head;p!
=NULL;p=p->next)
printf("%d\n",p->data);
}
8.4.3申请/释放空间的函数
申请空间
NODE*p;
p=(NODE*)malloc(sizeof(NODE));
释放空间
free(p);
8.4.4建立动态链表
NODE*Create();
voidPrint(NODE*head);
voidmain()
{NODE*head=Create();
Print(head);
}
NODE*Create();
{NODE*head=NULL,*newp,*lastp;
while
(1)
{newp=(NODE*)malloc(sizeof(NODE));
scanf("%d",&new->data);
if(newp->data==-1)break;
if(head==NULL)head=lastp=newp;
else{lastp->next=newp;lastp=newp;}
}
lastp->next=NULL;
return(head);
}
8.4.5查找结点
NODE*Search(NODE*head,intdata)
{NODE*p;
for(p=head;p!
=NULL;p=p->next)
if(p->data==data)return(p);
return(NULL);
}
8.4.6删除结点
删除值为data的结点。
NODE*Delete(NODE*head,intdata)
{NODE*p,*prev;
if(head==NULL)return(NULL);
if(head->data==data)
{p=head;head=head->next;
free(p);return(head);
}
for(prev=head,p=head->next;p;prev=p,p=p->next)
if(p->data==data)break;
if(p){prev->next=p;free(p);}
return(head);
}
8.4.7插入结点
在链表首结点之前,插入新结点。
NODE*Insert(NODE*head,intdata)
{NODE*newp;
newp=(NODE*)malloc(sizeof(NODE));
newp->data=data;
if(head==NULL)
{newp->next=NULL;return(newp);}
newp->next=head->next;head->next=newp;
return(head);
}