Brocade交换机Zone实施操作步骤.docx
《Brocade交换机Zone实施操作步骤.docx》由会员分享,可在线阅读,更多相关《Brocade交换机Zone实施操作步骤.docx(11页珍藏版)》请在冰豆网上搜索。
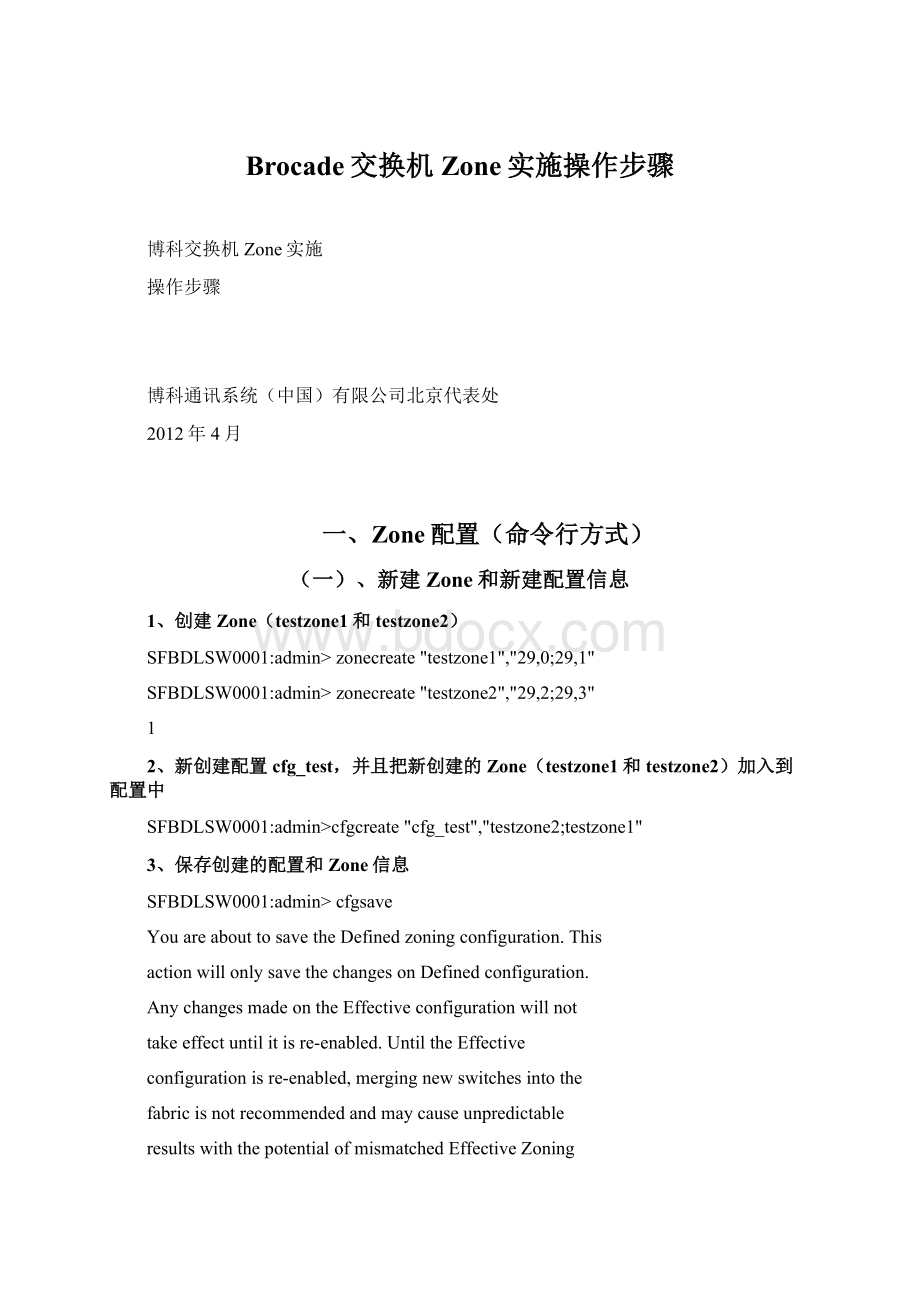
Brocade交换机Zone实施操作步骤
博科交换机Zone实施
操作步骤
博科通讯系统(中国)有限公司北京代表处
2012年4月
一、Zone配置(命令行方式)
(一)、新建Zone和新建配置信息
1、创建Zone(testzone1和testzone2)
SFBDLSW0001:
admin>zonecreate"testzone1","29,0;29,1"
SFBDLSW0001:
admin>zonecreate"testzone2","29,2;29,3"
1
2、新创建配置cfg_test,并且把新创建的Zone(testzone1和testzone2)加入到配置中
SFBDLSW0001:
admin>cfgcreate"cfg_test","testzone2;testzone1"
3、保存创建的配置和Zone信息
SFBDLSW0001:
admin>cfgsave
YouareabouttosavetheDefinedzoningconfiguration.This
actionwillonlysavethechangesonDefinedconfiguration.
AnychangesmadeontheEffectiveconfigurationwillnot
takeeffectuntilitisre-enabled.UntiltheEffective
configurationisre-enabled,mergingnewswitchesintothe
fabricisnotrecommendedandmaycauseunpredictable
resultswiththepotentialofmismatchedEffectiveZoning
configurations.
DoyouwanttosaveDefinedzoningconfigurationonly?
(yes,y,no,n):
[no]y
Updatingflash...
(二)、激活配置信息
1、激活
SFBDLSW0001:
admin>cfgenable"cfg_test"
Youareabouttoenableanewzoningconfiguration.
Thisactionwillreplacetheoldzoningconfigurationwiththe
currentconfigurationselected.Iftheupdateincludeschanges
tooneormoretrafficisolationzones,theupdatemayresultin
localizeddisruptiontotrafficonportsassociatedwith
thetrafficisolationzonechanges
Doyouwanttoenable'cfg_test'configuration(yes,y,no,n):
[no]y
zoneconfig"cfg_test"isineffect
Updatingflash...
(三)检查创建好的Zone信息
1、SFBDLSW0001:
admin>cfgshow
Definedconfiguration:
cfg:
cfg_test
testzone2;testzone1
zone:
testzone1
29,0;29,1
zone:
testzone2
29,2;29,3
Effectiveconfiguration:
cfg:
cfg_test
zone:
testzone1
29,0
29,1
zone:
testzone2
29,2
29,3
(四)在已有的配置中新增Zone
1、创建Zone(testzone3)
SFBDLSW0001:
admin>zonecreate"testzone3","29,4;29,5"
2、把新创建的Zone(testzone3)加入到已有的配置cfg_test中
SFBDLSW0001:
admin>cfgadd"cfg_test","testzone3"
3、保存创建的配置和Zone信息
SFBDLSW0001:
admin>cfgsave
YouareabouttosavetheDefinedzoningconfiguration.This
actionwillonlysavethechangesonDefinedconfiguration.
AnychangesmadeontheEffectiveconfigurationwillnot
takeeffectuntilitisre-enabled.UntiltheEffective
configurationisre-enabled,mergingnewswitchesintothe
fabricisnotrecommendedandmaycauseunpredictable
resultswiththepotentialofmismatchedEffectiveZoning
configurations.
DoyouwanttosaveDefinedzoningconfigurationonly?
(yes,y,no,n):
[no]y
Updatingflash...
4、激活配置信息
SFBDLSW0001:
admin>cfgenable"cfg_test"
Youareabouttoenableanewzoningconfiguration.
Thisactionwillreplacetheoldzoningconfigurationwiththe
currentconfigurationselected.Iftheupdateincludeschanges
tooneormoretrafficisolationzones,theupdatemayresultin
localizeddisruptiontotrafficonportsassociatedwith
thetrafficisolationzonechanges
Doyouwanttoenable'cfg_test'configuration(yes,y,no,n):
[no]y
zoneconfig"cfg_test"isineffect
Updatingflash......
5、检查创建好的Zone信息
SFBDLSW0001:
admin>cfgshow
Definedconfiguration:
cfg:
cfg_test
testzone2;testzone3
zone:
testzone2
29,2;29,3
zone:
testzone3
29,4;29,5
Effectiveconfiguration:
cfg:
cfg_test
zone:
testzone1
29,0
29,1
zone:
testzone2
29,2
29,3
zone:
testzone3
29,4
29,5
二、Zone配置(WebTools方式)
1、使用IE,输入交换机IP地址,登入交换机WebTools
2、输入用户名和密码
3、进入交换机WebTools
4、点击左上角ZoneAdmin进入交换机ZoneAdministration
5、点击Zone标签,并展开Ports&AttachedDevices列
6、点击NewZone按钮,输入要新建的Zone名称
7、选择要加入新建Zone的成员(交换机端口),点击AddMember,加入到Zone成员列表中,右边Zone成员列表中将会出现新加入后成员
注:
由于firmware升级到6.1后只能看到本地交换机端口,若要添加集连的其他交换机端口,可点击下方AddOther项,手动键入domainID和portindex,中间用英文,(逗号)隔开,完成后点击OK(不支持批量添加,一次添加一个端口)。
手动添加其他交换机端口图示
8、点击ZoneConfig,选择正确的配置名称
9、选择还没有加入配置中的新建Zone,点击AddMember按钮,加入到该配置中
10、点击SaveConfig,保存配置和Zone信息
11、点击EnableConfig按钮,选择正确的配置名称,激活配置
12、点击右上角
,退出ZoneAdministration
 升级会员
升级会员 