WSN中LEACH协议源码分析.docx
《WSN中LEACH协议源码分析.docx》由会员分享,可在线阅读,更多相关《WSN中LEACH协议源码分析.docx(17页珍藏版)》请在冰豆网上搜索。

WSN中LEACH协议源码分析
WSN中LEACH协议源码分析
分析
(一)
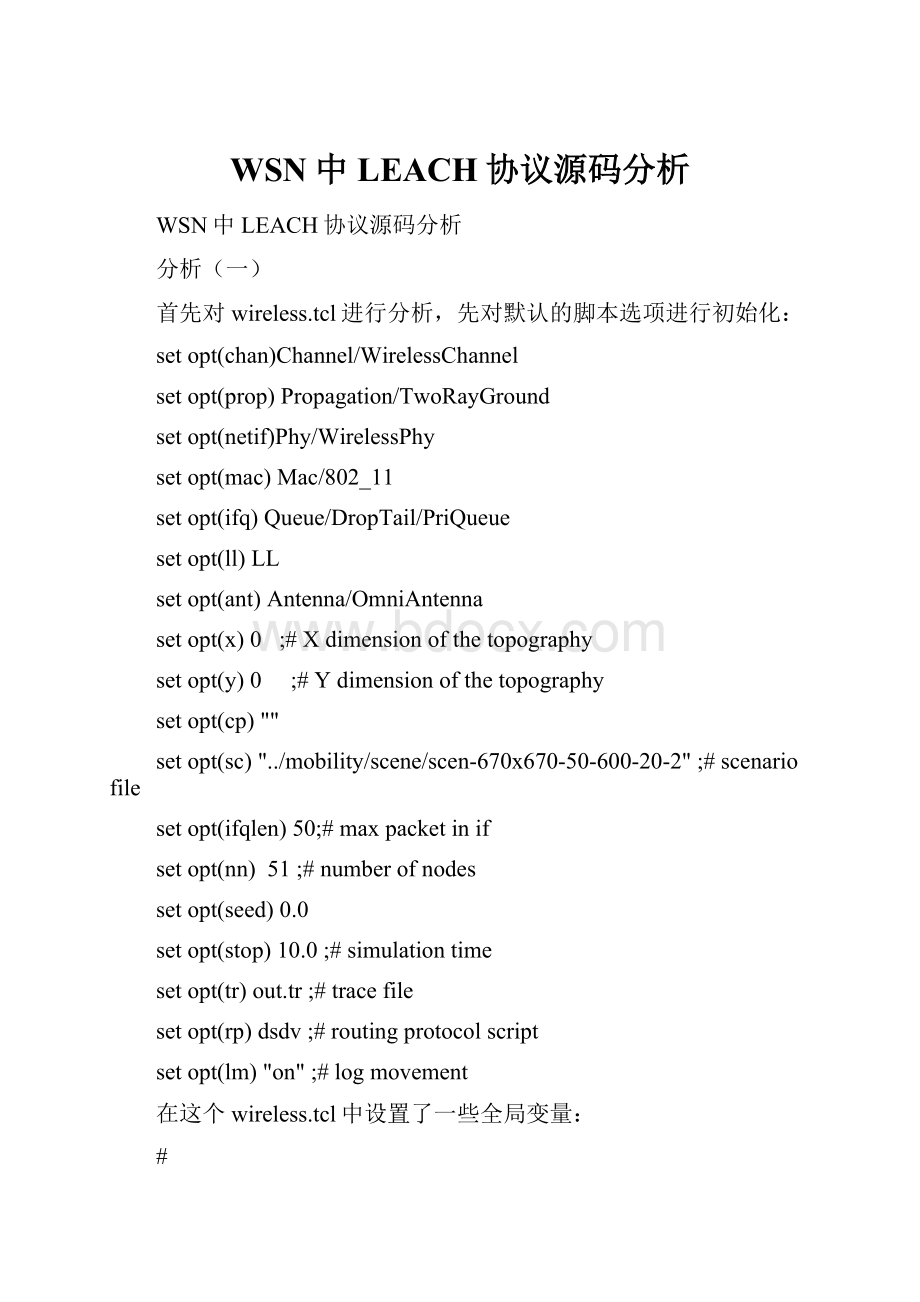
首先对wireless.tcl进行分析,先对默认的脚本选项进行初始化:
setopt(chan)Channel/WirelessChannel
setopt(prop)Propagation/TwoRayGround
setopt(netif)Phy/WirelessPhy
setopt(mac)Mac/802_11
setopt(ifq)Queue/DropTail/PriQueue
setopt(ll)LL
setopt(ant)Antenna/OmniAntenna
setopt(x)0;#Xdimensionofthetopography
setopt(y)0;#Ydimensionofthetopography
setopt(cp)""
setopt(sc)"../mobility/scene/scen-670x670-50-600-20-2";#scenariofile
setopt(ifqlen)50;#maxpacketinif
setopt(nn)51;#numberofnodes
setopt(seed)0.0
setopt(stop)10.0;#simulationtime
setopt(tr)out.tr;#tracefile
setopt(rp)dsdv;#routingprotocolscript
setopt(lm)"on";#logmovement
在这个wireless.tcl中设置了一些全局变量:
#
#InitializeGlobalVariables
#
setns_[newSimulator]
setchan[new$opt(chan)]
setprop[new$opt(prop)]
settopo[newTopography]
settracefd[open$opt(tr)w]
$topoload_flatgrid$opt(x)$opt(y)
$proptopography$topo
这些初始化将在后面的使用中用到,该文件最重要的是创建leach节点:
创建方法如下:
}elseif{[stringcompare$opt(rp)"leach"]==0}{
for{seti0}{$i<$opt(nn)}{incri}{
leach-create-mobile-node$i
}
如果路由协议是leach协议,则在Uamps.tcl中调用leach-create-mobile-node方法创建leach节点。
将在第二小节讲如何创建leach节点。
for{seti0}{$i<$opt(nn)}{incri}{
$ns_at$opt(stop).000000001"$node_($i)reset";//完成后,重置节点的应用
}
$ns_at$opt(stop).00000001"puts\"NSEXITING...\";$ns_halt"
if{$opt(sc)==""}{
puts"***NOTE:
noscenariofilespecified."
setopt(sc)"none"
}else{
puts"Loadingscenariofile..."
source$opt(sc)
puts"Loadcomplete..."
}
ns在什么时候结束simulation,并告诉ns加载sc场景文件。
最后$ns_run则ns就开始运行了。
分析
(二)
上节对wireless.tcl进行了简要的分析,接下来对Uamps.tcl脚本进行分析。
setopt(Efriss_amp)[expr[expr1.1*$opt(RXThresh)*16*$PI*$PI]/\
[expr$opt(bw)*$opt(Gt)*$opt(Gr)*$l*$l]]
#Etwo_ray_amp=RXThresh/(RbGtGrht^2hr^2)
setopt(Etwo_ray_amp)[expr1.1*$opt(RXThresh)/\
[expr$opt(bw)*$opt(Gt)*$opt(Gr)*\
$opt(ht)*$opt(ht)*$opt(ht)*$opt(ht)]]
setopt(EXcvr)50e-9;#Energyforradiocircuitry
setopt(e_bf)5e-9;#Beamformingenergy(J/bit)
setopt(Esense)0;#Sensingenergy(J/bit)
setopt(thresh_energy)0.00;#Thresholdforpoweradaptation
setopt(Pidle)0;#Idlepower(W)
setopt(Psleep)0;#Sleeppower(W)
setinitialized0
setrng_[newRNG]#用于产生随机数
首先往opt数组里面添加一些变量,并对这些变量进行初化。
opt(Psleep),opt(Pidle),opt(thresh_energy)在ns-leach.tcl中使用到,这个是计算单位时间空闲所消耗的能量和休眠所消耗的能量。
这个脚本主要是创建leach节点:
if{$initialized==0}{
#removeoldtrace
sens_init
setinitialized1
}
#Removeoldtracefiles.
catch"evalexecrm[glob-nocomplain$opt(dirname)/TDMAschedule.*.txt]"
catch"execrm$opt(dirname)/$opt(filename).energy"
catch"execrm$opt(dirname)/$opt(filename).data"
catch"execrm$opt(dirname)/$opt(filename).alive"
catch"execrm$opt(dirname)/startup.energy"
catch"execrm$opt(dirname)/init.energy"
如果没有初始化过,则将以前的跟踪文件删除,接着回到创建leach的函数中,创建节点:
if{$id!
=$opt(nn_)}{
puts-nonewline"$id"
#important
setnode_($id)[newMobileNode/ResourceAwareNode]
}else{
puts"($opt(nn_)==BS)"
setnode_($id)[newMobileNode/ResourceAwareNode$BS_NODE]
}
如果不是簇头节点则将$opt(nn_)-1个节点设置为一般节点,将$opt(nn_)设置为BS节点。
newMobileNode/ResourceAwareNode函数是在ns-ranode.tcl中。
分析完这个我们接下来分析newMobileNode/ResourceAwareNode这个函数。
setnode$node_($id)
if{$id!
=$opt(nn_)}{
#Setinitialnodeenergy.
if{$opt(eq_energy)==1}{
$nodeset-energy$opt(init_energy)$opt(thresh_energy)
}else{
由于eq-energy在leach-test中给定,将eq-energy=1;则每个节点都会对能量进行初始化,设置节点的初始能量和门槛能量(个人理解,死亡能量)。
sethigh_e_nodes[list9719128782283553472]
if{[lsearch$high_e_nodes$id]==-1}{
setE2
}else{
setE200
}
$nodeset-energy$E$opt(thresh_energy)
setinitf[open"$opt(dirname)/init.energy"a]
puts$initf"$id\t$E"
close$initf
将不属于list中的能量初始化能量设置为2,将属于list中的能量设置为200.并将初始化能量写到init.energy中,将节点id和节点初始能量写进去。
else{
#Basestationhasaninfiniteamountofenergy.
$nodeset-energy50000$opt(thresh_energy)
}
节点为簇头节点,则将节点的初始化能量设置为50000,能量无限。
到此为止,创建节点完成并将每个节点的能量初始化完成。
下一节将分析ns-ranode.tcl脚本。
区分普通节点和簇头节点的不同。
接下来是配置节点信道和跟踪文件:
$ns_at0.0"$node_($id)start-app"ns在0的时候启动应用,应用在ns-ranode.tcl中分析。
分析(三)
对前面两个脚本进行分析后,已经创建好节点和设置好节点的初始能量,将opt(nn_)-1个节点设置为普通节点,而将opt(nn_)设置为bs。
现在对ns-ranode.tcl进行分析。
好了我们现在就开始分析这个脚本。
ClassMobileNode/ResourceAwareNode-superclassNode/MobileNode
MobileNode/ResourceAwareNodeinstprocinitargs
setbs_node[lindex$args0]
eval$selfnext[lreplace$args00]
args由参数传递进来,若节点为簇头节点则bs_node=1,调用父类初始化函数。
setResourceManager_[newResourceManager]
$ResourceManager_Register[newResource/NeighborResource]
setenergy[newResource/Energy]
$ResourceManager_Register$energy
ResourceManager在ns-resouce-manager.tcl中定义的。
Resource/NeighborResource在ns-neighbor-resource中对能量进行管理。
#Createanewagentandattachittothenode
if{$bs_node==1}{
setagent[newAgent/BSAgent]
}else{
setagent[newAgent/RCAgent]
}
setrca_agent_$agent
普通节点的应用为RCAgent,BS的应用为BSAGgent。
并将应用attch到node上。
下面两段看不明白,但是这两段不影响看程序。
sethaslist[find_haslist[$selfid]]
if{$bs_node==1}{
setrca[new$opt(bsapp)]
}else{
setrca[new$opt(rcapp)$opt(mtype)$wantslist$haslist]
}
$ns_attach-agent$self$agent
$rcaattach-agent$agent
setrca_app_$rca
将bs节点的应用设置为bsapp,普通节点的应用设置为rcaapp,并将节点的服务设置为不同的服务。
bsapp在ns-app.tcl中。
$opt(rcapp)定义在leach.tcl中,opt(mtype)定义在leach.tcl中。
setopt(rcapp)"Application/LEACH";#Applicationtype
setopt(ra_adv)[TxTime[expr$opt(hdr_size)+4]]
;#Totaltime(s)forCHADVs
;#Assumemax4(nn*%)CHs
setopt(ra_adv_total)[expr$opt(ra_adv)*($opt(num_clusters)*4+1)]
;#RATime(s)fornodes'joinreqs
setopt(ra_join)[expr0.01*$opt(nn_)]
;#Buffertimeforjoinreqxmittal
setopt(ra_delay)[TxTime[expr$opt(hdr_size)+4]]
;#Maximumtimerequiredtotransmit
;#aschedule(nnodesin1cluster)
setopt(xmit_sch)[expr0.005+[TxTime[expr$opt(nn_)*4+$opt(hdr_size)]]]
;#Overheadtimeforclusterset-up
setopt(start_xmit)[expr$opt(ra_adv_total)+$opt(ra_join)+$opt(xmit_sch)]
一般节点的应用为Application/LEACH,最终sink节点的应用为Application/BSApp。
通过前3次的分析得出,在分析1中定义变量,在分析2中创建leach节点,在分析3中将节点的应用绑定在节点上。
下面将分析leach的主要协议ns-leach.tcl脚本。
分析(四)
完成前面3个脚本的分析,最后进行ns-leach.tcl脚本的分析.首先我们看下这个脚本要使用的有哪些功能.
Application/LEACHinstprocinitargs{}对leach进行初始化,即构造函数。
下面是leach的一些方法
Application/LEACHinstprocstart{}{}
Application/LEACHinstprocgetRandomNumber{llimulim}{}得到随机数
Application/LEACHinstprocnode{}{}
Application/LEACHinstprocnodeID{}{}
Application/LEACHinstprocmac{}{}
Application/LEACHinstprocgetX{}{}
Application/LEACHinstprocgetY{}{}
Application/LEACHinstprocgetER{}{}
Application/LEACHinstprocGoToSleep{}{}节点进行休眠
Application/LEACHinstprocWakeUp{}{}节点醒来
Application/LEACHinstprocsetCodecode{}{}
Application/LEACHinstproccheckAlive{}{}节点是否存活
Application/LEACHinstprocisClusterHead?
{}{}判断是否是簇头节点
Application/LEACHinstprochasbeenClusterHead?
{}{}判断是否成为过簇头节点
Application/LEACHinstprochasnotbeenClusterHead{}{}hasbeench=0不是簇头节点
Application/LEACHinstprocsetClusterHead{}{}设置为簇头节点
Application/LEACHinstprocunsetClusterHead{}{}设置为非簇头节点
Application/LEACHinstprocdecideClusterHead{}{}决定簇头节点,非常重要
Application/LEACHinstprocadvertiseClusterHead{}{}广播簇头节点
Application/LEACHinstprocfindBestCluster{}{}找到最佳簇
Application/LEACHinstprocinformClusterHead{}{}通知簇头节点
Application/LEACHinstproccreateSchedule{}{}创建TDMA调度
接收功能:
Application/LEACHinstprocrecv{args}{}
Application/LEACHinstprocrecvADV_CH{msg}{}
Application/LEACHinstprocrecvJOIN_REQ{nodeID}{}
Application/LEACHinstprocrecvADV_SCH{order}{}
Application/LEACHinstprocrecvDATA{msg}{}
发送功能:
Application/LEACHinstprocsendData{}{}
Application/LEACHinstprocsend{mac_dstlink_dsttypemsgdata_sizedistcode}{}
Application/LEACHinstprocsend_now{mac_dstlink_dsttypemsgdata_sizedistcode}{}
Application/LEACHinstprocSendDataToBS{}{}
Application/LEACHinstprocSendMyDataToBS{}{}
分析(五)
由leach分析三可知,一般节点的应用为Application/LEACH。
则现在就是如何选择簇头节点和设置门槛值。
我们接下来分析leach分析4中红色的方法。
在leach分析3中创建一个Application/LEACH对象则就会自动调用start方法。
Application/LEACHinstprocstart{}{
[$selfmac]setnode_num_[$selfnodeID]
$selfdecideClusterHead
$selfcheckAlive
}
在这个方法中会调用decideClusterHead和checkAlive方法。
Application/LEACHinstprocGoToSleep{}{
globaloptns_
$selfinstvarbegin_idle_begin_sleep_
[[$selfnode]setnetif_(0)]setsleep_1
#Ifnodehasbeenawake,removeidleenergy(e.g.,theamountofenergy
#dissipatedwhilethenodeisintheidlestate).Otherwise,thenode
#hasbeenasleepandmustremovesleepenergy(e.g.,theamountof
#energydissipatedwhilethenodeisinthesleepstate).
if{$begin_idle_>$begin_sleep_}{
setidle_energy[expr$opt(Pidle)*[expr[$ns_now]-$begin_idle_]]
[$selfgetER]remove$idle_energy
}else{
setsleep_energy[expr$opt(Psleep)*[expr[$ns_now]-$begin_sleep_]]
[$selfgetER]remove$sleep_energy
}
setbegin_sleep_[$ns_now]
setbegin_idle_0
}
分析(六)
在start中调用下面这个方法。
Application/LEACHinstprocdecideClusterHead{}{
globalns_chanoptnode_
$selfinstvaralive_TDMAschedule_
$selfinstvarbegin_idle_begin_sleep_
#Checkthealivestatusofthenode.Ifthenodehasrunoutof
#energy,itnolongerfunctionsinthenetwork.
setISalive[[[$selfnode]setnetif_(0)]setalive_]
if{$alive_==1}{
if{$ISalive==0}{
puts"Node[$selfnodeID]isDEAD!
!
!
!
"
$chanremoveif[[$selfnode]setnetif_(0)]
setalive_0
setopt(nn_)[expr$opt(nn_)-1]
setISalive[[[$selfnode]setnetif_(0)]setalive_]#从网络接口netif中查看当前节点状况
如果节点存活,但是节点能量耗光,则$chanremoveif[[$selfnode]setnetif_(0)]将节点信道中移出,并将节点设置为死亡。
节点的总数目减少一个。
if{$opt(eq_energy)==1}{
#
#Pi(t)=k/(