邪恶之城Sinister City图文攻略Word下载.docx
《邪恶之城Sinister City图文攻略Word下载.docx》由会员分享,可在线阅读,更多相关《邪恶之城Sinister City图文攻略Word下载.docx(65页珍藏版)》请在冰豆网上搜索。
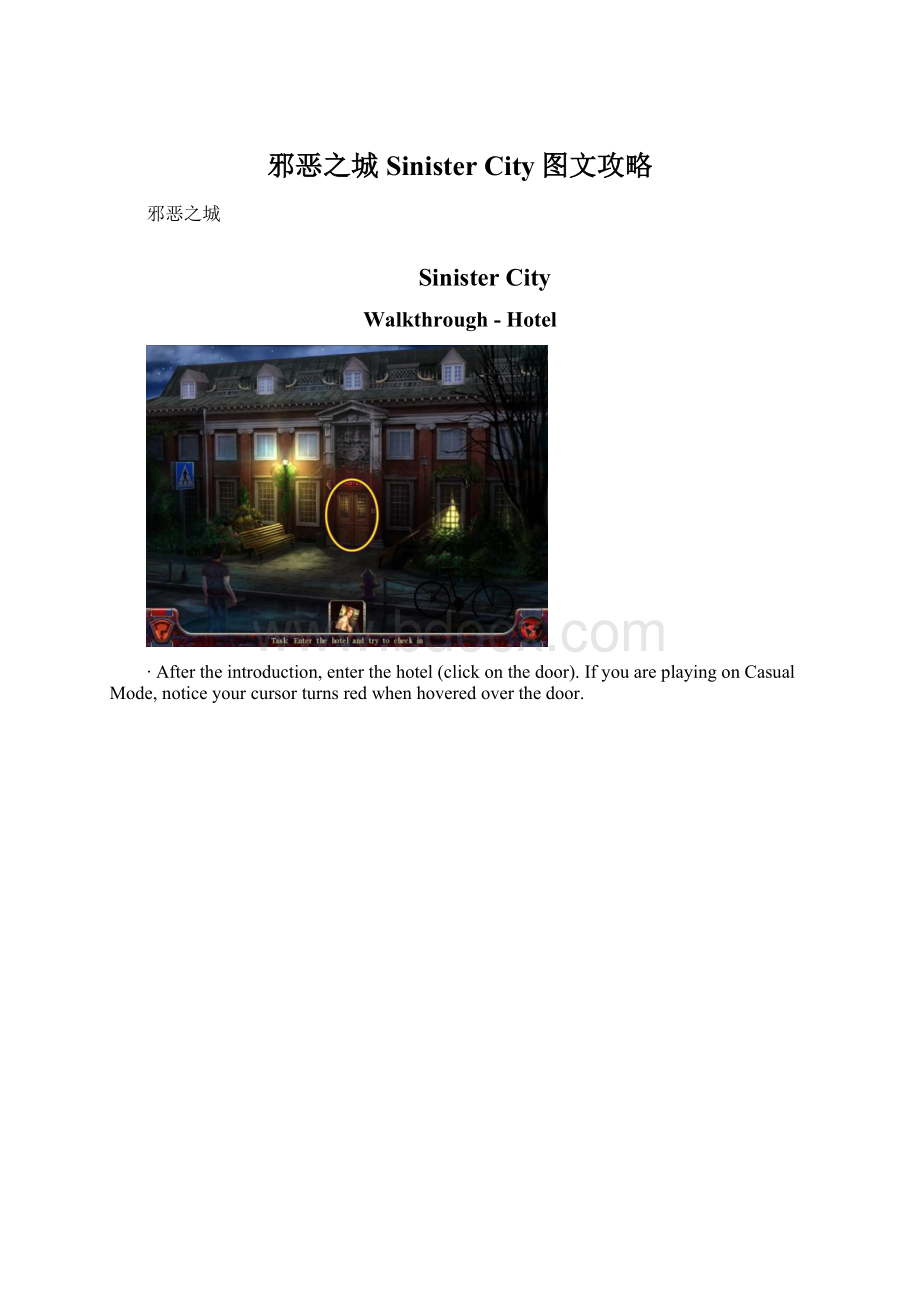
∙Findtheremainingfourkeys.Onceyouarefinished,clickontheBacktab.Givethekeystothedeskclerk.
∙Givethephototothedeskclerk.Afterthedialogue,youfollowtheclerkintoanotherroom.
∙Clickontheboxintherighthandcorner.
∙Taketheonediskandonecrystal.ClickontheBacktab.Gothroughthedoorontheright(indicatedbyarrowinscreenshotabove).
∙Clickonthecabinet.
∙Takethetwodisksandthethreecrystals.ClickontheBacktab.Clickthesuitcase.
∙Taketheonediskandonecrystal.ClickontheBacktab.Leavetheroom(doorwayontheleft).
∙Fromtheinventory,takethedisksandcrystalsandputthemonthehypnosismachine.
∙Mini-puzzle:
∙Matchthewirecolours.Startingattheendofawirespindle,tracethelongwiretotheendnode.Matchittothenodeontheotherside.TheHintbuttongivesinstructionstosolvethepuzzle.Afullsolutioncannotbegivenasthispuzzleisdifferentwitheachplay.
∙Afterthedialogue,youchangescenes.
∙Clickontheladdertostartanewsearchforladderrungs.Goupthepath(right).
∙Clickontheclock(indicatedbyastar).Thistriggersasearchforclockhandsandfigures.Clickonthewindmill.
∙Takethethreeladderrungs,fourfiguresandoneclockhand.ClickontheBacktab.Clickontheholeinthetree(leftofclock).
∙Takethetwoladderrungsandfivefigures.ClickontheBacktab.Leavethescenebygoingthroughthedoorwayontheleft.
∙Puttheladderrungsontheladder(indicatedbyarectangle).
∙Taketheclockhandandfourfigures.ClickontheBacktab.Goupthepath(right).
∙Puttheclockhandsandthefiguresontheclock.
Position(clickanddrag)theclockpiecesontheclock.Theshadowsofthemissingpiecesareontheclock.Startwiththegearsandthenplacetheotherpieces.
∙Thescreenshotaboveliststhelocationsinwhichtoplacetheobjects.Youdon’tneedtofollowtheorderlisted,justbesuretoplacethegearsfirst.Matcheachnumberedpiecetoitsnumberedlocation.Thecompletedclocklookslikethescreenshotbelow:
∙Watchthecutscene.
∙Clickonthewindmill.
∙Takethefivemirrorshardsandonekey.ClickontheBacktab.Clickontheholeinthetree(leftofclock).
∙Takethefourmirrorshardsandtwokeys.ClickontheBacktab.Leavethescenebygoingthroughthedoorwayontheleft.Clickontheladder.
∙Takethefourmirrorshardsandtwokeys.ClickontheBacktab.
∙Firstplacethekeysonthelock,thenplacethemirrorshardsonthebrokenmirror.
Jigsawpuzzle.Clickanddragthemirrorshardstocompletethemirror.
∙Thecompletedpictureisbelow:
∙Leavetheroom(leftdoorway).Clickonthehotelclerk.
RecreateCountOrlok.
∙UsethearrowsoneithersidetoscrollthroughandfindtheproperdrawingofCountOrlok.
∙Afterthedialogue,findtheequipment.
∙Gothroughthedoorway.
∙Clickonthebox.
∙TaketheAspenstake,thetwospellblades,thetwoamulets,thethreeclovesofgarlicandthevialofholywater.ClickontheBacktab.Gothroughthedoor(right).
∙TakethetwoAspenstakes,thespellblade,theamuletandthethreevialsofholywater.ClickontheBacktab.Clickonthesuitcase(left).
∙TaketheAspenstake,thespellblade,thetwoamulets,thetwoclovesofgarlicandthevialofholywater.ClickontheBacktab.Gothroughthedoor(left)andoutthedoorontheleft.Chooseanyitemfromtheinventoryandgiveittothehotelclerk.
Rearrangethetoolkit.Clickanddragthevampirehuntingequipmentintoitsproperpocket(basedonthesilhouette).
∙Afterthedialogue,findthemap.
∙Goupthestairs.
∙Talktothedirector(indicatedbyastar)toinitiateasearchforhisscript.Clickonthecartattheendofthehall.
∙Takethefivepiecesofthedirector’sscript.ClickontheBacktab.Clickontheelectricalpanel(leftofdirector).
∙Takethefourpiecesofthedirector’sscript.ClickontheBacktab.
∙Givethedirector’sscripttothedirector.Afterthedialogue,enteryourroom.
∙Takethemappiecefromthewall.Clickonthedresseragainstthewall.
∙Takethethreemappieces.ClickontheBacktab.Clickthedresserbesidethebed.
∙Takethethreemappieces.ClickontheBacktab.Leavetheroom.
∙Godownthestairs.
∙Leavethehotel.
Jigsawpuzzle.Clickanddragthepiecestorecreatethemap.Clickonapiecetoactivateit.Ifyouneedtorotateit,left-clicktorotatethepiececlockwise,right-clicktorotatethepiececounter-clockwise.
Castle
∙Clickonthecrane(indicatedbyarectangle)tostartasearchforgears.Clickonthebirdinthetree(indicatedbyastar)tostartasearchforbeads.Clickonthebarrel(besidethestonepillar).Taketheleg(indicatedbyacircle).Takethethegascan(indicatedbyacircle).Useitonthebarreltothegetthefullgascan.Clickonthetreestump(indicatedbyapentagon).
∙Takethegardenclippers,threebeadsandtwogears.ClickontheBacktab.
∙Usethegardenclippersonthebush.
∙Takethethreebeadsandtwogears.ClickontheBacktab.
∙Clicktheground(indicatedbyacircle).
∙Takethefourbeadsandtwogears.ClickontheBacktab.
∙Givethebeadstothebirdinthetreetogetthegear.
∙Putthegearsonthecrane.
Position(clickanddrag)thegears.
∙Usethefullgastankonthecrane.
Position(clickanddrag)thewirepiecestoconnectallthewires.
∙Usethelegonthecrane.Clickonthecastledoor.Aftertheanimation,clickonthedooragain.
Connecttherope.Startingfromthefarleft,clickonanodetoactivetherope,thenclickonthenodenearestit.Clickonthesamenodeagainandthenbringthewiretothenearestnode.Continueuntiltheyareallconnected.
∙Gothroughthedrawbridgedoor.
∙Takethecrowbar.ClickontheBacktab.Goupthestairstothefirstdoor(indicatedbyrectangleinscreenshotabove).
∙TalktoNina.Leavetheroom.
∙Goupthestairsandenterthedoor.
∙TalktoCountOrloktoinitiatethesearchforthetruthpotioningredients.Leavetheroom.
∙Takethebatwings,twoplantroots,twocolouredvialsandtwoflowers.ClickontheBacktab.Goupthestairs.
∙Usethecrowbaronthechest.
∙Takethetwobatwings,twoplantroots,colouredvialandflower.ClickontheBacktab.Leavetheroomandclicktheareabehindthestairs.
∙Takethetwobatwings,twoplantrootsandthreeflowers.Takethehelmet,thentakethecolouredvial.ClickontheBacktab.GoupthestairstoCountOrlok’sroom.
∙Clickonthefireplace.
∙Putthehelmetinthefireplace,thenaddthebatwings,plantroots,colouredvials,andflowers.Oncecompleted,givethepotiontoCountOrlok.Afterthedialogue,leavethecastle.
PoseasanActor
∙Talktothesecurityguard.Oncebackatthehotel,enter.
∙TalktoMr.Lumiere(indicatedbyastar).Thenclickonthecabinettotheleftofthereceptiondesk.
∙Takethetripodandthekey.ClickontheBacktab.
∙Usethekeyonthechestagainstthewall(indicatedbyarectangleinthescreenshotabove).
∙Takethefilmandthecamera.ClickontheBacktab.UseanyinventoryitemonMr.Lumiere.
∙Gothroughthedoorwayandcontinuethroughtherightdoorway.
∙Takethecloak(indicatedbyarectangle).Clickonthecabinet.
∙Takethetophat.ClickontheBacktab.Clickonthesuitcase.
∙Takethevampirefangs,jacket,andtheatricalmake-up.ClickontheBacktab.ReturntothehotellobbyanduseanyinventoryitemonMr.Lumiere.Leavethehotel
TVStudio
∙GiveJohn’sactorheadshottothesecurityguard.
∙TalktotheIpkis(indicatedbyastar)toinitiateasearch.ClickonthetoolboxtotheleftofIpkis.
∙Takethethreeplugsandtwochips.ClickontheBacktab.Clickthechestonthefarrightwall.
∙Takethetwoplugsandtwochips.ClickontheBacktab.ClickthelockertotheleftofIpkis.
∙Takethethreeplugsandchip.ClickontheBacktab.
∙Useachiporplugonthegenerator.
Connectthewires.Clickonthetilestocreateacontinuousconduitofwires.
∙TalktoIpkis.
∙Clickonthelocker.
∙Takethefourplushbats.ClickontheBacktab.Clickonthetoolbox(leftofIpkis).
∙Taketheplushbat.ClickontheBacktab.Clickonthechestonthefarright.
∙Takethefourplushbats.ClickontheBacktab.GivetheplushbatstoIpkis.
∙Mini-p
 升级会员
升级会员 