JAXWebService使用总结超详细.docx
《JAXWebService使用总结超详细.docx》由会员分享,可在线阅读,更多相关《JAXWebService使用总结超详细.docx(12页珍藏版)》请在冰豆网上搜索。

JAXWebService使用总结超详细
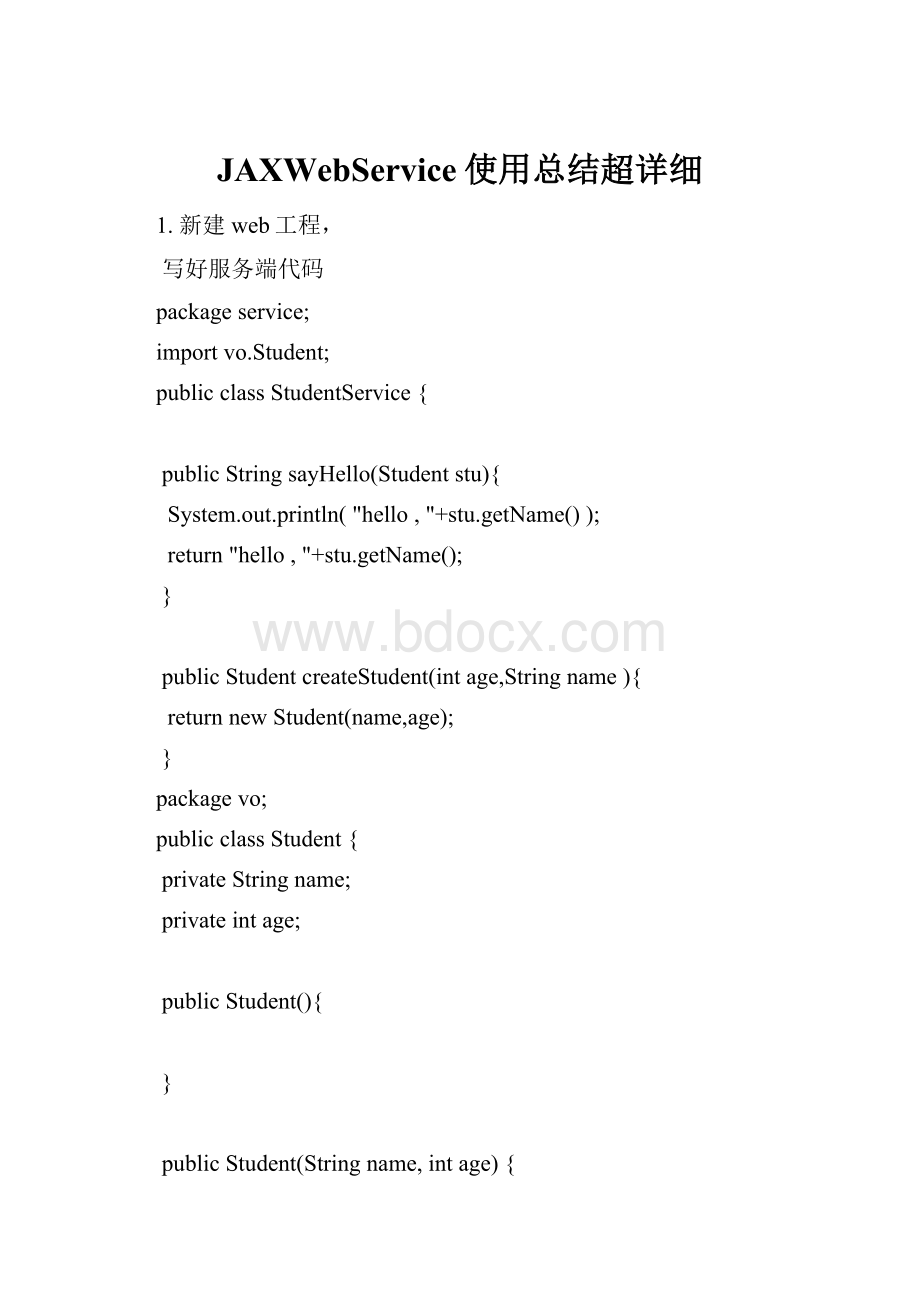
1.新建web工程,
写好服务端代码
packageservice;
importvo.Student;
publicclassStudentService{
publicStringsayHello(Studentstu){
System.out.println("hello,"+stu.getName());
return"hello,"+stu.getName();
}
publicStudentcreateStudent(intage,Stringname){
returnnewStudent(name,age);
}
packagevo;
publicclassStudent{
privateStringname;
privateintage;
publicStudent(){
}
publicStudent(Stringname,intage){
super();
this.name=name;
this.age=age;
}
publicStringgetName(){
returnname;
}
publicvoidsetName(Stringname){
this.name=name;
}
publicintgetAge(){
returnage;
}
publicvoidsetAge(intage){
this.age=age;
}
}
}
2.添加My-Eclipse中JAX-WS自带的library,操作如下图
3.使用MyEclipse生成service的代理类和配置文件:
生成的代理类如下:
packageservice;
importvo.Student;
@javax.jws.WebService(targetNamespace="",serviceName="studentService",portName="studentService")
publicclassStudentServiceDelegate{
service.StudentServicestudentService=newservice.StudentService();
publicStringsayHello(Studentstu){
returnstudentService.sayHello(stu);
}
publicStudentcreateStudent(intage,Stringname){
returnstudentService.createStudent(age,name);
}
}
生成的配如下:
Web.xml中生成配置
com.sun.xml.ws.transport.http.servlet.WSServletContextListener
JAX-WSendpoint-studentService
studentService
studentService
com.sun.xml.ws.transport.http.servlet.WSServlet
1
studentService
/studentService
生成新的配置文件sun-jaxws.xml,内容
xmlversion="1.0"?
>
xmlns="
implementation="service.StudentServiceDelegate"
url-pattern="/studentService">
4.发布服务端代码到tomcat/webapps下,启动服务,在IE地址栏输入:
http:
//localhost:
8888/jax-ws-demo/studentService,结果如下:
输入http:
//localhost:
8888/jax-ws-demo/studentService?
wsdl,结果如下:
5.使用MyEclipse生成客户端代码:
生成客户端代码结构如下图:
6.写测试代码:
packagetest;
importcom.fhpt.service.Student;
importcom.fhpt.service.StudentService;
importcom.fhpt.service.StudentServiceDelegate;
publicclassClientTest{
/**
*@paramargs
*/
publicstaticvoidmain(String[]args){
StudentServiceDelegatestuService=newStudentService().getStudentService();
Studentstu=newStudent();
stu.setAge(27);
stu.setName("pengcc");
StringreturnValue=stuService.sayHello(stu);
System.out.println(returnValue);
Studentstu2=stuService.createStudent(26,"pengcc1985");
System.out.println(stu2);
System.out.println(stu2.getAge());
System.out.println(stu2.getName());
}
}
运行结果:
hello,pengcc
com.fhpt.service.Student@467991
26
pengcc1985