web项目bbs美化版.docx
《web项目bbs美化版.docx》由会员分享,可在线阅读,更多相关《web项目bbs美化版.docx(33页珍藏版)》请在冰豆网上搜索。

web项目bbs美化版
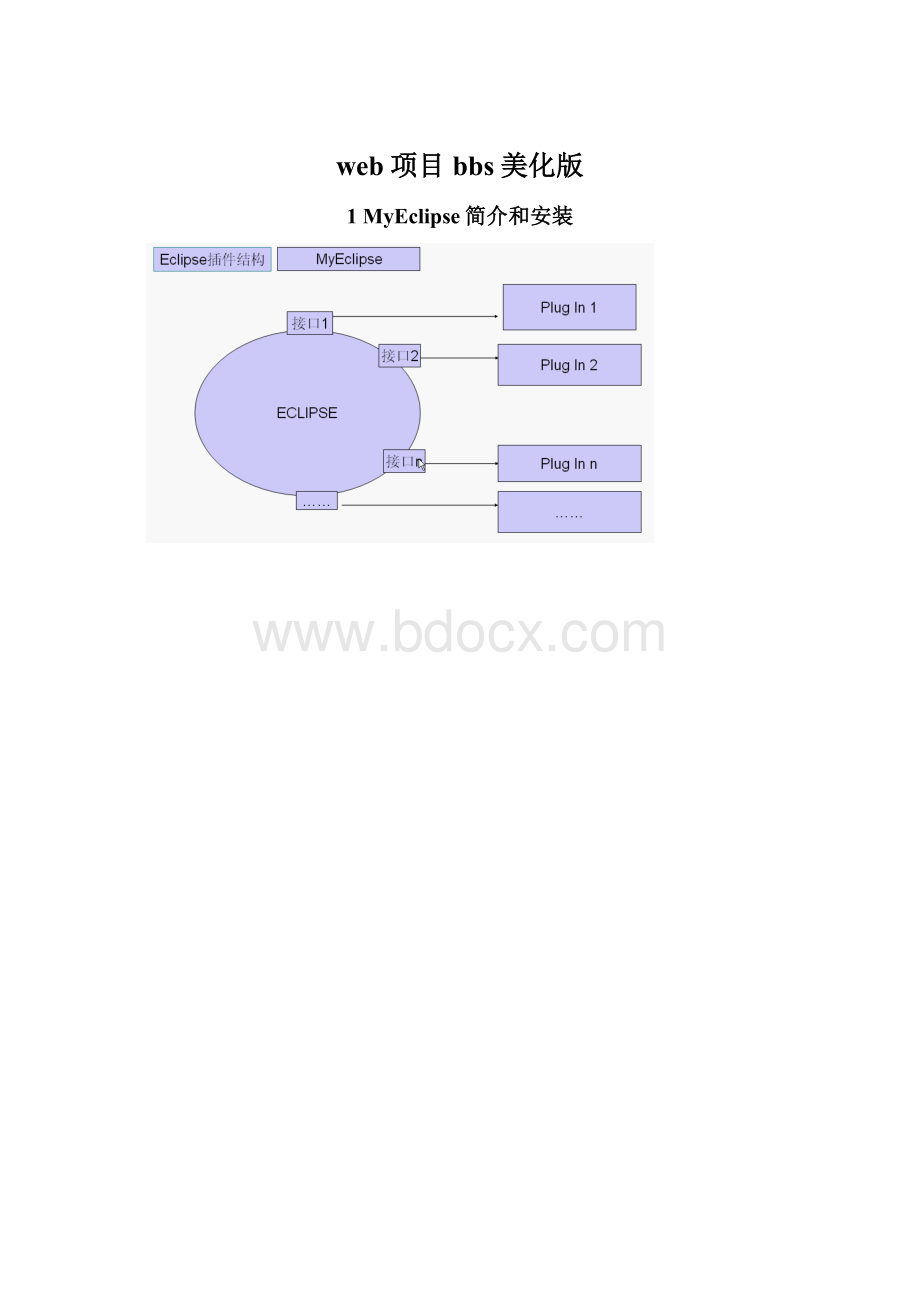
1MyEclipse简介和安装
2第一个小项目
GB18030字符集比较大!
JSP页面中:
Stringpath=request.getContextPath();//那个webapp目录
StringbasePath=request.getScheme()+":
//"+request.getServerName()+":
"+request.getServerPort()+path+"/";
//http:
//127.0.1:
8080/TestMyEclipse
">连接的基础
设置tomcat的连接:
OK!
发布网站:
启动我们配置的tomcat:
在GE中输入:
http:
//localhost:
8888/TestMyEclipse/显示如下OK!
3在MyEclipse建立Servlet
项目上右击:
新建:
servlet!
然后启动我们的tomcat选择debug模式!
然后输入网址:
http:
//localhost:
8888/TestMyEclipse/servlet/HelloServletFromMyEclipse
4读取Servlet配置的信息
配置一个servlet的信息:
也可以配置所有sevelet所有都可以使用的信息:
在servlet中读取感概配置的信息:
out.println(this.getServletConfig().getInitParameter("param"));//读取当前servlet的配置信息
out.println(this.getServletConfig().getServletContext().getInitParameter("author"));//读取全局servlet的配置信息
在jsp中读取servlet配置信息:
<%
out.println(this.getServletConfig().getInitParameter("param"));
out.println(this.getServletConfig().getServletContext().getInitParameter("author"));
%>
<%=config.getServletContext().getInitParameter("author")%>
读取结果:
不能读取servlet自己的配置信息
4连接MySQL和建立数据库
确定MySQL服务是启动的!
打开视图,新建,
在其中可以执行SQL命令!
但注意使用showcreatetablearticle来获得建表时使用的字符集,
CREATETABLE`article`(
`id`int(11)NOTNULLauto_increment,
`pid`int(11)defaultNULL,
`rootid`int(11)defaultNULL,
`title`varchar(255)defaultNULL,
`cont`text,
`pdate`datetimedefaultNULL,
`isleaf`int(11)defaultNULL,
PRIMARYKEY(`id`)
)ENGINE=InnoDBAUTO_INCREMENT=11DEFAULTCHARSET=utf8
如果是国际化UTF-8,则在使用中文时要输入:
setnamesgbk则默认会把gbk转换为UTF-8存入数据库中!
不然可能会出现乱码问题!
7MySQL编码问题
找到MySQL的安装文件中的my.ini,找到
这个指的是客服端敲的命令是什么字符集,建议改成GBK!
省的setnamesgbk
而这里的是存入数据库的字符集!
但新的字符集不会影响以前建的数据库的!
重启服务!
8静态页面的修改
通过GE直接在页面中删,之后在保存删除后的页面就可以得到一个很干净的页面了!
或者使用DW一个一个的删!
把*_files文件夹改为images,在用UE把html中的*_files替换为images,在把页面和文件夹复制到我们工程的WebRoot下!
OK
复制进去之后,在html文件中加入jsp头!
之后在把html后缀改为JSP,就OK了,但注意不能先改后缀,在加,可能会出现乱码!
9封装DB类
packagecom.syx.bbs;
importjava.sql.Connection;
importjava.sql.DriverManager;
importjava.sql.ResultSet;
importjava.sql.SQLException;
importjava.sql.Statement;
publicclassDB{
publicstaticConnectiongetConn(){
Connectionconn=null;
try{
Class.forName("com.mysql.jdbc.Driver");
conn=DriverManager.getConnection("jdbc:
mysql:
//localhost:
3306/bbsex","root","root");
}catch(ClassNotFoundExceptione){
e.printStackTrace();
}catch(SQLExceptione){
e.printStackTrace();
}
returnconn;
}
publicstaticStatementcreateStmt(Connectionconn){
Statementstmt=null;
try{
stmt=conn.createStatement();
}catch(SQLExceptione){
e.printStackTrace();
}
returnstmt;
}
publicstaticResultSetexecuteQuery(Statementstmt,Stringsql){
ResultSetrs=null;
try{
rs=stmt.executeQuery(sql);
}catch(SQLExceptione){
e.printStackTrace();
}
returnrs;
}
publicstaticvoidclose(Connectionconn){
if(conn!
=null){
try{
conn.close();
}catch(SQLExceptione){
e.printStackTrace();
}
}
}
publicstaticvoidclose(Statementstmt){
if(stmt!
=null){
try{
stmt.close();
}catch(SQLExceptione){
e.printStackTrace();
}
}
}
publicstaticvoidclose(ResultSetrs){
if(rs!
=null){
try{
rs.close();
}catch(SQLExceptione){
e.printStackTrace();
}
}
}
}
其中用到了com.mysql.jdbc.Driver类,我们必须引用jdbc-mysql的jar文件!
在web-inf的lib目录下右击import,文件系统!
,选择相应的文件,在server中
10在页面中树形显示
<%!
StringdebugStr="";
privatevoidtree(Listarticles,Connectionconn,intid,intlevel){
Stringsql="select*fromarticlewherepid="+id;
Statementstmt=DB.createStmt(conn);
ResultSetrs=DB.executeQuery(stmt,sql);
try{
while(rs.next()){
Articlearticle=newArticle();
article.setId(rs.getInt("id"));
article.setPid(rs.getInt("pid"));
article.setRootId(rs.getInt("rootid"));
article.setTitle(rs.getString("title"));
article.setLeaf(rs.getInt("isleaf")==0?
true:
false);
//article.setPDate(rs.getTimestamp("pdata"));
article.setGrade(level);
articles.add(article);
if(!
article.isLeaf()){
tree(articles,conn,article.getId(),level+1);
}
}
}catch(SQLExceptione){
}
DB.close(rs);
DB.close(stmt);
}
%>
<%
Listarticles=newArrayList();
Connectionconn=DB.createConn();
tree(articles,conn,0,0);
DB.close(conn);
out.println(debugStr);
%>
在页面中显示articles中的数据!
11详细信息的显示
<%
StringstrId=request.getParameter("id");
if(strId==null||strId.trim().equals("")){
out.println("errorid");
return;
}
intid=0;
try{
id=Integer.parseInt(strId);
}catch(NumberFormatExceptione){
out.println("erroridagain");
return;
}
Articlea=null;
Connectionconn=DB.createConn();
Statementstmt=DB.createStmt(conn);
Stringsql