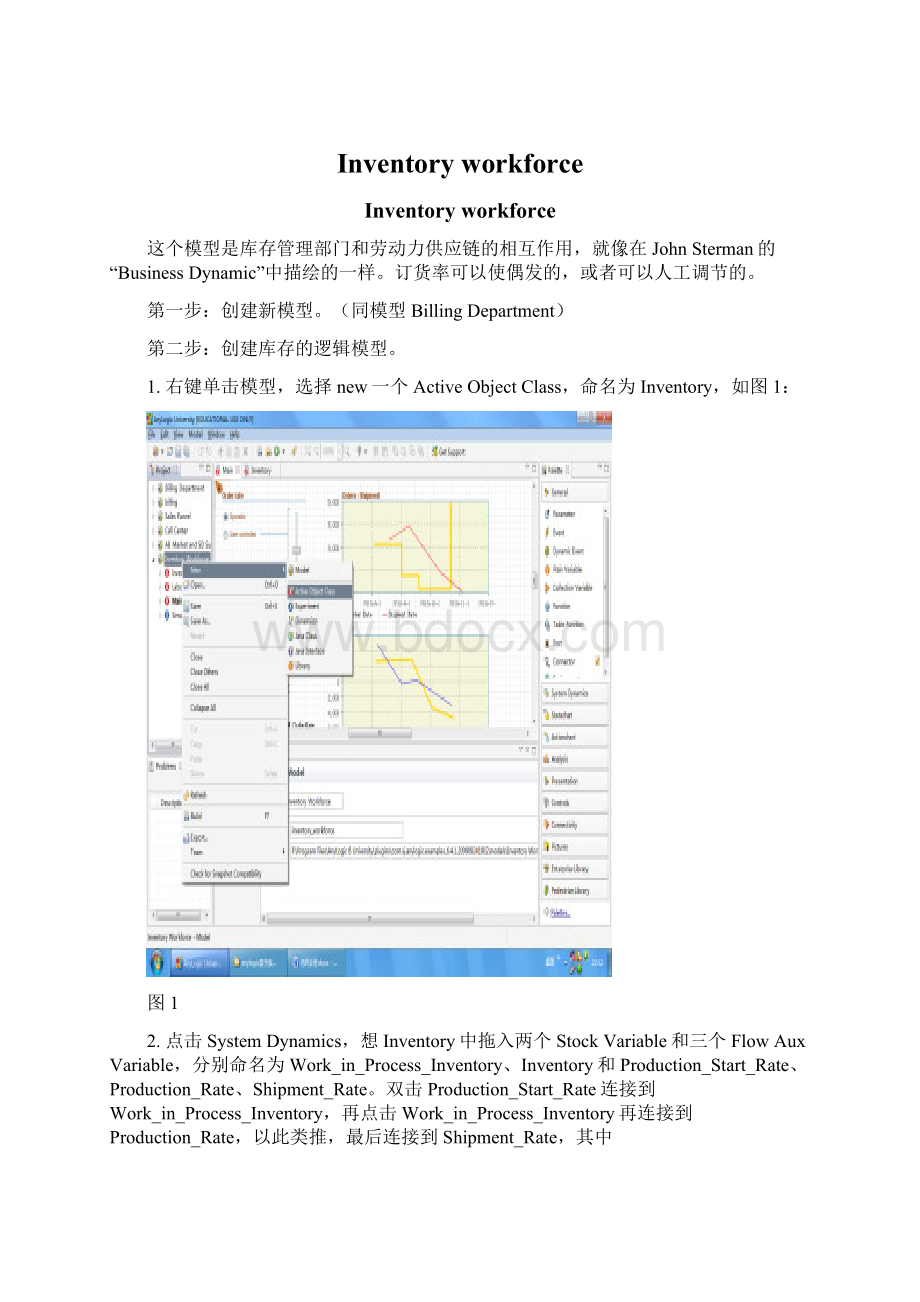
Inventory workforceWord下载.docx
《Inventory workforceWord下载.docx》由会员分享,可在线阅读,更多相关《Inventory workforceWord下载.docx(10页珍藏版)》请在冰豆网上搜索。
3.再从SystemDynamics中拖入九个FlowAuxVariable,分别命名为Switch_for_Labor_in_Production、Productivity、Workweek、WIP_Adjustment_Time、Manufacturing_Cycle_Time、Inventory_Adjustment_Time、Minimum_Order_Processing_Time、Safety_Stock_Coverage、Time_to_Average_Order_Rate,并都选中Constant。
在各自值的部分分别填写1、0.25、40、6、8、12、2、2、8。
4.从SystemDynamics拖入三个FlowAuxVariable,分别命名为Desired_Production_Start_Rate、Labor和Customer_Order_Rate,然后都选中public,Customer_Order_Rate再勾中External,分别右键单击三者,选择CreateShadow。
5.再从SystemDynamics拖入十个FlowAuxVariable,分别命名为Adjustment_for_WIP、Desired_WIP、Desired_Production、Production_Adjustment_from_Inventory、Desired_Inventory、Inventory_Coverage、Maximum_Shipment_Rate、Desired_Inventory_Coverage、Order_Fulfillment_Ratio、Desired_Shipment_Rate。
6.最后再从SystemDynamics拖入一个FlowAuxVariable和一个StockVariable。
分别命名为Change_in_Exp_Orders和Expected_Order_Rate。
在Expected_Order_Rate的Initialvalue中填写Customer_Order_Rate。
以上的各种变量之间的关系和位置图如图3:
图3
7.点击General,从中拖入一个TableFunction,命名为Table_for_Order_Fulfillment,其具体参数如图4所示:
图4
8.定义变量的值。
以上拖入的变量的值如表1所示:
表1
Production_Start_Rate
Switch_for_Labor_in_Production*Labor*Workweek*Productivity+(1-Switch_for_Labor_in_Production)*Desired_Production_Start_Rate
Production_Rate
delay3(Production_Start_Rate,Manufacturing_Cycle_Time)
Shipment_Rate
Desired_Shipment_Rate*Order_Fulfillment_Ratio
Desired_Production_Start_Rate
Desired_Production+Adjustment_for_WIP
Adjustment_for_WIP
(Desired_WIP-Work_in_Process_Inventory)/WIP_Adjustment_Time
Desired_WIP
Manufacturing_Cycle_Time*Desired_Production
Desired_Production
max(0,Expected_Order_Rate+Production_Adjustment_from_Inventory)
Production_Adjustment_from_Inventory
(Desired_Inventory-Inventory)/Inventory_Adjustment_Time
Desired_Inventory
Desired_Inventory_Coverage*Expected_Order_Rate
Inventory_Coverage
Inventory/Shipment_Rate
Maximum_Shipment_Rate
Inventory/Minimum_Order_Processing_Time
Desired_Inventory_Coverage
Minimum_Order_Processing_Time+Safety_Stock_Coverage
Order_Fulfillment_Ratio
Table_for_Order_Fulfillment(Maximum_Shipment_Rate/Desired_Shipment_Rate)
Desired_Shipment_Rate
Customer_Order_Rate
Change_in_Exp_Orders
(Customer_Order_Rate-Expected_Order_Rate)/Time_to_Average_Order_Rate
第三步:
创建劳动力逻辑模型
1.同第二步的第一小步方法一样,右键单击模型创建一个名字为Labor的ActiveObjectClass。
2.同库存的原理一样,首先从SystemDynamics里面拖入两个StockVariable,分别命名为Vacancies和Labor,初始值为Desired_Vacancies和Desired_Labor。
3.再拖入六个FlowAuxVariable分别命名为Vacancy_Cancellation_Rate、Vacancy_Creation_Rate、Vacancy_Closure_Rate和Hiring_Rate、Quit_Rate、Layoff_Rate,双击Vacancy_Creation_Rate连接到Vacancies,双击Vacancies连接到Vacancy_Closure_Rate和Vacancy_Cancellation_Rate,双击Hiring_Rate连接到Labor,双击Labor,连接到Quit_Rate和Layoff_Rate。
4.拖入两个FlowAuxVariable,分别命名为LaborExport和Desired_Production_Start_Rate,右键单击,各自选择CreateShadow,其中Desired_Production_Start_Rate再勾中External。
5.拖入9个FlowAuxVariable,分别命名为Vacancy_Cancellation_Time、Vacancy_Adjustment_Time、Average_Time_to_Fill_Vacancies、Average_Layoff_Time、Average_Duration_of_Employment、Labor_Adjustment_Time、Willingness_to_Lay_Off、Productivity和Standard_Workweek,并勾中Constant。
6.最后再拖入12个FlowAuxVariable,分别命名为Desired_Vacancy_Cancellation_Rate、Desired_Vacancy_Creation_Rate、Maximum_Vacancy_Cancellation_Rate、Adjustment_for_Vacancies、Desired_Vacancies、Expected_Time_to_Fill_Vacancies、Desired_Hiring_Rate、Maximum_Layoff_Rate、Adjustment_for_Labor、Expected_Productivity、Desired_Labor和Desired_Lay_Off_Rate。
各个变量的布局如图5:
图5
7.以上变量的值图表2所示:
表2
Vacancy_Cancellation_Rate
min(Desired_Vacancy_Cancellation_Rate,Maximum_Vacancy_Cancellation_Rate)
Vacancy_Creation_Rate
max(0,Desired_Vacancy_Creation_Rate)
Vacancy_Closure_Rate
Hiring_Rate
Vacancies/Average_Time_to_Fill_Vacancies
Quit_Rate
Labor/Average_Duration_of_Employment
Layoff_Rate
min(Desired_Lay_Off_Rate,Maximum_Layoff_Rate)
LaborExport
Labor
Vacancy_Cancellation_Time
2
Vacancy_Adjustment_Time
4
Average_Time_to_Fill_Vacancies
8
Average_Layoff_Time
Average_Duration_of_Employment
100
Labor_Adjustment_Time
13
Willingness_to_Lay_Off
Productivity
0.25
Standard_Workweek
40
Desired_Vacancy_Cancellation_Rate
max(0,-Desired_Vacancy_Creation_Rate)
Desired_Vacancy_Creation_Rate
Desired_Hiring_Rate+Adjustment_for_Vacancies
Maximum_Vacancy_Cancellation_Rate
Vacancies/Vacancy_Cancellation_Time
Adjustment_for_Vacancies
(Desired_Vacancies-Vacancies)/Vacancy_Adjustment_Time
Desired_Vacancies
max(0,Expected_Time_to_Fill_Vacancies*Desired_Hiring_Rate)
Expected_Time_to_Fill_Vacancies
Desired_Hiring_Rate
Expected_Attrition_Rate+Adjustment_for_Labor
Maximum_Layoff_Rate
Labor/Average_Layoff_Time
Adjustment_for_Labor
(Desired_Labor-Labor)/Labor_Adjustment_Time
Expected_Productivity
Desired_Labor
Desired_Production_Start_Rate/(Standard_Workweek*Expected_Productivity)
Desired_Lay_Off_Rate
Willingness_to_Lay_Off*max(0,-Desired_Hiring_Rate)
第四步:
创建界面
1.分别在Inventory和Labor里面创建如下的图形(图6和图7):
图6
图7
2.将模型下面的Inventory和Labor拖入到Main的编辑区域,则在Main区域里面将出现图6和图7的图案。
从General里面想Main中拖入一个Parameter,命名为OrderRate,Type选择double,再从SystemDynamics里面拖入一个FlowAuxVariable,命名为OrderRateLink,值填写OrderRate,从General中拖入一个Event,命名为changeOderRate,具体参数如图8所示:
图8
其中在Firstoccurrencetime(absolute)中填入10+5*uniform_discr(0,4)。
再从General里面拖入三个Connector,将OrderRateLink和inventory右侧连接起来,将inventory和labor对应的点连接起来,如图9:
图9
3.从Controls里面拖入一个RadioButtons,在RadioButtons里面写入Sporadic和Usercontrolled,再从其中拖入一个Slider,Orientation选择Vertical,勾中Link后,在其中填写OrderRate,Minimumvalue为0,Maximumvalue为20000。
4.最后从Analysis里面拖入三个TimePlot,在第一个中点击Adddateitem,Title写OrderRate,value处写OrderRate,Interpolation处选择Step。
再点击Adddataitem,Title写ShipmentRate,value处填写invenroty.Shipment_Rate,Interpolation处选择Linear。
TimeWindow填写100,Verticalscale选择Fixed,From0to20000,Displayupto250latestsamples。
同理,第二个也添加两个数据,第一个数据Title写DesiredLabor,Value为labor.Desired_Labor,第二个数据Title为Labor,Value处写labor.Labor,TimeWindow为100,VerticalScale选择Fixed,From-5000to5000。
第三个也添加两个数据,第一个数据的Title为DesiredInventory,Value写inventory.Desired_Invenroty,Interpolation选择Linear,第二个数据的Title为Inventory,value处填写invenroty.Invenroty,Interpolation处填写Linear,TimeWindow为100,VerticalScale选择Fixed,From0to1000000。
最后整个界面如图10:
图10
到目前为止关于Inventoryworkforce的模型就基本完成,运行过程中的截图如图11:
 升级会员
升级会员 