附录5如何设置交换机的端口速率双工模式.docx
《附录5如何设置交换机的端口速率双工模式.docx》由会员分享,可在线阅读,更多相关《附录5如何设置交换机的端口速率双工模式.docx(21页珍藏版)》请在冰豆网上搜索。
附录5如何设置交换机的端口速率双工模式
附录5:
如何设置交换机的端口速率、双工模式1
附录6:
如何关闭交换机的生成树协议及启用端口快速4
附录7:
如何设置路由器、交换机的组播7
附录5:
如何设置交换机的端口速率、双工模式
注:
黑体为命令,底纹为注释,斜体为举例。
因同一厂家不同型号及同一型号不同版本的IOS会有所不同,如与本文中介绍有
所不同,为正常情况,请参考厂家相关设备技术资料或联系相关技术支持。
原则:
首先配置端口的速度,然后配置双工模式,千兆端口请参考设备技术手册。
CISCO交换机
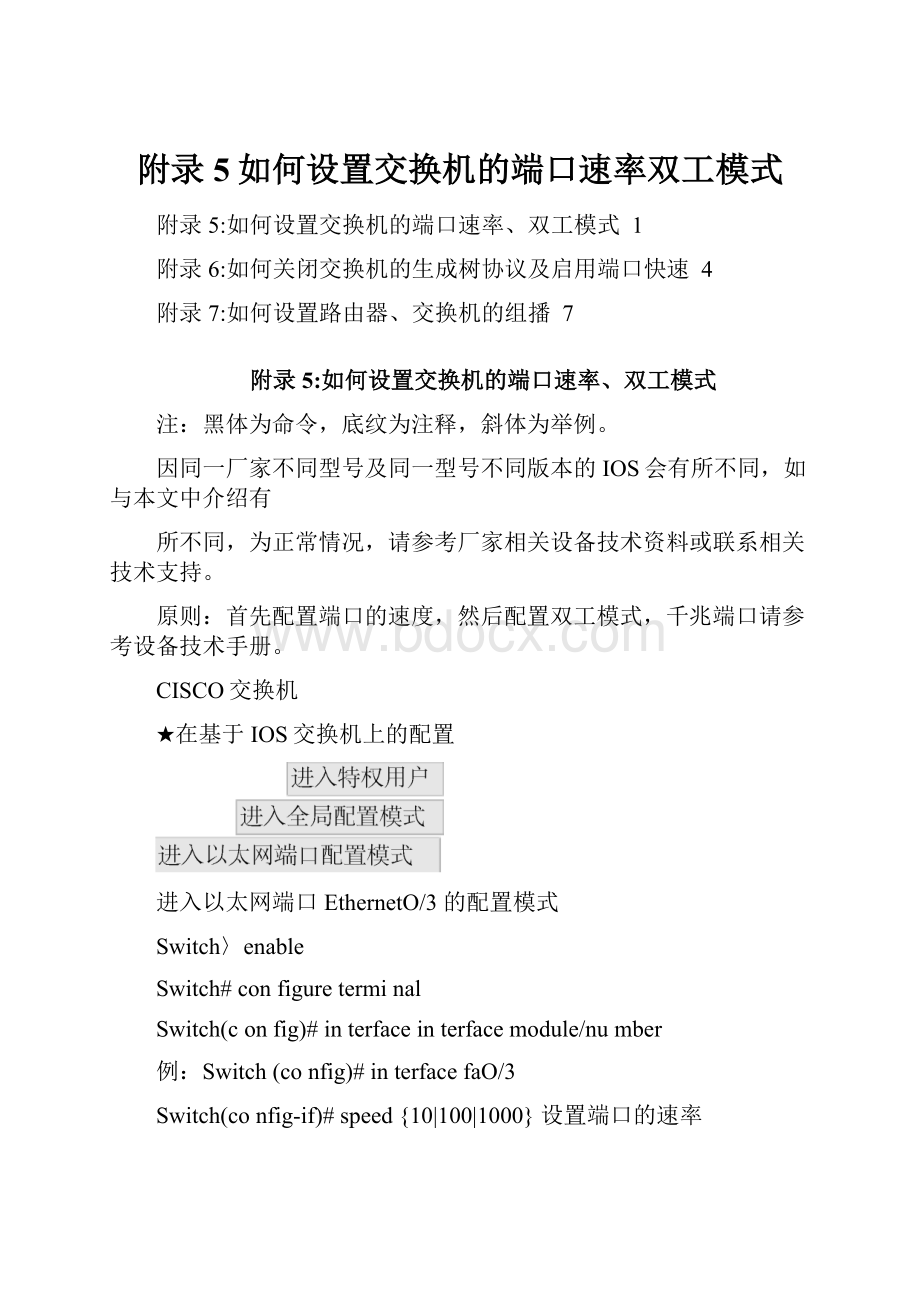
★在基于IOS交换机上的配置
进入以太网端口EthernetO/3的配置模式
Switch〉enable
Switch#configureterminal
Switch(config)#interfaceinterfacemodule/number
例:
Switch(config)#interfacefaO/3
Switch(config-if)#speed{10|100|1000}设置端口的速率
例:
Switch(config-if)#speed100将以太网端口Ethernet0/3端口速率设置为100Mbps
Switch(config-if)#duplex{full|half|auto}设置以太网端口的全双工/半双工属性
例:
Switch(config-if)#duplexfull将以太网端口Ethernet0/3端口设为全双工
Switch(config-if)#end或两次exit
Switch#copyrunning-configstartup-config
返回到特权模式下
将配置文件保存到
NVRAM中
★在基于CatOS交换机上的配置
Switch>enable
进入特权用户
Switch>(enable)setportspeedmod_num/port_num{10|100|1000|auto}设置端口的速率
例:
Switch>(enable)
setportspeed2/3100将端口2/3的速度设为100Mbps
Switch>(enable)setport
例:
Switch>(enable)
mod_num/port_num{full|half}设置端口的双工模式
setportduplex2/3full将端口2/3设为全双工
Switch〉(enable)showportmod_num/port_num查看端口配置结果
例:
Switch>(enable)showport2/3查看端口2/3的配置结果
基于CatOS的交换机输入完的命令立即存储到NVRAM中
华为交换机
Quidway>system-view进入系统视图
[Quidway]interface{interface_typeinterface_num|interface_name}
进入以太网端口配置模式例:
[Quidway]interfaceethernetO/3进入端口EthernetO/3的配置模式
[Quidway-EthernetO/3]speed{例:
[Quidway-EthernetO/3]
10|100|auto}设置端口的速率
[Quidway-EthernetO/3]
duplex{half|full
例:
[Quidway-Ethernet0/3]duplexfull
|auto}
设置以太网端口的全双工/半双工属性
将端口Ethernet0/3设置为全双工
speed100将端口EthernetO/3速率设置为100Mbps
港湾交换机
Harbour〉enable
进入配置模式
Password:
******
输入口令
关闭自适应模式on为打开
Harbour(config)#configport[|all]autooff
例:
configport24autooff
关闭端口24的自适应模式
configport3,7,9,18-22autooff
关闭端口3、7、9、18-22的自适应模式
Harbour(config)#configport[|all]speed[10|100|1000]
例:
configport20speed100将端口20速率设为100Mbps
configportallspeed100将所有端口速率设为100Mbps
设置端口速率
Harbour(config)#configport[|all]duplex[full|half]
例:
configport20duplexfull将端口20设为全双工
configportallduplexfull将所有端口设为全双工
设置端口双工模式
(half为半双工)
神州数码交换机
UserAccessVerification
Username:
admin
Password:
******
CLIsessionwiththehostisopened.ToendtheCLIsession,enter[Exit].Console#
Console#configure
输入账号、密码进入特权模式
进入全局配置模式
Console(config)#
Console(config-if)#
Console(config-if)#
Console(config-if)#
interfaceethernet1/3
noshutdown
nonegotiation
speed-duplex{1000full|100full|100half|10full|10half}
进入端口Ethernet1/3的配置模式
启用该端口
关闭自适应功能
设置端口速率和双工模式
例:
Console(config-if)#speed-duplexlOOfull
将端口ethernet1/3设为100M全双工
附录6:
如何关闭交换机的生成树协议及启用端口快速
CISCO交换机
一、关闭生成树协议
进入特权用户进入全局配置模式关闭某个vlan上的生树树将vlan1的生成树关闭将vlan1的生成树打开
★在基于IOS交换机上的配置:
Switch〉enable
Switch#configureterminal
Switch(config)#nospanning-treevlanvlan-id
例:
Switch(config)#nospanning-treevlan1
例:
Switch(config)#spanning-treevlan1
进入特权用户
关闭所有端口的生成树关闭某个vlan上的生树将vlan1的生成树关闭将vlan1的生成树打开
★在基于CatOS交换机上的配置:
Switch>enable
Switch>(enable)setspantreedisableall
Switch>(enable)setspantreedisablevlan
例:
Switch>(enable)setspantreedisable1
例:
Switch>(enable)setspantreeenable1
二、启用快速端口(PortFast为Cisco的私有技术)
注:
如果启用快速端口,就不用关闭交换机的生成树协议,快速端口只需要在接有终端的端
口启用就可以,其他端口可配可不配。
其他厂家交换机相同
进入特权用户进入全局配置模式进入以太网端口配置模式
★在基于IOS交换机上的配置:
Switch>enable
Switch#configureterminal
Switch(config)#interfaceinterfacemodule/number
Switch(config-if)#spanning-treeportfast
例:
Switch(config)#interfacefaO/3进入以太网端口EthernetO/3的配置模式
打开端口faO/3的快速端口
★在基于CatOS交换机上的配置:
Switch>enable
进入特权用户
Switch>(enable)setspantreeportfastmod_num/port_numenable|disable
打开或关闭某端口的快速端口
例:
Switch>(enable)setspantree2/3enable
打开端口2/3的快速端口
华为交换机
华为交换机缺省情况下,不运行生成树协议,如已开启,默认运行为RSTP(快速生成树协议)。
一、关闭生成树协议
1、关闭整个交换机的生成树
Quidway>system-view
[Quidway]stpdisable
2、关闭某个端口的生成树
进入系统视图关闭生成树协议
Quidway>system-view[Quidway]interface[Quidway-EthernetO/3]
二、启用边缘端口
Quidway>system-view[Quidway]interface[Quidway-EthernetO/3]
ethernetO/3
stpdisable
EdgePort(端口快速)
ethernet0/3
stpedged-portenable
进入系统视图
进入端口Ethernet0/3配置模式
关闭端口E0/3的生成树
进入系统视图
进入端口Ethernet0/3配置模式
设定端口E0/3为边缘端口
港湾交换机
港湾交换机缺省情况下,不运行生成树协议,如已开启,默认运行为RSTP(快速生成树协议)。
一、关闭生成树协议
进入配置模式输入口令关闭生成树
1、关闭整个交换机的生成树
Harbour〉enable
Password:
******
Harbour(config)#configspanning-treedisable
2、关闭某个端口的生成树
Harbour>enable进入配置模式
Password:
******输入口令
Harbour(config)#configspanning-treeport[none-stp][yes|no]设定端口的RSTP
例:
configspanning-treeport10none-stpyes将关闭指定端口10的RSTP功能
、启用边缘端口EdgePort(快速端口)
Harbour〉enablePassword:
******
Harbour(config)#configspanning-treeport[edge][yes|no]
例:
Harbour(config)#configspanning-treeport8edgeyes
进入配置模式
输入口令
|设定快速端口
设定端口8为快速端口
神州数码交换机
神州数码的交换机缺省情况下,不运行生成树协议。
1、关闭整个交换机的生成树
UserAccessVerification
Username:
admin
Password:
******
CLIsessionwiththehostisopened.
ToendtheCLIsession,enter[Exit].
Console#
Console#configure
Console(config)#nospanning-tree
2、关闭某个端口的生成树
UserAccessVerification
Username:
admin
Password:
******
CLIsessionwiththehostisopened.
ToendtheCLIsession,enter[Exit].
Console#
Console#configure
Console(config)#interfaceethernet3
Console(config-if输入账号、密码进入特权模式
进入全局配置模式
在全局模式下关闭生成树协议
输入账号、密码进入特权模式
进入全局配置模式
进入端口Ethernet1/3的配置模式
关闭端口Ethernet1/3的生成树
进入特权用户进入全局配置模式在全局启用IGMP监听
进入特权用户在全局启用IGMP监听
华为交换机
Quidway>system-view
[Quidway]igmp-snoopingenable
igmp-snoopingdisable
进入系统视图在系统视图启用IGMP监听为关闭IGMP监听
附录7:
如何设置路由器、交换机的组播
拓扑1:
只有二层交换机,没有路由器或三层交换功能
e帆教学终端e帆教学终端e帆教学终端e帆教学终端
CISCO交换机
CISCO缺省情况下基于IOS的交换机IGMP监听是在全局启动的,基于Catos的交换机中
Catalyst5000家族缺省情况下为停用,其他为启用。
★在基于IOS交换机上的配置
Switch〉enable
Switch#configureterminal
Switch(config)#ipigmpsnooping
★在基于CatOS交换机上的配置
Switch>enable
Switch>(enable)setigmpenable
港湾交换机
进入配置模式
Harbour〉enable
输入口令
启用IGMP监听
Password:
******
Harbour(config)#serviceigmpsnoopingenable
神州数码交换机
默认情况下,IGMP监听是启用状态。
UserAccessVerification
Username:
admin
Password:
******
CLIsessionwiththehostisopened.
ToendtheCLIsession,enter[Exit].
Console#
Console#configure
Console(config)#ipigmpsnooping
输入账号、密码进入特权模式
进入全局配置模式
启用IGMP监听
拓扑2:
有二层交换机,有三层交换机
三层交换机
3
3中庆服务器
4
交换机1接中庆设备
交换机2接其他设备
学校其他服务器
e帆教学终端
e帆教学终端
e帆教学终端
e帆教学终端
进入VLAN配置模式
创建VLAN10
创建VLAN11
设VTP域名为zonekey
Switch#configureterminal
Switch(config)#ipmulticast-routing
Switch(config)#interfacevlan10
Switch(config-vlan)#
Switch(config-vlan)#
Switch(config-vlan)#
ipaddress192.168.10.1255.255.255.0noshutdown
ippimdense-mode
进入vlan10的配置模式
设vlan10的IP与掩码
启用接口
在vlan10的接口启动PIM-DM协议
Switch(config-vlan)#exit
Switch(config)#interfacevlan11
Switch(config-vlan)#Switch(config-vlan)#Switch(config-vlan)#Switch(config-vlan)#
ipaddress192.168.11.1255.255.255.0noshutdown
ippimdense-mode
end
进入vlan11的配置模式
设vlan11的IP与掩码
启用接口
在vlan11的接口启动PIM-DM协议
CISCO交换机
1、三层交换机
Switch>en
Switch#configureterminal
进入特权用户进入全局配置模式
Switch#vlandata
Switch(vlan)#vlan10namezonekey
Switch(vlan)#vlan11nameother
Switch(vlan)#vtpdomainzonekey
Switch(vlan)#exit
Switch#configureterminal
Switch(config)#
interfacefa0/3
Switch(config-if)#
Switch(config-if)#
switchporttrunkencapdot1q
switchportmodetrunk
进入端口3的配置模式
设端口封装为802.1Q
将端口配置为trunk模式
Switch(config-if)#
interfacefaO/4
Switch(config-if)#
Switch(config-if)#
Switch(config-if)#
switchporttrunkencapdot1qswitchportmodetrunkend
进入端口4的配置模式
设端口封装为802.1Q
将端口配置为trunk模式
Switch#configureterminal
Switch(config)#interfacefa0/2
Switch(config-if)#
Switch(config-if)#
将端口2定义为接入端口
将端口2加入VLAN10中
switchportmodeaccess
switchportaccessvlan10
Switch(config)#interfacefaO/5
Switch(config-if)#
Switch(config-if)#
switchportmodeaccess
switchportaccessvlan11
将端口2定义为接入端口
将端口5加入VLAN11中
Switch(config-if)#exit
Switch(config)#iprouting
2、交换机1
Switch>en
Switch#configureterminal
Switch(config)#hostnameSwitch-1
Switch-1(config)#exit
Switch-1#vlandata
Switch-1(vlan)#vtpdomainzonekey
Switch-1(vlan)#vtpclient
Switch-1(vlan)#exit
进入特权用户
进入全局配置模式
设VTP域名为zonekey
设为客户端模式
Switch-1#conft
Switch-1(config)#
Switch-1(config-if)#
Switch-1(config-if)#
interfacefa0/5switchportswitchport
trunkencapdot1qmodetrunk
Switch-1(config)#
interfacerangefa0/1
Switch-1(config-if)#
Switch-1(config-if)#
Switch-1(config-if)#
switchportmodeaccess
switchportaccessvlan10end
设端口封装为802.1Q
将端口配置为trunk模式
将端口1-4定义为接入端口
将端口1-4加入VLAN10中
Switch#configureterminal
Switch(config)#ipigmpsnooping
3、交换机2
进入全局配置模式
在全局启用IGMP监听
Switch>en
Switch#configureterminal
Switch(config)#hostnameSwitch-2
Switch-2(config)#exit
进入特权用户
进入全局配置模式
Switch-2#vlandata
Switch-2(vlan)#
Switch-2(vlan)#
Switch-2(vlan)#
vtpdomainzonekey
vtpclient
exit
设VTP域名为zonekey
设为客户端模式
Switch-2#conft
Switch-2(config)#
interfacefaO/4
Switch-2(config-if)#
switchporttrunkencapdotlq
Switch-2(config-if)#
switchportmodetrunk
设端口封装为802.1Q
将端口配置为trunk模式
Switch-2(config)#
Switch-2(config-if)#
Switch-2(config-if)#
Switch-2(config-if)#
interfacerangefa0/1switchportmodeaccessswitchportaccessvlan11end
将端口1定义为接入端口
将端口1加入VLAN11中
进入全局配置模式
在全局启用IGMP监听
Switch-2#configureterminal
Switch-2(config)#i
 升级会员
升级会员 