Extjs40学习笔记大全.docx

上传人:b****6 文档编号:6080592 上传时间:2023-01-03 格式:DOCX 页数:29 大小:37.97KB
下载 相关 举报
Extjs40学习笔记大全.docx_第1页
第1页 / 共29页
Extjs40学习笔记大全.docx_第2页
第2页 / 共29页
Extjs40学习笔记大全.docx_第3页
第3页 / 共29页
Extjs40学习笔记大全.docx_第4页
第4页 / 共29页
Extjs40学习笔记大全.docx_第5页
第5页 / 共29页
点击查看更多>>
下载资源
资源描述

Extjs40学习笔记大全.docx

《Extjs40学习笔记大全.docx》由会员分享,可在线阅读,更多相关《Extjs40学习笔记大全.docx(29页珍藏版)》请在冰豆网上搜索。

Extjs40学习笔记大全.docx

Extjs40学习笔记大全

ExtJS4学习笔记

(一)---window的创建

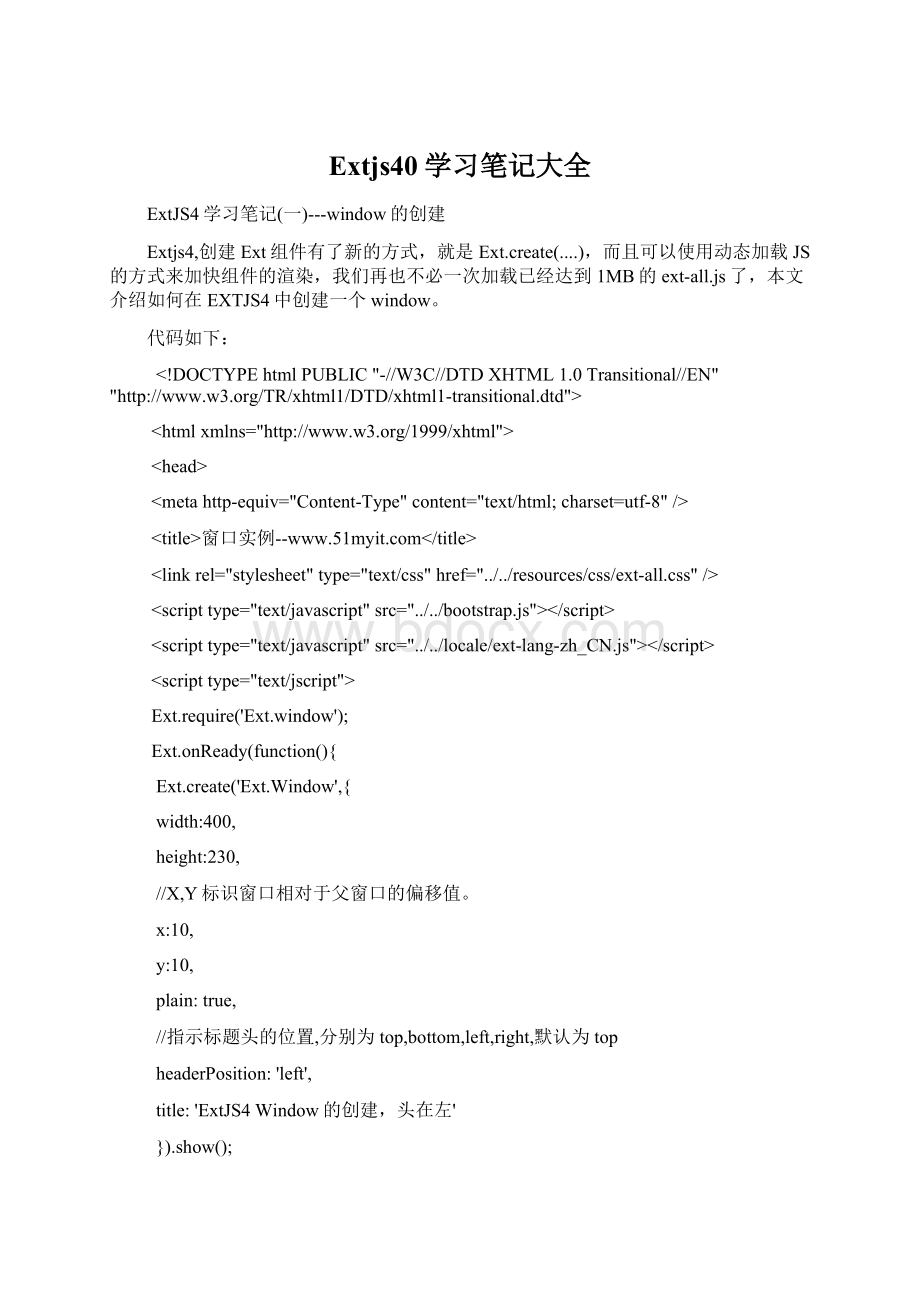
Extjs4,创建Ext组件有了新的方式,就是Ext.create(....),而且可以使用动态加载JS的方式来加快组件的渲染,我们再也不必一次加载已经达到1MB的ext-all.js了,本文介绍如何在EXTJS4中创建一个window。

代码如下:

DOCTYPEhtmlPUBLIC"-//W3C//DTDXHTML1.0Transitional//EN""http:

//www.w3.org/TR/xhtml1/DTD/xhtml1-transitional.dtd">

//www.w3.org/1999/xhtml">

窗口实例--

Ext.require('Ext.window');

Ext.onReady(function(){

Ext.create('Ext.Window',{

width:

400,

height:

230,

//X,Y标识窗口相对于父窗口的偏移值。

x:

10,

y:

10,

plain:

true,

//指示标题头的位置,分别为top,bottom,left,right,默认为top

headerPosition:

'left',

title:

'ExtJS4Window的创建,头在左'

}).show();

Ext.create('Ext.Window',{

width:

400,

height:

230,

x:

500,

y:

10,

plain:

true,

//指示标题头的位置,分别为top,bottom,left,right,默认为top

headerPosition:

'right',

title:

'ExtJS4Window的创建,头在右'

}).show();

Ext.create('Ext.Window',{

width:

400,

height:

230,

x:

10,

y:

300,

plain:

true,

//指示标题头的位置,分别为top,bottom,left,right,默认为top

headerPosition:

'bottom',

title:

'ExtJS4Window的创建,头在底'

}).show();

varwin=Ext.create('Ext.Window',{

width:

400,

height:

230,

x:

500,

y:

300,

plain:

true,

//指示标题头的位置,分别为top,bottom,left,right,默认为top

headerPosition:

'top',

title:

'ExtJS4Window的创建'

});

win.show();

});

ExtJS4学习笔记

(二)---HBox的使用

要使用HBox布局方式,首先的熟悉下一下几个主要属性:

一、align:

字符类型,指示组件在容器内的对齐方式。

有如下几种属性。

1、top(默认):

排列于容器顶端。

2、middle:

垂直居中排列于容器中。

3、stretch:

垂直排列且拉伸义填补容器高度

4、stretchmax:

垂直拉伸,并且组件以最高高度的组件为准。

二、flex:

数字类型,指示组件在容器中水平呈现方式,通俗的讲,就是指示组件在容器中的相对宽度。

三、pack:

字符类型,指示组件在容器的位置,有如下几种属性。

1、start(默认):

组件在容器左边

2、center:

组件在容器中间

3、end:

组件在容器的右边

实例代码:

一、HTML代码:

DOCTYPEhtmlPUBLIC"-//W3C//DTDXHTML1.0Transitional//EN""http:

//www.w3.org/TR/xhtml1/DTD/xhtml1-transitional.dtd">

//www.w3.org/1999/xhtml">

HBox实例--

Ext.onReady(function(){

vard1=Ext.create('Ext.Panel',{

title:

'HBox顶对齐,且组件在容器的左边',

frame:

true,

width:

600,

height:

100,

items:

[{

anchor:

'100%',

layout:

{

type:

'hbox',

padding:

'10',

pack:

'start',

align:

'top'

},

defaults:

{margins:

'0500'},

items:

[{

xtype:

'button',

text:

'Button1'

},{

xtype:

'button',

text:

'Button2'

},{

xtype:

'button',

text:

'Button3'

},{

xtype:

'button',

text:

'Button4'

}]

}]

})

d1.render('d1');

vard2=Ext.create('Ext.Panel',{

title:

'HBox垂直对齐,且组件在容器的右边',

frame:

true,

width:

600,

height:

100,

items:

[{

anchor:

'100%',

layout:

{

type:

'hbox',

padding:

'10',

align:

'middle',

pack:

'end'

},

defaults:

{margins:

'0500'},

items:

[{

xtype:

'button',

text:

'Button1'

},{

xtype:

'button',

text:

'Button2'

},{

xtype:

'button',

text:

'Button3'

},{

xtype:

'button',

text:

'Button4'

}]

}]

})

d2.render('d2');

vard3=Ext.create('Ext.Panel',{

title:

'HBox垂直水平居中,并且所有控件高度为最高控件的高度',

frame:

true,

width:

600,

height:

100,

items:

[{

anchor:

'100%',

layout:

{

type:

'hbox',

padding:

'5',

align:

'stretchmax',

pack:

'center'

},

defaults:

{margins:

'0500'},

items:

[{

xtype:

'button',

text:

'SmallSize'

},{

xtype:

'button',

scale:

'medium',

text:

'MediumSize'

},{

xtype:

'button',

scale:

'large',

text:

'LargeSize'

}]

}]

})

d3.render('d3');

})

最后是效果图:

另外多种的布局方式,大家自己尝试就OK了。

ExtJS4学习笔记(三)---VBox的使用

要使用VBox布局方式,首先的熟悉下一下几个主要属性:

一、align:

字符类型,指示组件在容器内的对齐方式。

有如下几种属性。

1、left(默认):

排列于容器左侧。

2、center:

控件在容器水平居中。

3、stretch:

控件横向拉伸至容器大小

4、stretchmax:

控件横向拉伸,宽度为最宽控件的宽。

二、flex:

数字类型,指示组件在容器中水平呈现方式,通俗的讲,就是指示组件在容器中的相对宽度。

三、pack:

字符类型,指示组件在容器的位置,有如下几种属性。

1、start(默认):

组件在容器上边

2、center:

组件在容器中间

3、end:

组件在容器的下边

DOCTYPEhtmlPUBLIC"-//W3C//DTDXHTML1.0Transitional//EN""http:

//www.w3.org/TR/xhtml1/DTD/xhtml1-transitional.dtd">

//www.w3.org/1999/xhtml">

VBox---

html,body{

font:

normal12pxverdana;

margin:

0;

padding:

0;

border:

0none;

}

ExtJS4学习笔记(四)---Grid的使用

Extjs4Grid创建还是比较容易的,难记、难理解的地方,也就是数据的获取。

下面,就创建一个最简单的Grid组件,后面,我们会逐渐丰富这个Grid的功能。

HTML代码:

1

DOCTYPEhtmlPUBLIC"-//W3C//DTDXHTML1.0Transitional//EN""http:

//www.w3.org/TR/xhtml1/DTD/xhtml1-transitional.dtd">

2

//www.w3.org/1999/xhtml">

3

4

5Grid-

6

7

8

9

10

11

12

13

14

15

复制代码

grid.js:

16Ext.require([

17'Ext.grid.*',

18'Ext.data.*'

19]);

20Ext.onReady(function(){

21Ext.define('MyData',{

22extend:

'Ext.data.Model',

23fields:

[

24//第一个字段需要指定mapping,其他字段,可以省略掉。

25{name:

'UserName',mapping:

'UserName'},

26'Sex',

27'Age',

28'XueHao',

29'BanJi'

30]

31});

32

33//创建数据源

34varstore=Ext.create('Ext.data.Store',{

35model:

'MyData',

36proxy:

{

37//异步获取数据,这里的URL可以改为任何动态页面,只要返回JSON数据即可

38type:

'ajax',

39url:

'mydata.json',

40

41reader:

{

42type:

'json',

43root:

'items',

44//totalProperty:

'total'

45}

46},

47autoLoad:

true

48});

49

50//创建Grid

51vargrid=Ext.create('Ext.grid.Panel',{

52store:

store,

53columns:

[

54{text:

"姓名",width:

120,dataIndex:

'UserName',sortable:

true},

55{text:

"性别",flex:

1,dataIndex:

'Sex',sortable:

false},

56{text:

"年龄",width:

100,dataIndex:

'Age',sortable:

true},

57{text:

"学号",width:

100,dataIndex:

'XueHao',sortable:

true},

58{text:

"班级",width:

100,dataIndex:

'BanJi',sortable:

true}

59],

60height:

400,

61width:

480,

62x:

20,

63y:

40,

64title:

'ExtJS4Grid示例',

65renderTo:

'demo',

66viewConfig:

{

67stripeRows:

true

68}

69})

70})

71Ext.require([

72'Ext.grid.*',

73'Ext.data.*'

74]);

75Ext.onReady(function(){

76Ext.define('MyData',{

77extend:

'Ext.data.Model',

78fields:

[

79//第一个字段需要指定mapping,其他字段,可以省略掉。

80{name:

'UserName',mapping:

'UserName'},

81'Sex',

82'Age',

83'XueHao',

84'BanJi'

85]

86});

87

88//创建数据源

89varstore=Ext.create('Ext.data.Store',{

90model:

'MyData',

91proxy:

{

92//异步获取数据,这里的URL可以改为任何动态页面,只要返回JSON数据即可

93type:

'ajax',

94url:

'mydata.json',

95

96reader:

{

97type:

'json',

98root:

'items',

99//totalProperty:

'total'

100}

101},

102autoLoad:

true

103});

104

105//创建Grid

106vargrid=Ext.create('Ext.grid.Panel',{

107store:

store,

108columns:

[

109{text:

"姓名",width:

120,dataIndex:

'UserName',sortable:

true},

110{text:

"性别",flex:

1,dataIndex:

'Sex',sortable:

false},

111{text:

"年龄",width:

100,dataIndex:

'Age',sortable:

true},

112{text:

"学号",width:

100,dataIndex:

'XueHao',sortabl

展开阅读全文
相关资源
猜你喜欢
相关搜索

当前位置:首页 > 总结汇报 > 工作总结汇报

copyright@ 2008-2022 冰豆网网站版权所有

经营许可证编号:鄂ICP备2022015515号-1