Linux 引导过程及服务.docx
《Linux 引导过程及服务.docx》由会员分享,可在线阅读,更多相关《Linux 引导过程及服务.docx(21页珍藏版)》请在冰豆网上搜索。

Linux引导过程及服务
Linux引导过程及服务
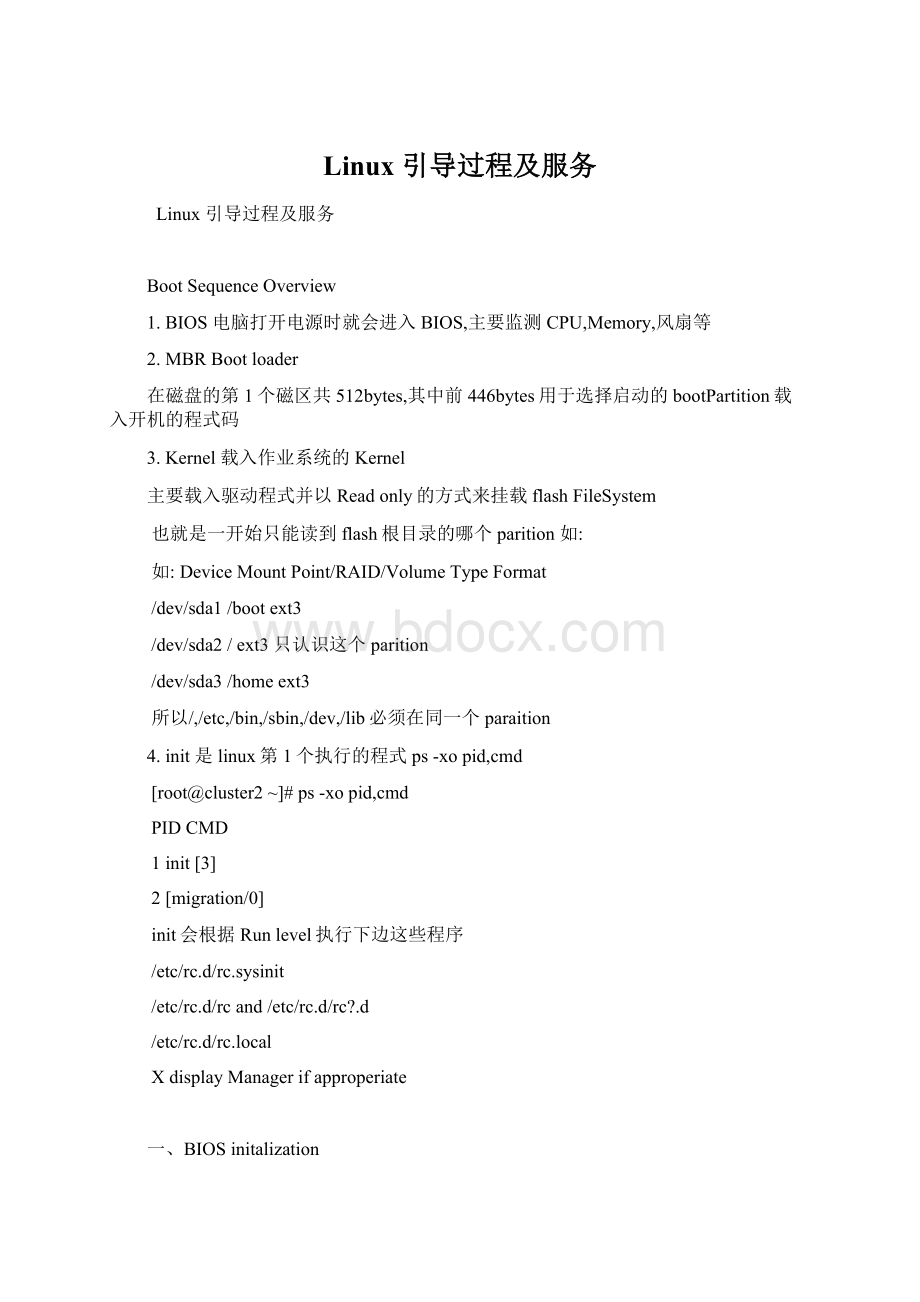
BootSequenceOverview
1.BIOS电脑打开电源时就会进入BIOS,主要监测CPU,Memory,风扇等
2.MBRBootloader
在磁盘的第1个磁区共512bytes,其中前446bytes用于选择启动的bootPartition载入开机的程式码
3.Kernel载入作业系统的Kernel
主要载入驱动程式并以Readonly的方式来挂载flashFileSystem
也就是一开始只能读到flash根目录的哪个parition如:
如:
DeviceMountPoint/RAID/VolumeTypeFormat
/dev/sda1/bootext3
/dev/sda2/ext3只认识这个parition
/dev/sda3/homeext3
所以/,/etc,/bin,/sbin,/dev,/lib必须在同一个paraition
4.init是linux第1个执行的程式ps-xopid,cmd
[root@cluster2~]#ps-xopid,cmd
PIDCMD
1init[3]
2[migration/0]
init会根据Runlevel执行下边这些程序
/etc/rc.d/rc.sysinit
/etc/rc.d/rcand/etc/rc.d/rc?
.d
/etc/rc.d/rc.local
XdisplayManagerifapproperiate
一、BIOSinitalization
Peripheralsdetected自我监测Poweronselftest(POST)
BootdeviceselectedBIOS选择由什么设备来引导,可以选择硬盘,光盘等
Firstsectorofbootdevicereadandexecuted读取指定引导设备的第1个磁区(MBR)
二、MBRBootloader
可以安装在2个地方,MBR或第1个partition的BootSector上,如下面
BootLoader:
多重系统引导
1.stage-small,residesinMBRorbootsector只446bytes可存储在MBR或bootsector
2.stage-loadedfrombootpartition启动码是存储在哪个partition的boot里面
实例1:
通过MBR引导
A.载入MBR前446个bytes
B.进入GRUB,进入引导选择菜单
c.载入选择系统的Kernel
实例2:
通过BootLoader引导
A.首先会进入MBR,但MBR被SPFDisk占用了
B.会找到bootpartition通过BootLoader载入
C.进入GRUB的选择菜单
D.载入所选择系统的Kernel
1.GRUBandgrub.conf
A.从MBR到Kernel最后到init都是由GRUB所负责的
在最上面可以看到GRUB的versionnumber
B.GRUB有以下几个特性:
a.Command-lineinterfaceavailableatbootprompt
按下C键就能进入以grub开头的提示符来输入命令
b.Bootfromext2/ext3,ReiserFS,JFS,FAT,minix,orFFSfilesystems
c.SupportsMDB5passwordprotection
C.Grub.conf
/boot/grub/grub.conf文档路径
Changesongrub.confwillgointodefectimmediately对grub.conf修改会立即生效
IfMBRon/dev/hadiscorrupted,reinstallthefirststagebootloaderwith:
/sbing/grub-install/dev/had
如果GRUB被删除掉,可以通过上面的路径通过reinstall进行安装
D.Grub.conf文档内容
进行文档备份:
[root@cluster2~]#vim/boot/grub/grub.conf
#grub.confgeneratedbyanaconda
#
#Notethatyoudonothavetorerungrubaftermakingchangestothisfile
#NOTICE:
Youhavea/bootpartition.Thismeansthat
#allkernelandinitrdpathsarerelativeto/boot/,eg.
#root(hd0,0)
#kernel/vmlinuz-versionroroot=/dev/hda2
#initrd/initrd-version.img
#boot=/dev/hda
default=0‘如果defualt=1就会使用第2组系统来引导
timeout=5‘菜单停留时间
splashimage=(hd0,0)/grub/splash.xpm.gz
‘hd0为第1块磁盘,后面0表示第1个partition
Hiddenmenu‘隐藏开机菜单,要按下任意键才会有显示
上面是基本设定
titleRedHatEnterpriseLinuxServer(2.6.18-164.el5)
‘系统菜单所显示的标题
root(hd0,0)
‘同样是指/boot这个目录
kernel/vmlinuz-2.6.18-164.el5roroot=LABEL=/rhgbquiet
‘kernel的位置在上面目录中以readonly来挂载flash的/目录
‘rhgb会有图形界面来取代传统的画面
initrd/initrd-2.6.18-164.el5.img
上面用于区分多个操作系统的启动设置
上面增加了一个系统启动选项
E.现在修改grup.conf
2.StartingtheBootProcess:
GRUB
重新开机后会看到有两组系统选择:
A.如果选择Windows会出现以下提示信息:
B.如果此时按下a键会传递1个参数给kernel
此时输入下面中的”空格1”可以进入单用户模式,不用输入root用户的密码就能进入系统
进入系统的界面
此时可以修改root用户的密码哦
此时任何人都可能通过singleusermode来修改root用户密码,这是十分不安全
我们可以通过给GRUB设定密码,只允许密码拥有者才能给Kernel传递参数
通过编辑grub.conf来实现密码设置
重新启动只有按P键输入密码后才能进入接下来的功能
输入密码验证之后按a键才能传递参数给Kernel
可以通过MD5算法对grub密码进行加密
也可直接在grub.conf文件中直接对密码进行加密
3.编辑Kernel,选择刚刚有问题的windows系统进行修复
由于第1行设置错误出现无法引导,按e键进行编辑
按下enter键后出现修改完成的提示
再次按下enter键后回退菜单,按b键进行引导,这样就能修复grub错误的故障
三、KernelInitialization
1.KernelboottimefunctionsKernel开机时所做的工作
A.Devicedetection‘会侦测有些什么设备
B.Devicedriverinitialization‘会将这些设备初始化并载入到Kernel
C.Mountsrootfilesystemasreadonly‘会把/根目录挂载进来
D.Loadsinitialprocess(init)‘会加载init这个程式,是第1个被系统执行的程式
四、InitInitialization执行了以下操作
1.initreadsitsconfig:
/etc/inittab
‘init实际是读取/etc/inittab来决定实际做些什么操作
具体操作如下:
AInitialrunlevel‘决定使用哪个runlevel
BSysteminitializationscripts‘初始化脚本
CRunlevelspecificscriptdirectories
‘根据runlevel来决定执行那个runlevel特有的程式
就会把参数3传进入成为rc3.d
例如以下目录:
如果runlevel为3就会使用rc3.d目录里面的服务
DTrapcertainkeysequences
‘设定组合键的功能
EDefineUPSpowerfail/restorescripts‘定义电源断或恢复应执行什么程式
FGenerategettysonvirtualconsoles
‘会产生6个virtualconsoles(tty)
GInitializeXinrunlevel5
‘如果runlevel为5就会启动Xwindow的环境
2.initinitialization流程图
五、详解流程图
一>.id:
5:
initdefault
1.Runlevels功能介绍
A.Level0不能设置在initdefault,否则一开机就会关机.
B.1,S,emergency都是root单用户模式用于系统维护时使用,有如下不同之处:
a.
b.
c.
C.Level6不能设置在initdefault,否则开机后就会重启
2.Runlevel的设定,可以通过以下三种方式
Runlevel是通过init来定义的
A.通过/etc/inittab文件里面initdefalt来设置
B.Passinganargumentfromthebootloader
通过GRUB传递参数给Kernel
C.Runninginitxafterboot(wherexisthedesiredrunlevel)
进入系统后通过init指令输入要进入的runlevel
3.查看当前所处的Runlevel
二>/etc/rc.d/rc.sysint
1.启动热插拨(USB)和selinux
2.会把kernel的参数设定到/etc/sysctl.conf
3.会设定系统的时间
4.启用键盘
5.启用swappartitions
6.设定主机名/etc/sysconfig/network
7.检测根目录有没有问题且重新挂载为可读可写的状态
8.启用磁带阵列如RAID和LVM设备
9.启用diskquotas的功能,quotas能限制最大可使用的空间
10.检查其他的filesystem并进行挂载
11.清除一些被修改过的locks以及PID
三>/etc/rc*.d/实际连接到如/etc/rc.d/rc.3d/
/etc/rc.d/rc.3d/实际就是调用/etc/init.d/和/etc/xinetd.d/
通过init的initdefault来决定所要执行的服务
每个runlevel都有其自身的服务
每个服务都是一个链接,并且都是链接到../init.d/这个目录的文件
rc.d和rc5.d的d都是Daemon(守护进程)的意思
1.DaemonProcesses
#Adaemonprocessisaprogramthatisruninthebackground,
Providingsomesystemsevice‘提供系统服务
#Twotypesofdaemons:
分为两个类型,提供服务的方式不同
A.Standalone直接调用服务的程式又分为以下两种:
a.Enabledfrominit系统引导时由init直接调用的
Ex.VirtualConsole
b.SystemVDaemon如/etc/rc3.d/调用/etc/rc.d/init.d/
Ex.Httpd
#SystemVScript启动和停止都是用同一个程式如:
#/etc/rc3.d目录下:
K表示kill,S表示start
执行顺序:
先K再S,先小数再大数
B.Transient-controlledbythe“super-daemon”xinetd
首先呼叫xinetd要求服务然后xinetd再呼叫Transient的程式
Xinetd类型的服务必须由Xinetd提供,不能由服务自身提供
实例1:
说明这个port对应的service是由xinetd调用
.
实例2:
说明是由telnetd这个服务在使用这个port
Transient类型的服务都归Xinetd所管理,故Xinetd叫做SuperDemon
四>/etc/rc.local
1.Runaftertherunlevelspecificscripts
执行完/etc/rc.*d/后就会执行/etc/rc.d/rc.local
2.Commonplaceformcustommodification
可以将runlevel2-5要执行的程式可以设定到rc.local中
五>/sbin/mingetty
启动六个VirtualConsoles
1.virtualConsoles有以下特性:
A.Definedin/etc/inittab‘VirtualConsole定义在/etc/inittab
B.Accessedwithctrl+alt+F*
要切换到不同的tty按下ctrl+alt+F*
C./dev/tty*:
Virtualconsolen
Virtualconsole的档案是在/dev/tty*这个目录
D./dev/tty0:
thecurrentvirtualconsole
tty0为当前的virtualconsole
E.DefaultRedHatEnterpriseLinuxconfiguration:
12consolesdefined
Consoles1-6acceptlogins
Xserverstartsonfirstavailableconsole,usually7
如果使用图形界面登陆从console7开始
可以按ctrl+alt+F7可以到图形界面
五、ControllingServices
1.Utilitiestocontroldefaultservicestartup‘自动启动的服务
A.ntsysv:
aconsole-baseinteractiveutility‘默认只设定当前runlevel
可以设定其他runlevel如3和5
B.chkconfig:
afast,versatilecommandlineutility
例如鼠标服务:
在runlevel1-5是start的
可以配置鼠标服务在runlevel1-3为off
可以查看某个服务预设启动的情况
C.system-config-service:
graphicalutilitythatrequiresanXinterface
2.Utilitiestocontrolservicesmanually‘手动启动的服务
A.service:
immediatelystartorstopastandaloneservice
B.chkconfig:
immediatelystartsandstopsxinetd-managedservices
C.system-config-service:
graphicalutilitywhatrequiresanXinterface
六、SystemShutdown
1.shutdown–hnow
指定时间关机shutdown–h22:
00
2.halt
3.poweroff
4.init0
这4个指令在关机前会自动执行sync,将memory内容快速写入disk
七、SystemReboot
1.shutdown–rnow
指定时间重启shutdown–r22:
00
2.reboot
3.init6
4ctrl+alt+del(VirtualConsole)
说明:
由于本人专业并非操作系统,如有错误请见谅
作者:
main.reload.(Refresh)
于2013.3.516:
00