LED闪烁试验5个例程.docx
《LED闪烁试验5个例程.docx》由会员分享,可在线阅读,更多相关《LED闪烁试验5个例程.docx(7页珍藏版)》请在冰豆网上搜索。

LED闪烁试验5个例程
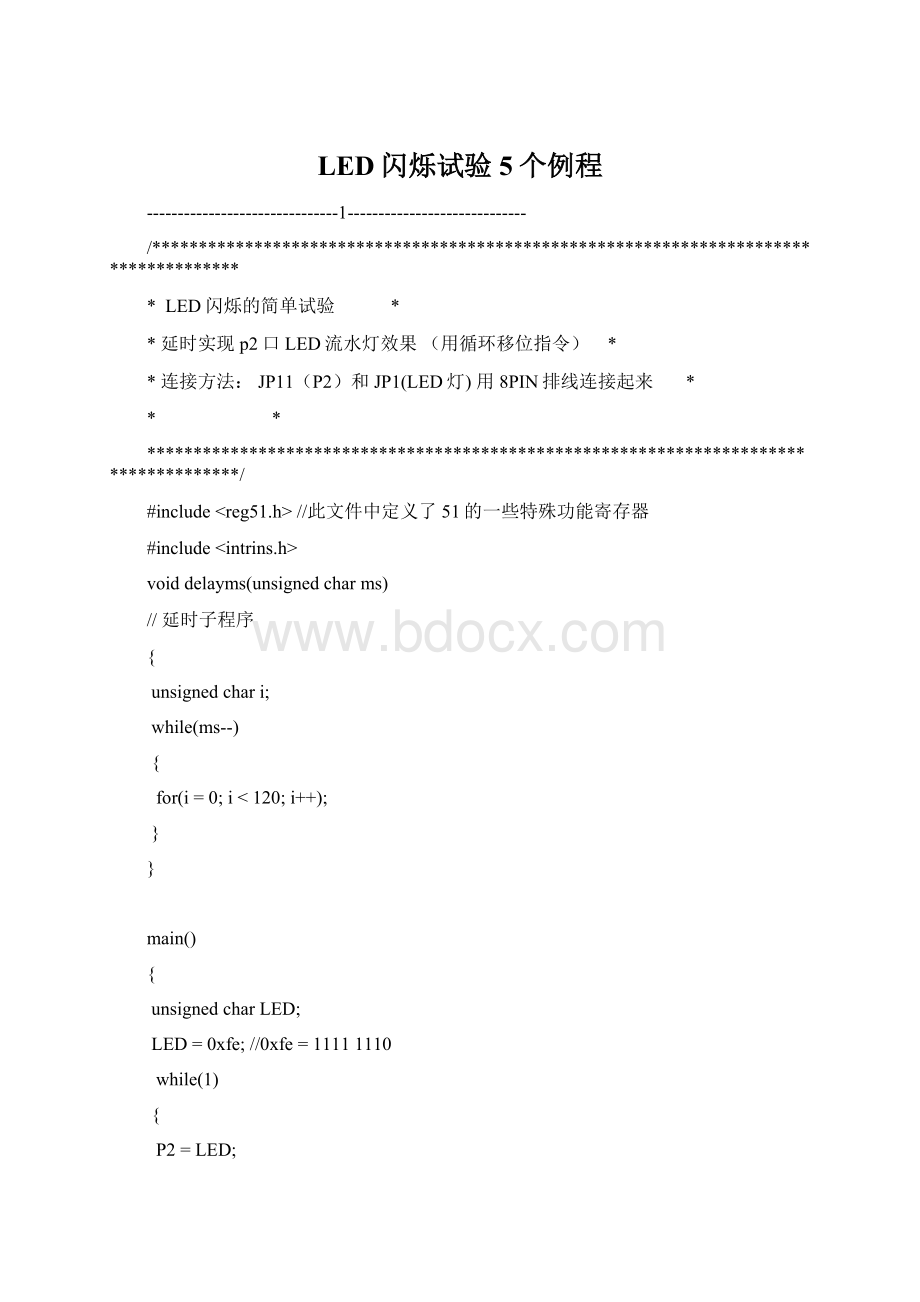
-------------------------------1-----------------------------
/*************************************************************************************
*LED闪烁的简单试验*
*延时实现p2口LED流水灯效果(用循环移位指令)*
*连接方法:
JP11(P2)和JP1(LED灯)用8PIN排线连接起来*
**
*************************************************************************************/
#include//此文件中定义了51的一些特殊功能寄存器
#include
voiddelayms(unsignedcharms)
//延时子程序
{
unsignedchari;
while(ms--)
{
for(i=0;i<120;i++);
}
}
main()
{
unsignedcharLED;
LED=0xfe;//0xfe=11111110
while
(1)
{
P2=LED;
delayms(250);
LED=LED<<1;//循环右移1位,点亮下一个LED"<<"为左移位
if(LED==0x00){LED=0xfe;}//0xfe=11111110
}
}
----------------------------------2----------------------------
/************************************************************************************
*LED闪烁的简单试验*
*连接方法:
JP11(P2)和JP1用8PIN排线连接起来*
**
*************************************************************************************/
#include//此文件中定义了51的一些特殊功能寄存器
voiddelay(unsignedinti);//声明延时函数
main()
{
P2=0x00;//置P0口为低电平
delay(600);//调用延时程序
P2=0xff;//置P0口为高电平
delay(600);//调用延时程序
}
/*******延时函数*************/
voiddelay(unsignedinti)
{
unsignedcharj;
for(i;i>0;i--)//循环600*255次
for(j=255;j>0;j--);
}
--------------------------------3------------------------------
/*******************************************************************************
;二进制加法试验*
;p2口八个灯作二进制加法。
理解二进值的计算*
;硬件连接:
p2口8路指示灯*
;*
;*描述:
*
;p2口八个灯作二进制加法。
理解二进值的计算*
;*连接方法:
JP11(P2)和JP1(LED灯)用8PIN排线连接起来*
************************************************************************************/
#include
voiddelay(unsignedinti);//声明延时函数
main()
{
unsignedcharNum=0xff;
while
(1)
{P2=Num;
delay(1000);//延时函数
Num--;
}
}
/*******延时函数*************/
voiddelay(unsignedinti)
{
unsignedcharj;
for(i;i>0;i--)
for(j=255;j>0;j--);
}
--------------------------------4-----------------------------
/*******************************************************************************
*描述:
跑马灯程序*
*连接方法:
JP11(P2)和JP1(LED灯)用8PIN排线连接起来*
**
*******************************************************************************/
#include
#include
/*****************************************************************************
*延时子程序*
**
******************************************************************************/
voiddelayms(unsignedcharms)
{
unsignedchari;
while(ms--)
{
for(i=0;i<120;i++);
}
}
/*****************************************************************************
*主程序*
**
******************************************************************************/
main()
{
unsignedcharLED;
LED=0xfe;
P2=LED;
while
(1)
{
delayms(250);
LED=_crol_(LED,1);//循环右移1位,点亮下一个LED此函数位库函数
P2=LED;
}
}
---------------------------------5----------------------------
/********************************************************************************
;跑马灯实验*
;延时实现LED流水灯效果p2口八个灯作跑马灯。
采用了寄存器存中间数*
;连接方法:
JP11(P2)和JP1(LED灯)用8PIN排线连接起来*
;********************************************************************************/
#include
voiddelay(unsignedinti);//声明延时函数
charLED;
main()
{
unsignedchari;
while
(1)
{LED=0xfe;
for(i=0;i<8;i++)
{
P2=LED;
delay(500);
LED=LED<<1;//左移
LED=LED|0x01;//移位后,后面的位为高电平
if(LED==0x7f)break;//提前退出FOR循环
}
for(i=0;i<8;i++)
{
P2=LED;
delay(500);
LED=LED>>1;//右移
LED=LED|0x80;//移位后,后面的位为高电平
}
}
}
/*******延时函数*************/
voiddelay(unsignedinti)
{
unsignedcharj;
for(i;i>0;i--)
for(j=255;j>0;j--);