BillingDepartment参考模板.docx
《BillingDepartment参考模板.docx》由会员分享,可在线阅读,更多相关《BillingDepartment参考模板.docx(18页珍藏版)》请在冰豆网上搜索。
BillingDepartment参考模板
EnterpriseLibrary
BillingDepartment
这是一个简单的模拟发票部门业务流程的模型。
有两种发票需要处理:
正常和特殊的,这些特殊的发票有特殊协议来规定它们如何来开。
监督者随机的选取一些账目进行审查。
所有的发票都由同一台打印机打印,并用同样的填写、邮寄。
可以看到整个业务流程、发票处理时间的分布并在程序运行中可以调节发票到达率和资源容量。
这个问题的定义来自Arena,并做了一些修改。
第一步:
创建一个新模型
1.点击New
按钮,出现建立模型窗口
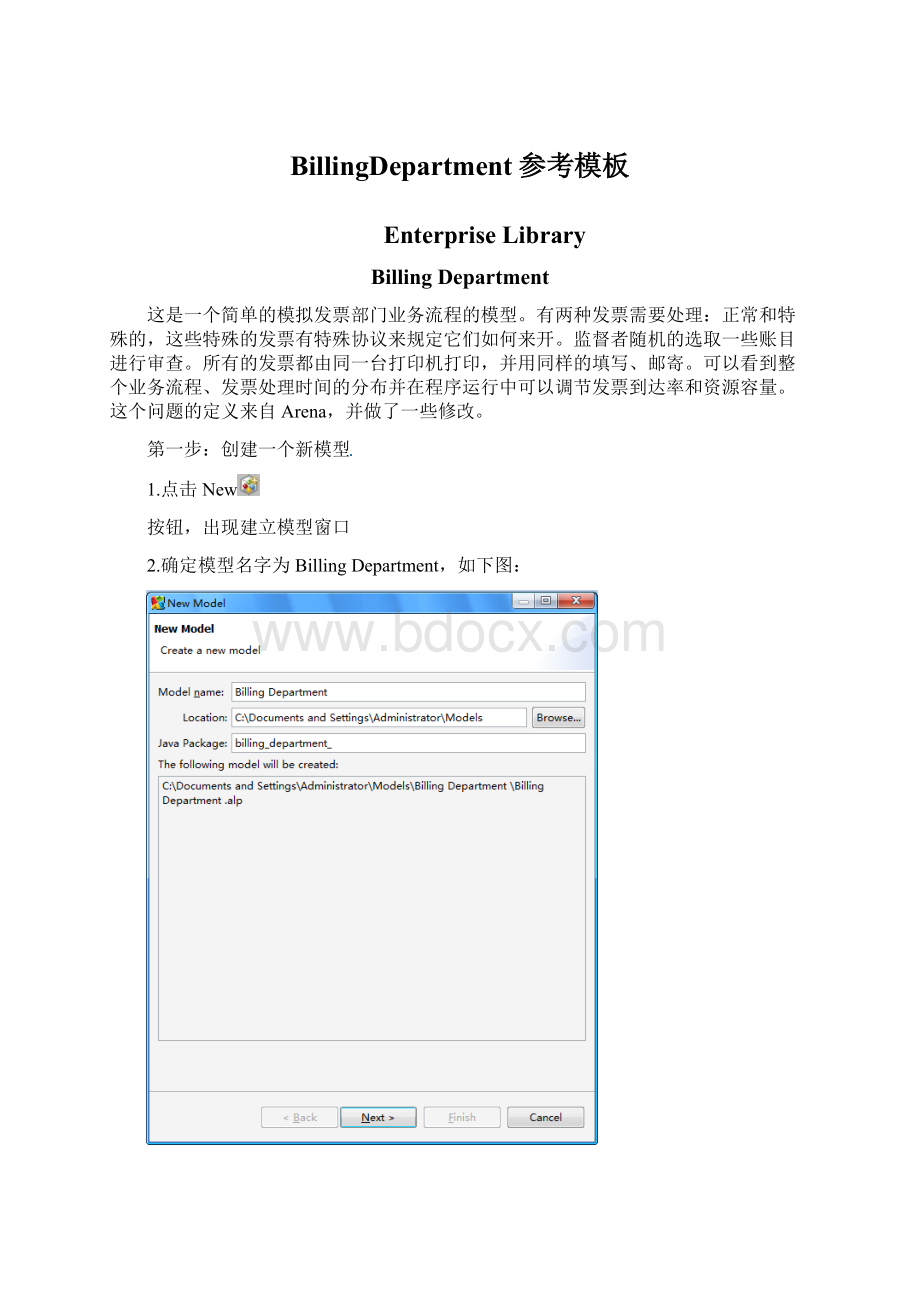
2.确定模型名字为BillingDepartment,如下图:
3.点击next,然后将出现模型设置对话框,在这里可以选择从头做一个模型或者使用现有模板建立模型,我们可以选在第一个startcreatinganewmodelfromscratch。
4.点击Finish完成创建过程。
这时新的模型的框架就创建成功了,具体如图所示:
第二步:
创建基本逻辑模型
1.首先点击编辑区域的空白处,在下面的Startupcode处填写resetStats();
2.点击界面右侧EnterpriseLibrary选项卡,用鼠标左键先后两次将其中的Source拖到中间的编辑区域,并分别命名为normalBillsArrive和contactBillsArrive,分别代表普通发票和特殊发票。
如图:
3.同样再拖入13个Delay,具体位置及名字如图:
4.再从EnterpriseLibrary中拖进9个Service,具体命名和布局如下:
5.再从EnterpriseLibrary中拖进4个SelectOutput,具体命名和布局如下:
6.然后再从EnterpriseLibrary拖进4个ResourcePool,代表不同的资源,如图:
7.最后再拖入两个Sink,分别代表普通发票离开和特殊发票的离开,如下:
8.此时已经将所有用到的EnterpriseLibrary拖到编辑区域内,只需通过双击接口将其依次连接起来,初步的逻辑模型就建成了。
如下图所示:
第三步:
设置模型参数
1.点击General,拖动两个PlainVariable到中间编辑区域,分别命名为trackNormalBill和trackContactBill,并在Type处选择boolean,Initialvalue设置为false。
然后再从General中拖入一个Function,命名为resetStats,在Returntype选为void,在Code下面编写如下代码:
seniorBiller.resetStats();
accountBiller.resetStats();
billingClerk.resetStats();
printer.resetStats();
histBillProcessingTime.reset();
histContactBillProcessingTime.reset();
2.右键点击左侧Project下的该模型,在new中选择JavaClass,这时将弹出JavaClass的对话框,如下:
我们将该类命名为Bill,父类中选择com.xj.anylogic.libraries.enterprise.Entity,点击Finish,创建好Bill类。
之后按照下图所示,完成该类中的代码编写。
3.设置两种发票的到达规则
点击界面右侧的General,将其中两个Parameter拖入到编辑区域,分别命名为billsPerMinute和contactBillsPerMinute,默认值为1.0/6和1.0/20,如图:
然后点击normalBillsArrive,将EntityClass设为Bill,Arrivalsdependsby选为rate,Arrivalrate设置为billsPerMinute,Newentity设为newBill(false,time()),Onexit设为if(trackNormalBill){entity.tracked=true;trackNormalBill=false;},如下图:
在contactBillsArrive中与normalBillsArrive基本一致,只不过在Arrivalrate设为contactBillsPerMinute,Onexit中设为if(trackContactBill){entity.tracked=true;trackContactBill=false;}
4.设置Delay的时间
将所有Delay中的Delaytimeis选为Specifiedexplicitly,Delaytime设为3,Maximumcapacity选中。
5.设置Service参数
同样对于各个Service来说也需要设置其参数,具体设置的参数如下表:
Service
Entityclass
Resourcequantity
Delaytime
ResourcePoolobject
Onexit
Queuecapacity
auditCustomerAccount
Bill
1
triangular(10,20,15)
seniorBiller
entity.setShape(groupBillAudited);
20
keyBillsIntoComputer
Bill
1
triangular(2,9,3)
billingClerk
entity.setShape(groupBillKeyed);
20
verifyBills
Entity
1
triangular(1,10,2)
accountBiller
20
fixBillingError
Entity
1
triangular(1,3,2)
billingClerk
entity.setShape(groupBillKeyed);
20
specialBillPrep
Entity
1
triangular(4,11,5)
accountBiller
entity.setShape(groupBillSpecial);
20
verifyAndFixBills
Entity
1
triangular(3,6,5)
seniorBiller
entity.setShape(groupBillOK);
20
printBill
Entity
1
triangular(0.3,2,0.9)
printer
entity.setShape(groupBillPrinted);
20
stuffAndMailBill
Entity
1
triangular(0.5,1.5,1
billingClerk
entity.setShape(groupBillStuffed);
20
)
registerARAndFinancials
Entity
1
triangular(3,6,4)
seniorBiller
entity.setShape(groupBillReged);
20
其具体的修改位置如下所示:
6.设置SelectOutput
Ø对于auditAccount来说,SelectTrueoutput选择withspecifiedprobability,Probability设置为0.1;
Ø对于normalBill来说,SelectTrueoutput选择IfconditionsisTrue,Condition设置为!
entity.contact,Entityclass设置为Bill;
Ø对于errorKeyingBill来说,SelectTrueoutput选择withspecifiedprobability,Probability设置为0.1,Onexit(true)设置为entity.setShape(groupBillError);,Onexit(false)设置为entity.setShape(groupBillOK);
Ø对于normalBill1来说,SelectTrueoutput选择IfconditionsisTrue,Condition设置为!
entity.contact,Entityclass设置为Bill;
7.设置Sink
将两个sink的Entityclass都设置为Bill。
8.设置ResourcePool
点击右侧的General,将四个Parameter拖到中间编辑区域,分别命名为
seniorBillerCapacity、accountBillerCapacity、billingClerkCapacity、printerCapacity,其中Type都选择为int,Defaultvalue分别为3、3、4、1。
对于seniorBiller、accountBiller、billingClerk和printer四个ResourcePool来说,Resourceunitsare选择Individualobjects,Capacitydefined选择Directly,Capacity分别设置为以上相对应的Parameter的名字。
第四步:
设置统计参数
1.设置统计变量
点击右侧的Analysis,拖进两个HistogramData,分别命名为histBillProcessingTime和histContactBillProcessingTime,并将Numberofintervals设置为50,Valuesrange选择Fixed,设置Minimum为0,Maximum为100,选择Donotupdateautomatically。
2.设置统计对象
在sinkNormal中的Onenter中编写histBillProcessingTime.add(time()-entity.timestamp);
在sinkContact中的Onenter中编写histContactBillProcessingTime.add(time()-entity.timestamp);
第五步:
设置动画界面
1.画布局图
点击右侧的presentation,利用里面的Rectangle、Line、Text以及Polyline画出如下的该问题的布局图:
然后从Presentation里面拖入14个Image,之后点击Addimage选择图片,具体图片以及命名如下图:
其中下面的十个图片通过右键点击每一个图片,选择Grouping,选择Createagroup创建了十个Group。
除了路径以外的Polyline中的Dynamic中的Visible填写false。
在四个方块区域的入口处的Text中的Dynamic中的Text,按照顺时针从上到下依次填写
format(delayEnterAudit.out.count())
format(delayPrepVerifyFix.out.count())
format(delayStuffRegister.out.count())
format(delayEnterPrep.out.count())
format(delayKeyVerify.out.count()+delayFixVerify.out.count())
format(delayAuditKey.out.count()+delayEnterKey.out.count())
format(delayVerifyFix.out.count())
format(delayPrintStuff.out.count())
format(delayVerifyFixPrint.out.count()+delayVerifyPrint.out.count())
在出口处的两个Text中的Dynamic中的Text分别填写"Normal:
"+format(sinkNormal.in.count())和"Contact:
"+format(sinkContact.in.count())
2.添加控件和统计图
从左侧的Control中拖入两个Button和六个Slider,从左侧的Analysis拖入四个BarChart和两个Histogram,具体位置如下图:
对于两个button来说,在Label中分别填写Tracknextbill,在Enable中填写!
trackNormalBill,在Action中填写trackNormalBill=true;
对于button左侧的两个slider来说,分别选中Linkto,并分别填写billsPerMinute和contactBillsPerMinute,Minimumvalue填写0,Maximumvalue填写1,Action填写resetStats();
在其余的四个Slider中,从左上开始按顺时针方向Minimumvalue都为
0,Maximumvalue都为9,都不勾选Linkto,Defaultvalue分别为seniorBillerCapacity、accountBillerCapacity、billingClerkCapacity和printerCapacity,Action分别为set_seniorBillerCapacity((int)value);resetStats();、set_accountBillerCapacity((int)value);resetStats();、set_billingClerkCapacity((int)value);resetStats();和set_printerCapacity((int)value);resetStats();
对于右上的两个Histogram来说,Histogram分别填写histBillProcessingTime和histContactBillProcessingTime。
对于四个方块内的四个BarChart来说,在Appearance中的Bars选择第三个,Value按照顺时针顺序分别为seniorBiller.statsUtilization.mean()、accountBiller.statsUtilization.mean()、billingClerk.statsUtilization.mean()、printer.statsUtilization.mean()
其旁边的Text中的Dynamic中的Text分别填写(int)(seniorBiller.statsUtilization.mean()*100)+"%"、(int)(accountBiller.statsUtilization.mean()*100)+"%"、(int)(billingClerk.statsUtilization.mean()*100)+"%"、(int)(printer.statsUtilization.mean()*100)+"%"
3.对应到逻辑流程中的EnterpriseLibrary
1)Source
两个Source中的General的Entityanimationshape分别为groupBillNormal和groupBillContact
2)Delay
具体的设置如下表:
Animationguideshape
Animationtype
Animationdirection
delayEnterAudit
pathEnterAudit
Path
Forward
delayAuditKey
pathAuditKey
Path
Forward
delayKeyVerify
pathKeyVerify
Path
Forward
delayVerifyFix
pathVerifyFix
Path
Forward
delayFixVerify
pathFixVerify
Path
Forward
delayEnterKey
pathEnterKey
Path
Forward
delayVerifyPrint
pathVerifyPrint
Path
Forward
delayEnterPrep
pathEnterPrep
Path
Forward
delayPrepVerifyFix
pathPrepVerifyFix
Path
Forward
delayVerifyFixPrint
pathVerifyFixPrint
Path
Forward
delayPrintStuff
pathPrintStuff
Path
Forward
delayStuffRegister
pathStuffRegister
Path
Forward
delayStuffRegister1
pathRegExit
Path
Forward
3)Service
具体每个Service的设置见下表:
Service
Animationguideshape(queue)
Animationtype(queue)
Animationguideshape(delay)
Animationtype(delay)
auditCustomerAccount
queueAuditCustomerAccount
Path
rectSeniorBillersInProcess
bag
keyBillsIntoComputer
queueKeyBillsIntoComputer
Path
rectBillingClerkInProcess
bag
verifyBills
queueVerifyBills
Path
rectAccBillersInProcess
bag
fixBillingError
queueFixBillingError
Path
rectBillingClerkInProcess
bag
specialBillPrep
queueSpecialBillPrep
Path
rectAccBillersInProcess
bag
verifyAndFixBills
queueVerifyAndFixBills
Path
rectSeniorBillersInProcess
bag
printBill
queuePrintBill
Path
rectPrintersInProcess
bag
stuffAndMailBill
queueStuffAndMailBill
Path
rectBillingClerkInProcess
bag
registerARAndFinancials
queueRegisterARAndFinancials
Path
rectSeniorBillersInProcess
bag
4)ResourcePool
四个ResourcePool的具体设置如下表:
seniorBiller
accountBiller
billingClerk
printer
IdleunitAnimationshape
imageIdle
imageIdle
imageIdle
imagePrinterIdle
BusyunitAnimationshape
imageBusy
imageBusy
imageBusy
imagePrinterBusy
Animationguideshape
setSeniorBillers
setAccountBillers
setBillingClerks
setPrinters
Animationtype
Set
Set
Set
Set
并且将所有的ResourcePool的Enablestatistics勾中。
4.设置跳转
从右侧的presentation中拖入两个ViewArea分别放在逻辑图和界面图的左上角,并分别命名为ProcessLogic和AnimationAndOutput,并在其旁边分别拖入如下图所示的Text
左图中蓝色的Text中的Dynamic的Onclick编写AnimationAndOutput.navigateTo();
右图中蓝色的Text中的Dynamic的Onclick编写
ProcessLogic.navigateTo();
到现在为止,一个基本的BillingDepartment模型就建好了,双击simulation后,在modeltime中的stop选为never。
下面是仿真进行过程中的截图:
(本资料素材和资料部分来自网络,仅供参考。
请预览后才下载,期待您的好评与关注!
)
 升级会员
升级会员 