DEK印刷机操作指引.docx
《DEK印刷机操作指引.docx》由会员分享,可在线阅读,更多相关《DEK印刷机操作指引.docx(24页珍藏版)》请在冰豆网上搜索。

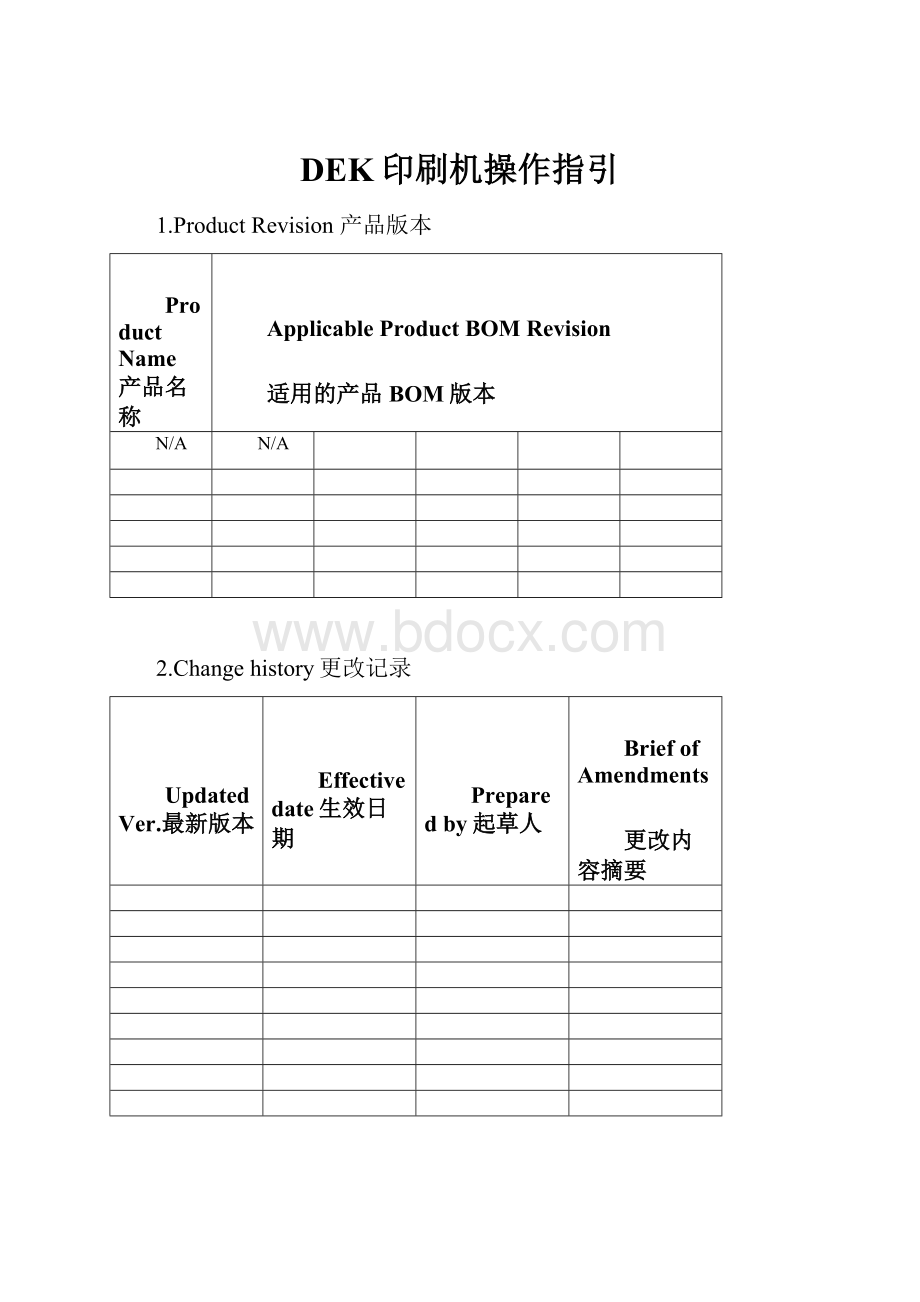
DEK印刷机操作指引
1.ProductRevision产品版本
ProductName产品名称
ApplicableProductBOMRevision
适用的产品BOM版本
N/A
N/A
2.Changehistory更改记录
UpdatedVer.最新版本
Effectivedate生效日期
Preparedby起草人
BriefofAmendments
更改内容摘要
3.Purpose目的
ToprovidestandardoperatinginstructionsfortheDEK265Horizon.
4.ScopeX围
ThisdocumentappliestoallmanufacturingsitesthatutilizetheDEK265Horizon.
5.Definitions定义
IPC-T-50-TermsandDefinitionsforInterconnectingandPackagingElectronicCircuits
6.Responsibilities职责
N/A
7.Description描述
1.1.ProcessFlow
1.2.MachineStart-Up
1.2.1.EnsurethatallE-stopsareintheonposition.Themachinehas2E-stopsoneonsideofthefrontpanel.(SeeFigure1.0)
Figure1.0:
LocationofE-stops
1.2.2.Turnmainpowerswitchclockwise¼turn.Indicatorshouldbepointedupward.(SeeFigure2.0)
1.2.2.1.1.1.1.1.1.Figure2.0MainPowerSwitchonFrontonMachine
1.2.3.Tologontype:
“ADMINISTRATOR”intheuserfieldand“administrator”inthepasswordfield(SeeFigure2.1)
Figure2.1
1.2.4.WhenTheNetworklogonboxappearsclickontheOKbutton(Figure2.2)
1.2.5.ClickontheDEKicontostarttheprinter
1.2.6.Whenprompted,PressblueSystemButtonlocatedjustabovethekeyboard.(Figure3.0)
Figure3.0
1.2.7.TouchtheMonitorsquareonthescreenorF7ontheKeyboard(SeeFigure4.0Location1).
Figure4.0
1.2.8.TouchtheLogOnsquareonthescreenorF1onthekeyboard.(Figure5.0Location1)
Figure5.0
1.2.9.TypeyournameintoOperatorLogonBox(See⇐inFigure5.0)
1.2.10.Touch“Exit”onthescreenorpressF8onthekeyboard(SeeFigure5.0Location2)
1.MACHINEOPERATION
1.3.ProcessFlow
1.4.LoadingProgram
1.4.1.PresstheSetupboxonthetouchscreenorF6onthekeyboard.(SeeFigure4.0Location2)
1.4.2.PresstheLoadDataboxontheScreenorF2onthekeyboard.(SeeFigure6.0Location1)
Figure6.0
1.4.3.Highlighttherequiredfilefortheassemblytoberun.ThecorrectfilenamefortheassemblytoberuncanbefoundinthelinefilesuppliedbytheCAMdepartment.(See⇐infigure7.0)
Figure7.0
1.4.4.PresstheLoadboxonthescreenorF1onthekeyboard.(SeeFigure7.0Location1)
1.4.5.PresstheExitboxonthescreenorF8onthekeyboard.(SeeFigure7.0Location2)Thestepmustbepletedfortheprogramtoproperlyload.
1.5.SupportTooling
1.5.1.PresstheSetupBoxonthescreenorF6onthekeyboard.(SeeFigure4.0,Location1)
1.5.2.PresstheChangeToolingboxonthescreenorF6onthekeyboard.(SeeFigure6.0,Location2)
1.5.3.SideATooling
1.5.3.1.PresstheOpenCoverboxonthescreenorF2ontheKeyboard(Figure8.0,Location1)thenopentheprintheadcover.(Figure9.0).
Figure8.0
Figure9.0
1.5.3.2.Placeflattoolingblocksorpinsbetweenrailsinareaboardwillrun.(Figure10.0)
1.5.3.3.Closethecover.
1.5.3.4.Pressthebluesystembutton.
1.5.3.5.PressExit.
1.5.3.6.PressHomeCleaner.
Figure10.0
1.5.4.SideBTooling
1.5.4.1.PresstheHomeCleanerboxontheScreenorF3ontheKeyboard.(Figure8.0,Location2)
1.5.4.2.PresstheBoardStopboxonthescreenorF4onthekeyboard.(Figure11.0,Location1)
1.5.4.3.PresstheOpenCoverboxonthescreenorF2onthekeyboard,(Figure9.0,Location1)thenopentheprintheadcover.(Figure10.0).
1.5.4.4.PresstheBoardClampsboxonthescreenorF3onthekeyboard.(Figure11.0,Location2)
1.5.4.5.PlaceaPCBontheRailsandpushintothemachineuntilitmeetstheboardstop.
1.5.4.6.PressboardClampsandclosethecover.
1.5.4.7.Pressbluesystembutton.
1.5.4.8.PressExit.
1.5.4.9.PressHomeCamera.
1.5.4.10.PressOpenCover
1.5.4.11.AlignamylartothePCBandtapetotherailswithmaskingtape.
1.5.4.12.RefertotheAssemblyBuildInstructiontodetermineifacustomtoolingplateisrequired.Alignthecustomtoolingplateoruniversaltoolingpinsorblockstotheopenareasonthemylar.
1.5.4.13.Removethemylar,ClosethecoverandPressExit
Figure11.0
1.6.StencilLoading
1.6.1.PresstheSetupBoxonthescreenorF6onthekeyboard.(SeeFigure4.0,Location1)
1.6.2.PresstheChangeScreenboxonthescreenorF5onthekeyboard.(SeeFigure6.0,Location3)
1.6.3.Opentheprintheadcover(Figure9.0)andremovetheexistingscreenifneeded.(Figure12.0).
Figure12.0
1.6.4.Loadanewstencilintotheprinter.Ensurecorrectorientationandprintjustification.(Figure13).
Figure13
1.6.5.Closethefrontprintheadcover(Figure14)andpressthebluesystembutton.(Figure3.0)
Figure14
1.6.6.PresstheChangeScreenboxonthescreenorF5onthekeyboard.(Figure6.0,Location3)
1.6.7.PresstheExitboxonthescreenorF8onthekeyboard.(Figure6.0,Location4)
1.6.8.PresstheExitboxonthescreenorF8onthekeyboard.(Figure8.0,Location3).
1.7.LoadTheSolderPaste
1.7.1.PressPasteLoad.
1.7.2.PressManualLoad.
1.7.3.OpenCoverandLoadPaste.
1.7.4.Depositabeadjustinfrontofthestencilimage.
1.7.5.ClosethecoverandPresstheBluesystembutton.
1.7.6.PressContinue.
1.7.7.PressExit.
1.8.SqueegeeLoading
1.8.1.PressSetup.
1.8.2.PressChangeSqueegee.
1.8.3.OpentheCoverandchangethesqueegees.
1.8.4.ClosethecoverandPresstheBluesystembutton.
1.8.5.PressContinue.
1.8.6.PressExit.
2.Paperloading
1.9.PressOpenCover.
1.10.PressChangeScreen.
1.11.RemovetheStencil.
1.12.Lifttheemptytubefromthecleaner.
1.13.Removethespindlesfromeachend.
1.14.Removethetakeuproll.
1.15.Rotatetheflange1/4turntounlockthepaperroll.
1.16.Slidethedirtypaperfromtheshaft.
1.17.Slidetheleftendoftheemptyshaftintothecleanerendplate.
1.18.Placetherightendoftheshaftintothemotordrivespindle.
1.19.Placethepaperspindlesintobothendsofthenewpaperroll.
1.20.Installtherollinthefrontofthecleaner.Thepapershouldberoutedfromunderneath.
1.21.
Installthepaperasshowninthediagram.
1.22.Slidethepaperthroughtherearshaft.
1.23.PressPrimePaper.
1.24.Pressthetwo-buttoncontroluntiltheslackisoutofthepaper.
1.25.Reinstallthestencil.
3.Solventloading
1.26.PressOpenCover.
1.27.PressChangeScreen.
1.28.RemovetheStencil.
1.29.RemovethecapfromtheReservoir.
1.30.Addsolventtothereservoir.
1.31.Replacethecap.
1.32.PressPrimeSolvent.
1.33.Pressthetwobuttoncontrolsuntilthepaperbeeswet.
1.34.Reinstallthestencil
4.ShutDown
1.35.PressE-Stop.
1.36.ClickontheCloseSystemIcon.
1.37.ClickonStart.
1.38.ClickonShutdown.
1.39.Waitforwindowstoshutdownproperly.
1.40.Turnofthemainpowerswitch.
5.Troubleshooting
1.41.FiducialFindFailure
Cleanthefiducialwithapencileraserandretry.
1.42.PressureError
1.42.1.ReprintthePCBuntiltheerrorsarecleared.
1.42.2.Inspecttheboardandwashifnecessary.
1.42.3.Cleanthebottomofthestencil
1.43.PasteMissingOnThePCB
Addmoresolderpastetothestencil
1.44.BadPasteRegistration
Gettechnicalsupport.
1.45.TransferError
Adjustconveyorsandretry.
1.46.SolventLow
Addsolventperinstruction
1.47.PaperEmpty
Loadpaperperinstruction
6.DatacaptureREQUIREMENTS
1.48.TheREADINGS.DEKfilemustbemanipulatedtoestablishthePrintingprocessperformanceofanAssemblyontheDEK265Horizon.
1.49.TheREADINGS.DEKfileislocatedonthelocaldrive,whichmustberenamedaftereachassemblyhasbeenpleted.
1.50.Ifthisisnotcarriedoutbeforethesetupofthenextbatchitwillcontinuewiththedataloggingprocessandthereforebeunabletoestablishwhichassemblyhasbeenrun.
1.51.Thefileshouldbenamedwiththeassemblynumberdateandsamplenumberasshownbelow:
-
716320—WO12345-201205
7.2DDATALOGGINGSETUP
Tostartthedataloggingofthe2Dinspectionthefollowingstepsmustbetaken:
-
1.PressF8Maint.
2.PressF7Testcycles
3.PressF6Dataloggertoswitchthe2Dinspectionon
4.PressF1Run
8.EVENTLOGGING
1.52.Theeventlogdetailstheactuallocationsthathavefailedoutsidethecontrolparameters.Onadailybasisthefollowingroutinemustbefollowed:
1.F8Maint.
2.F4Housekeeping
3.F6Deletedata
4.F1Run
1.53.AfterthebatchhasruntheeventlogmustbecopiedandmovedtotheSPCdatafolder.
1.54.Thefileshouldbenamedwiththeassemblynumberdateandsamplenumberasshownbelow:
716320—WO12345-201205
8.SafetyandEnvironmentalRequirements安全和环境要求
N/A无
9.ReferenceDocument参考文件
N/A无
10.Records记录
SolderpasteuserecordsQF-00066.
锡膏使用记录表QF-00066。
11.Appendix附件
N/A无