Linux环境安装PHP+Mysql+apache+nginx详细攻略Word格式.docx
《Linux环境安装PHP+Mysql+apache+nginx详细攻略Word格式.docx》由会员分享,可在线阅读,更多相关《Linux环境安装PHP+Mysql+apache+nginx详细攻略Word格式.docx(17页珍藏版)》请在冰豆网上搜索。
wget-c
http:
//ftp.gnu.org/pub/gnu/libiconv/libiconv-1.13.1.tar.gz
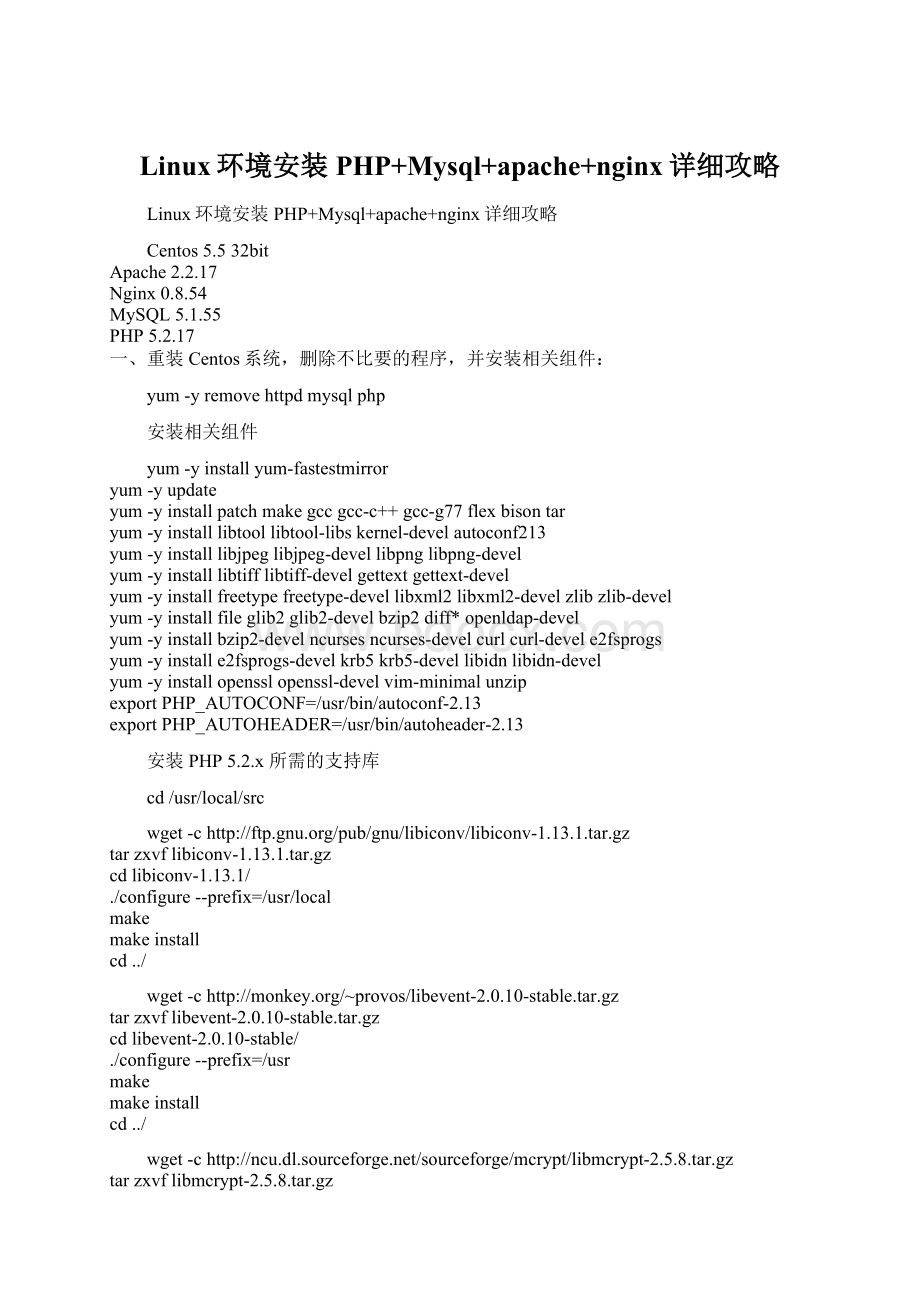
tarzxvflibiconv-1.13.1.tar.gz
cdlibiconv-1.13.1/
./configure--prefix=/usr/local
make
makeinstall
cd../
//monkey.org/~provos/libevent-2.0.10-stable.tar.gz
tarzxvflibevent-2.0.10-stable.tar.gz
cdlibevent-2.0.10-stable/
./configure--prefix=/usr
tarzxvflibmcrypt-2.5.8.tar.gz
cdlibmcrypt-2.5.8/
./configure
/sbin/ldconfig
cdlibltdl/
./configure--enable-ltdl-install
cd../../
tarzxvfmhash-0.9.9.9.tar.gz
cdmhash-0.9.9.9/
ln-s/usr/local/lib/libmcrypt.la/usr/lib/libmcrypt.la
ln-s/usr/local/lib/libmcrypt.so/usr/lib/libmcrypt.so
ln-s/usr/local/lib/libmcrypt.so.4/usr/lib/libmcrypt.so.4
ln-s/usr/local/lib/libmcrypt.so.4.4.8/usr/lib/libmcrypt.so.4.4.8
ln-s/usr/local/lib/libmhash.a/usr/lib/libmhash.a
ln-s/usr/local/lib/libmhash.la/usr/lib/libmhash.la
ln-s/usr/local/lib/libmhash.so/usr/lib/libmhash.so
ln-s/usr/local/lib/libmhash.so.2/usr/lib/libmhash.so.2
ln-s/usr/local/lib/libmhash.so.2.0.1/usr/lib/libmhash.so.2.0.1
ln-s/usr/local/bin/libmcrypt-config/usr/bin/libmcrypt-config
tarzxvfmcrypt-2.6.8.tar.gz
cdmcrypt-2.6.8/
安装GD图形支持库:
wget
//www.libgd.org/releases/gd-2.0.35.tar.gz
tarxzvfgd-2.0.35.tar.gz
cdgd-2.0.35
./configure--prefix=/usr/local/gd--mandir=/usr/share/man--with-jpeg--with-png--with-freetype--with-zlib--with-fontconfig
make
//如果GD报错:
configure.ac:
64:
warning:
macro`AM_ICONV'
notfoundinlibrary你就makeclean一下,然后再make
二、安装Mysql5.1.x:
1)先安装Google的开源TCMalloc库,可以提高MySQL在高并发情况下的性能
//google-
tarzxvf
google-perftools-1.7.tar.gz
cdgoogle-perftools-1.7/
make&
&
makeinstall
echo"
/usr/local/lib"
>
/etc/ld.so.conf.d/usr_local_lib.conf
2)开始安装Mysql5.1.x
//mysql.proserve.nl/Downloads/MySQL-5.1/mysql-5.1.55.tar.gz
tar-zxvfmysql-5.1.55.tar.gz
cdmysql-5.1.55
./configure--prefix=/usr/local/mysql--with-extra-charsets=all--enable-thread-safe-client--enable-assembler--with-charset=utf8--enable-thread-safe-client--with-big-tables--with-readline--with-ssl--with-embedded-server--enable-local-infile--without-debug--without-innodb--without-isam--with-mysqld-ldflags=-ltcmalloc_minimal
groupaddmysql
useradd-gmysqlmysql
cp/usr/local/mysql/share/mysql/my-f/etc/f
/usr/local/mysql/bin/mysql_install_db--user=mysql
chown-Rmysql/usr/local/mysql/var
chgrp-Rmysql/usr/local/mysql/.
cp/usr/local/mysql/share/mysql/mysql.server/etc/init.d/mysql
chmod755/etc/init.d/mysql
chkconfig--level345mysqlon
/usr/local/mysql/lib/mysql"
>
/etc/ld.so.conf
/etc/ld.so.conf
ldconfig
ln-s/usr/local/mysql/lib/mysql/usr/lib/mysql
ln-s/usr/local/mysql/include/mysql/usr/include/mysql
servicemysqlstart
/usr/local/mysql/bin/mysqladmin-urootpasswordmgrei//修改红色部分为你的密码
servicemysqlrestart
3)设置MySQL:
打开“/etc/f”文件,修改以下设置,如果没有,可手动添加:
关闭远程连接,即3306端口。
这是MySQL的默认监听端口。
由于此处MySQL只服务于本地脚本,所以不需要远程连接。
尽管MySQL内建的安全机制很严格,但监听一个TCP端口仍然是危险的行为,因为如果MySQL程序本身有问题,那么未授权的访问完全可以绕过MySQL的内建安全机制。
(你必须确定,你是否真的不需要远程连接mysql,一般数据库地址为localhost的,即使本地数据库,不需要外链)
skip-networking
保存后退出。
修改完f后,还需要对mysql的用户名、帐号、及默认数据库进行调整
首先先登录mysql,在终端窗口输入
/usr/local/mysql/bin/mysql-uroot-p
然后会提示输入密码,输入正确密码后,会出现mysql>
提示符。
输入以下命令:
mysql>
usemysql;
selectHost,User,Password,Select_priv,Grant_privfromuser;
deletefromuserwhereuser='
'
;
(删除user用户)
deletefromuserwherepassword='
deletefromuserwherehost='
dropdatabasetest;
(删除默认的test数据库)
flushprivileges;
(刷新mysql的缓存,让以上设置立即生效)
quit;
为了使以上优化和安全设置生效,请重启Mysql服务或Linux。
三、安装Apache:
1)下载Apache并解压缩:
groupaddwww
useradd-gwww-s/sbin/nologin-Mwww
//www.apache.org/dist//httpd/httpd-2.2.17.tar.gz
tarzxvfhttpd-2.2.17.tar.gz
cdhttpd-2.2.17
Apache默认最大连接数和最大客户端数为40000,如果你的服务器要求更大,可以编译Apache安装文件中的:
server/mpm/worker/worker.c
找到下面几行,并改成如下的数值,其目的是在源码中修改apache可支持的最大线程数和最大客户端数目。
defineDEFAULT_SERVER_LIMIT32
defineMAX_SERVER_LIMIT20000
defineDEFAULT_THREAD_LIMIT64
defineMAX_THREAD_LIMIT20000
以上数值据说改小后,能减低服务器消耗。
不过柒月修改后,发现没什么实质变化。
2)安装Apache2.2
cd/usr/local/src/httpd-2.2.17
./configure--prefix=/usr/local/apache2--enable-headers--enable-so--enable-rewrite--with-mpm=prefork--disable-userdir--disable-cgid--disable-cgi
如果你需要编译apache其他功能,可以自行增加。
不过在这里,我们只是用Apache作为后端并处理伪静态,无需添加过多设置来浪费内存
配置源代码树:
--prefix=/usr/local/apache2//体系无关文件的顶级安装目录PREFIX,也就Apache的安装目录。
--enable-module=so//打开so模块,so模块是用来提DSO支持的apache核心模块
--enable-mods-shared=all//编译全部的模板,对于不需要我们可以在httpd.conf去掉。
--enable-cache//支持缓存
--enable-file-cache//支持文件缓存
--enable-mem-cache//支持记忆缓存
--enable-disk-cache//支持磁盘缓存
--enable-static-support//支持静态连接(默认为动态连接)
--enable-static-htpasswd//使用静态连接编译htpasswd-管理用于基本认证的用户文件
--enable-static-htdigest//使用静态连接编译htdigest-管理用于摘要认证的用户文件
--enable-static-rotatelogs//使用静态连接编译rotatelogs-滚动Apache日志的管道日志程序
--enable-static-logresolve//使用静态连接编译logresolve-解析Apache日志中的IP地址为主机名
--enable-static-htdbm//使用静态连接编译htdbm-操作DBM密码数据库
--enable-static-ab//使用静态连接编译ab-ApacheHTTP服务器性能测试工具
--enable-static-checkgid//使用静态连接编译checkgid
--disable-cgid//禁止用一个外部CGI守护进程执行CGI脚本
--disable-cgi//禁止编译CGI版本的PHP
--with-mpm=worker//让apache以worker方式运行
--enable-ssl//编译ssl模块。
启动Apache(建议先不要启动,等我们全部设置完毕后,和Nginx启动)
/usr/local/apache2/bin/apachectlstart
查看apache是否启动
psaux|grephttpd
将apache设置成开机自启动:
echo'
/usr/local/apache2/bin/apachectlstart'
/etc/rc.local
//将apachectl的调用加入到你的系统启动文件中。
四、安装PHP5.2.x:
1)下载PHP并解压缩:
tarzxvfphp-5.2.17.tar.gz
cdphp-5.2.17
./configure--prefix=/usr/local/php--with-apxs2=/usr/local/apache2/bin/apxs--with-mysql=/usr/local/mysql--with-mysqli=/usr/local/mysql/bin/mysql_config--with-config-file-path=/etc--with-zlib--with-libxml-dir--with-gd=/usr/local/gd--with-freetype-dir--with-jpeg-dir--with-png-dir--with-ttf--with-iconv--with-openssl--with-mcrypt--enable-sockets--enable-bcmath--enable-calendar--enable-exif--enable-libxml--enable-magic-quotes--enable-mbstring--with-bz2--with-curl--with-xmlrpc--with-gettext--disable-cli--disable-cgi--disable-debug
makeZEND_EXTRA_LIBS='
-liconv'
cpphp.ini-dist/etc/php.ini
2)安装PHP扩展:
2.1)安装eaccelerator加速软件
eaccelerator是php的加速软件,使用后php的执行效率会有很大幅度的提升。
tar-jxvfeaccelerator-0.9.6.1.tar.bz2
cdeaccelerator-0.9.6.1
/usr/local/php/bin/phpize
./configure--enable-eaccelerator=shared--with-php-config=/usr/local/php/bin/php-config
编译安装后我们会看到屏幕提示的eaccelerator.so所在的目录,php5.2.x系列是在/usr/local/php/lib/php/extensions/no-debug-non-zts-20060613/,记住这个路径,待会要用到
修改php.ini文件,将以下内容输入(详细设置):
[eaccelerator]
zend_extension="
/usr/local/php/lib/php/extensions/no-debug-non-zts-20060613/eaccelerator.so"
eaccelerator.shm_size="
16"
eaccelerator.cache_dir="
/tmp/eaccelerator"
eaccelerator.enable="
1"
eaccelerator.optimizer="
eaccelerator.check_mtime="
eaccelerator.debug="
0"
eaccelerator.filter="
"
eaccelerator.shm_max="
eaccelerator.shm_ttl="
3600"
eaccelerator.shm_prune_period="
eaccelerator.shm_only="
press="
press_level="
9"
注意:
这部分内容务必放在[zend]之前,不然可能会出现不可预期的服务器问题。
然后建立文件夹并设置权限:
mkdir/tmp/eaccelerator
chmod777/tmp/eaccelerator
2.2)安装Zend(如果程序没要求,尽量不要装Zend,容易和eA产生冲突):
tar-zxvfZendOptimizer-3.3.9-linux-glibc23-i386.tar.gz
cpZendOptimizer-3.3.9-linux-glibc23-i386/data/5_2_x_comp/ZendOptimizer.so/usr/local/php/lib/php/extensions/no-debug-non-zts-20060613/
修改php.ini文件:
vi/usr/local/php/php.ini
将以下代码放入php.ini文件最底部
[ZendOptimizer]
zend_optimizer.optimization_level=1
zend_optimizer.encoder_loader=0
/usr/local/php/lib/php/extensions/no-debug-non-zts-20060613/ZendOptimizer.so"
2.3)安装PDO_MYSQL
tarzxvfPDO_MYSQL-1.0.2.tgz
cdPDO_MYSQL-
 升级会员
升级会员 