KVM虚拟机的创建管理与迁移文档格式.docx
《KVM虚拟机的创建管理与迁移文档格式.docx》由会员分享,可在线阅读,更多相关《KVM虚拟机的创建管理与迁移文档格式.docx(7页珍藏版)》请在冰豆网上搜索。
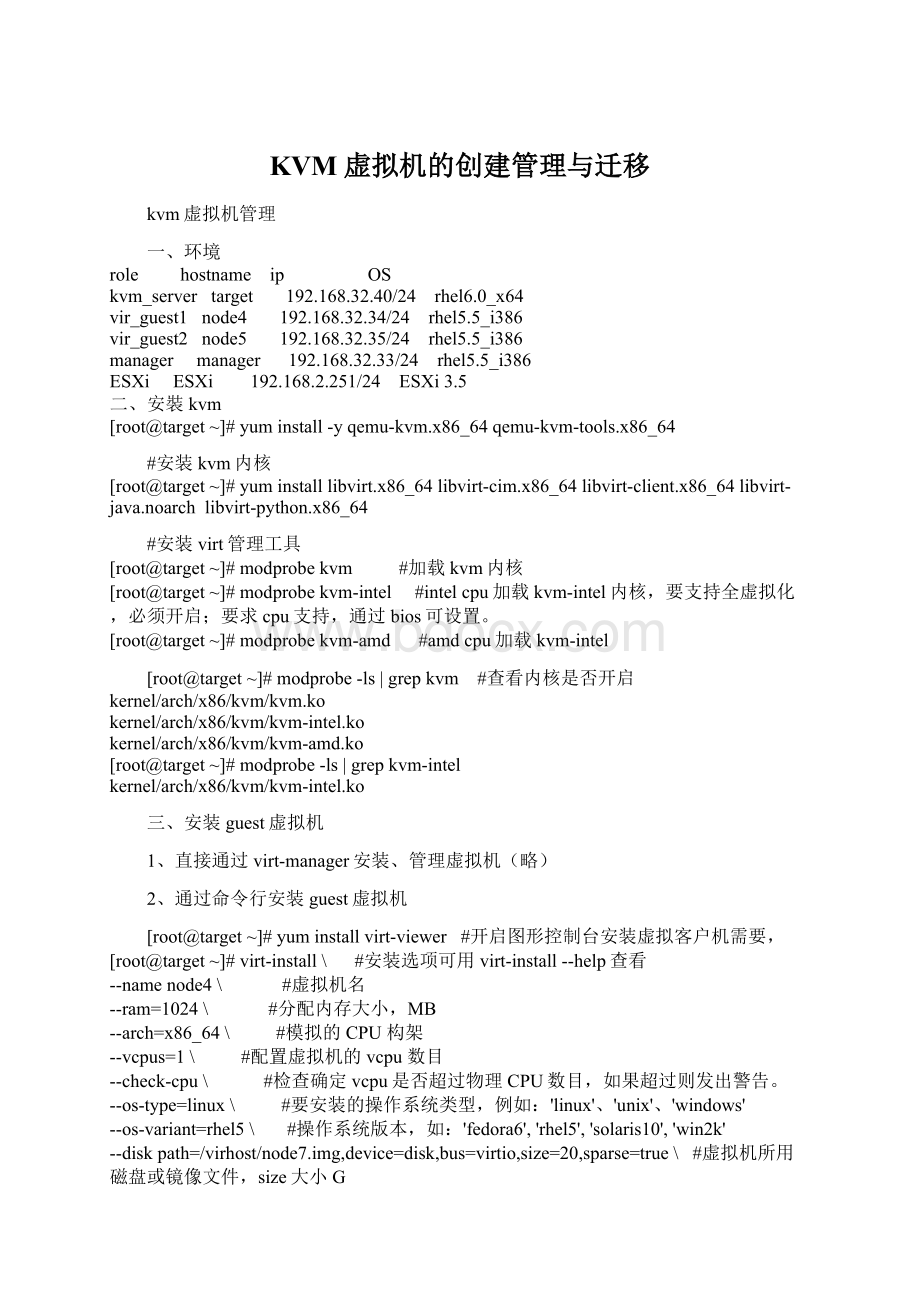
[root@target~]#modprobekvm-amd
#amdcpu加载kvm-intel
[root@target~]#modprobe-ls|grepkvm
#查看内核是否开启
kernel/arch/x86/kvm/kvm.ko
kernel/arch/x86/kvm/kvm-intel.ko
kernel/arch/x86/kvm/kvm-amd.ko
[root@target~]#modprobe-ls|grepkvm-intel
三、安装guest虚拟机
1、直接通过virt-manager安装、管理虚拟机(略)
2、通过命令行安装guest虚拟机
[root@target~]#yuminstallvirt-viewer
#开启图形控制台安装虚拟客户机需要,
[root@target~]#virt-install\
#安装选项可用virt-install--help查看
--namenode4\
#虚拟机名
--ram=1024\
#分配内存大小,MB
--arch=x86_64\
#模拟的CPU构架
--vcpus=1\
#配置虚拟机的vcpu数目
--check-cpu\
#检查确定vcpu是否超过物理CPU数目,如果超过则发出警告。
--os-type=linux\
#要安装的操作系统类型,例如:
'
linux'
、'
unix'
windows'
--os-variant=rhel5\
#操作系统版本,如:
fedora6'
'
rhel5'
solaris10'
win2k'
--diskpath=/virhost/node7.img,device=disk,bus=virtio,size=20,sparse=true\
#虚拟机所用磁盘或镜像文件,size大小G
--bridge=br0\
#指定网络,采用透明网桥
--noautoconsole\
#不自动开启控制台
--pxe
#网络安装
四、利用virsh对虚拟机管理
1、开关机
[root@target~]#virshstartnode4
#开机
[root@target~]#virshcreate/etc/libvirt/qemu/node4.xml#直接通过主机配置文档启动主机
[root@target~]#virshshutdownnode4
#关机
[root@target~]#virshdestroynode4
#强制关闭电源
[root@target~]#virshlist--all
#查看虚拟机状态
Id名称
状态
----------------------------------
18node4
running
-node5
关闭
-win8
2、添加删除虚拟机
[root@target~]#virshdefine/etc/libvirt/qemu/node5.xml
#根据主机配置文档添加虚拟机
#node5已经添加
[root@target~]#virshundefinenode5
#移除虚拟机
[root@target~]#ls/etc/libvirt/qemu
networks
node4.xml
win8.xml
#node5已经被移除
3、远程管理虚拟机(qemu+ssh连接)
[root@target~]#yuminstallvirt-viewer
[root@target~]#exportDISPLAY=192.168.40.18:
0.0
[root@target~]#virt-viewer-cqemu///systemnode4
#本地管理虚拟机,system:
获取system权限,注意qemu后是三个/
[root@manager~]#virt-viewer-cqemu+ssh:
//root@192.168.32.40/systemnode4
#远程linux通过virt-viewer+ssh管理虚拟机
Xlib:
extension"
RANDR"
missingondisplay"
192.168.40.18:
0.0"
.
root@192.168.32.40'
spassword:
#会弹出virt-viwer的gtk管理界面
4、使用已存在的虚拟机配置文档安裝新的虚拟机
[root@target~]#qemu-imgcreate-fqcow2/virhost/kvm_node/node6.img20G
#为新建虚拟机生产磁盘镜像文件
[root@target~]#virshlist
[root@target~]#virshdumpxmlnode4>
/etc/libvirt/qemu/node6.xml
#导出虚拟机node6的硬件配置信息为/etc/libvirt/qemu/node6.xml
[root@target~]#vim/etc/libvirt/qemu/node6.xml
<
domaintype='
kvm'
id='
20'
>
#修改node6的id号
<
name>
node6<
/name>
#虚拟机node6的name
uuid>
4b7e91eb-6521-c2c6-cc64-c1ba72707fc7<
/uuid>
#uuid必须修改,否则会和node4的冲突
memory>
524288<
/memory>
currentMemory>
/currentMemory>
vcpu>
1<
/vcpu>
os>
typearch='
x86_64'
machine='
rhel5.4.0'
hvm<
/type>
bootdev='
network'
/>
/os>
features>
acpi/>
apic/>
pae/>
/features>
clockoffset='
utc'
on_poweroff>
destroy<
/on_poweroff>
on_reboot>
restart<
/on_reboot>
on_crash>
/on_crash>
devices>
emulator>
/usr/libexec/qemu-kvm<
/emulator>
disktype='
file'
device='
disk'
drivername='
qemu'
type='
qcow2'
cache='
none'
sourcefile='
/virhost/node4.img'
#指定新虚拟机的硬盘文件
targetdev='
vda'
bus='
virtio'
/disk>
interfacetype='
bridge'
macaddress='
54:
52:
00:
69:
d5:
c7'
sourcebridge='
br0'
vnet0'
modeltype='
/interface>
d7'
vnet1'
serialtype='
pty'
sourcepath='
/dev/pts/4'
targetport='
0'
/serial>
consoletype='
tty='
/console>
inputtype='
mouse'
ps2'
graphicstype='
vnc'
port='
5900'
autoport='
yes'
keymap='
en-us'
/devices>
/domain>
[root@target~]#virshdefine/etc/libvirt/qemu/node6.xml
#使用虚拟描述文档建立虚拟机,可用virsheditnode6修改node6的配置文件
[root@target~]#virshstartnode6
#启动虚拟机
5为虚拟机开启vnc
[root@target~]#virsheditnode4
#编辑node4的配置文件;
不建议直接通过vimnode4.xml修改。
-1'
listen='
127.0.0.1'
#port='
:
port自动分配,监听回环网络(virt-manager管理需要listen='
),无密码
改为
5904'
no'
0.0.0.0'
passwd='
xiaobai'
#固定vnc管理端口5904,不自动分配,vnc密码xiaobai,监听所有网络
2.远程vnc访问地址:
192.168.32.40:
5904
五、存储池和存储卷的管理
1.创建KVM主机存储池
1).创建基于文件夹(目录)的存储池
[root@targetvirhost]#virshpool-define-asvmware_pool--typedir--target/virhost/vmware
#定义存储池vmware_pool
或
[root@targetvirhost]#virshpool-create-as--namevmware_pool--typedir--target/virhost/vmware
#创建存储池vmware_pool,类型为文件目录,/virhost/vmware,与pool-define-as结果一样
2).创建基于文件系统的存储池
[root@targetvirhost]#virshpool-define-as--namevmware_pool--typefs--source-dev/dev/vg_target/LogVol02--source-formatext4--target/virhost/vmware
[root@targetvirhost]#virshpool-create-as--namevmware_pool--typefs--source-dev/dev/vg_target/LogVol02--source-formatext4--target/virhost/vmware
3).查看存储池信息
[root@targetvirhost]#virshpool-infovmware_pool
#查看存储域(池)信息
名称:
vmware_pool
UUID:
2e9ff708-241f-fd7b-3b57-25df273a55db
状态:
Persistent:
no
自动启动:
容量:
98.40GB
分配:
18.39GB
可用:
80.01GB
4).启动存储池
[root@targetvirhost]#virshpool-startvmware_pool
#启动存储池
[root@targetvirhost]#virshpool-list
名称
状态
自动开始
-----------------------------------------
default
活动
yes
virhost
vmware_pool
5)销毁存储域,取消存储池
[root@targetvirhost]#virshpool-destroyvmware_pool
#销毁存储池
[root@targetvirhost]#virshpool-list--all
不活跃
no
[root@targetvirhost]#virshpool-undefinevmware_pool
#取消存储池的定义
[root@targetvirhost]#virshpool-list--all
2.创建了存储池后,就可以创建一个卷,这个卷是用来做虚拟机的硬盘
[root@targetvirhost]#virshvol-create-as--poolvmware_pool--namenode6.img--capacity10G--allocation1G--formatqcow2
#创建卷node6.img,所在存储池为vmware_pool,容量10G,初始分配1G,文件格式类型qcow2
[root@targetvirhost]#virshvol-info/virhost/vmware/node6.img
#查看卷信息
node6.img
类型:
文件
10.00GB
136.00KB
3.在存储卷上安装虚拟主机
[root@targetvirhost]#virt-install--connectqemu:
///system\
-nnode7\
-r512\
-f/virhost/vmware/node7.img\
--vnc\
--os-type=linux\
--os-variant=rhel6
\
--vcpus=1\
--networkbridge=br0\
-c/mnt/rhel-server-6.0-x86_64-dvd.iso
六、虚拟机的迁移(vmware2kvm)
1.安装软件
[root@target~]#yuminstall-yvirt-v2v.x86_64
[root@target~]#rpm-ivhlibguestfs-winsupport-1.0-7.el6.x86_64.rpm
virtio-win-1.2.0-1.el6.noarch.rpm
#虚拟机为windows时需要libguestfs-winsupport包来支持NTFS文件系统和virtio-win包来支持Windowspara-virtualized存储和网络设备驱动
2.创建KVM主机存储域(略)
virt-v2v在迁移虚拟机的过程中,需要拷贝被迁移虚拟机到KVM主机预先定义的存储池中。
3.创建KVM主机网络接口(略)
虚拟机在迁移之后将连接KVM主机网络,因此主机必须有一个与之相匹配的网络接口,比如说网桥。
4.在KVM主机上创建或修改$HOME/.netrc文件,添加VMwareESXi服务器的用户名和密码。
[root@target~]#cat~/.netrc
machine192.168.2.251loginrootpasswordxxxxxx
[root@target~]#chmod0600~/.netrc
5.VmwareESXi到KVM的迁移
[root@target~]#virt-v2v-icesx:
//192.168.2.251/?
no_verify=1-opvirhost-bbr0ipserver
**HEADhttps:
//192.168.2.251/folder/tserver21/RHEL4.6-flat.vmdk?
dcPath=ha-datacenter&
dsName=ESX35-bak%3Astorage1==>
401Unauthorized
200OK
**GEThttps:
200OK(2084s)
unknownfilesystem/dev/hda
unknownfilesystem/dev/fd0
virt-v2v:
Installationfailedbecausethefollowingfilesreferencedintheconfigurationfilearerequired,butmissing:
rhel/4/kernel-smp-2.6.9-89.EL.i686.rpm
非virtio驱动程序配置的tserver21
#所有选项可通过配置文件/etc/virt-v2v.conf来指定
#-op:
指定用于转换后的存储域(pool),virhost
#-b:
指定网络为网桥br0
#-ic:
指定要转换的源地址
[root@targetkvm_node]#virshlist--all
1node4
-tserver21
[ro
 升级会员
升级会员 