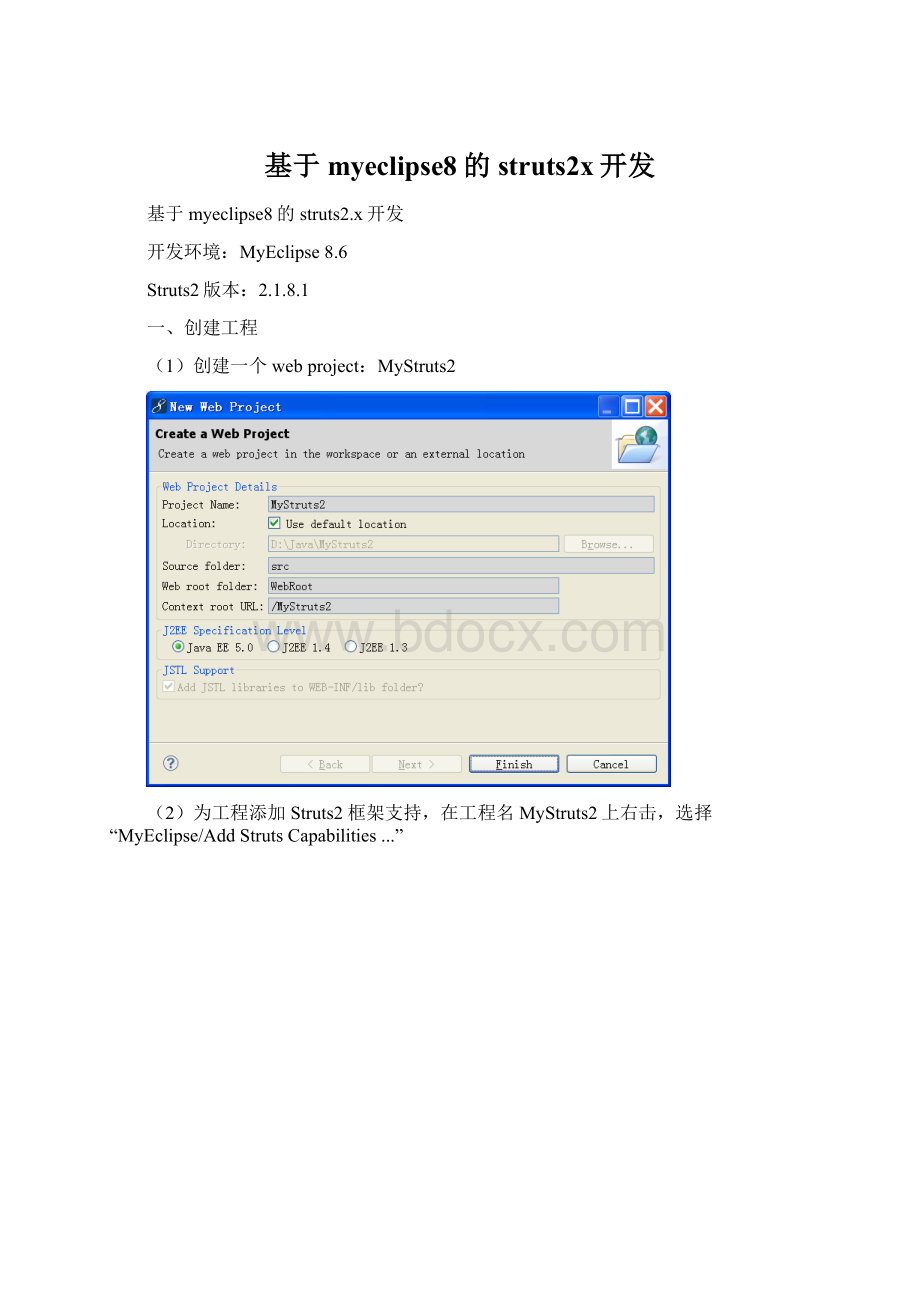
基于myeclipse8的struts2x开发Word文档下载推荐.docx
《基于myeclipse8的struts2x开发Word文档下载推荐.docx》由会员分享,可在线阅读,更多相关《基于myeclipse8的struts2x开发Word文档下载推荐.docx(14页珍藏版)》请在冰豆网上搜索。
struts2<
/filter-name>
filter-class>
org.apache.struts2.dispatcher.ng.filter.StrutsPrepareAndExecuteFilter
/filter-class>
/filter>
filter-mapping>
url-pattern>
*.action<
/url-pattern>
--注:
应该将*.action改为/*,所有请求都可以被拦截,进而寻找对应的action去执行-->
/filter-mapping>
/web-app>
另外:
如果是2.1.3之前的版本,用org.apache.struts2.dispatcher.FilterDispatcher;
之后则用org.apache.struts2.dispatcher.ng.filter.StrutsPrepareAndExecuteFilter。
从Struts2.1.3开始,将废弃ActionContextCleanUp过滤器,而在StrutsPrepareAndExecuteFilter过滤器中包含相应的功能。
此时,运行tomcat服务器,在浏览器中输入:
//localhost:
8080/MyStruts2/,应该能够正确显示页面,表明添加Struts2后,没有引起冲突。
总结:
在MyEclipse8中对一个项目中添加struts2支持方法非常简单,只需要进行简单设置,不用手动创建配置文件。
二、struts2简单用例1
示例内容:
添加一个action,在其中处理数据,并将结果在页面上进行显示。
1、添加需要的JSP页面
添加一个页面,用于跳转到的位置,如result.jsp,将页面放在WEB-INF/pages/目录下,是为了保证安全,不让用户直接输入网址进入。
2、添加Action
在struts.xml源文件中右击鼠标,选择MyEclipes/NewAction...
在新弹出的“NewAction”对话框里新建一个Package,如下图所示:
说明:
struts2的Action必须放在指定的包空间下定义,即要设置Package的name;
而Namespace是一个路径,与Action名称一起组成action的路径,例如在JSP表单的action属性中设置该action路径,则要用namespace+/+actionname.action组成。
继续添加Action的Name,Class以及Results。
其中Name为action的名称,类似于struts1中的path,即程序中访问该action使用的映射名称;
Class为action的完整类名,包括包名与类名。
如下图所示:
注意:
添加Results时,类型选default默认,不能选redirect,否则action将不对给页面传参数。
当然,如果需要传参,也可以通过在路径后面添加参数的方法把参数带上,如location=/WEB-INF/pages/result.jsp?
name=${username}。
实际上,这一步修改了struts.xml文件,即帮我们添加了如下代码:
packagename="
myactions"
namespace="
/mypath"
extends="
struts-default"
actionname="
output"
class="
com.gzzzz.OutputAction"
resultname="
success"
/WEB-INF/pages/result.jsp<
/result>
/action>
/package>
其中,result类似于Struts1.x中的forward元素。
注意jsp页面的路径,如果在工程根目录下,就写成:
/result.jsp
这一步在工程中添加了com.gzzzz.OutputAction.java文件。
3、添加代码逻辑操作,进入OutputAction类:
publicclassOutputActionextendsActionSupport{
privateStringMsg;
//添加一个变量
publicStringgetMsg(){
//添加getter
returnMsg;
}
publicStringexecute(){
Msg="
results:
"
+(10+20);
//逻辑运算
returnSUCCESS;
//预定义常量
}
2.4在result页面对msg进行显示
body>
${msg}
//EL表达式
/body>
EL表达式的变量名,要与Action中的getMsg函数名要对应(即将Msg变为msg),而与相关成员变量名不必保持对应,虽然我们通常这样做。
4、运行程序
在浏览器出输入:
8080/MyStruts2/output.action
这样会出错。
在调用action之前要加上Namespace。
输入改为:
8080/MyStruts2/mypath/output.action
如下,所示,看到了我们想要的结果:
三、struts2简单用例2
用户登陆功能。
添加login.jsp,代码如下:
%@pagelanguage="
java"
pageEncoding="
GBK"
%>
%@tagliburi="
/struts-tags"
prefix="
s"
%>
DOCTYPEHTMLPUBLIC"
-//W3C//DTDHTML4.01Transitional//EN"
htmllang="
true"
<
head>
title>
LoginPage<
/title>
metahttp-equiv="
pragma"
content="
no-cache"
cache-control"
expires"
0"
keywords"
keyword1"
description"
Thisismypage"
--
linkrel="
stylesheet"
type="
text/css"
href="
styles.css"
-->
/head>
s:
actionerror/>
formaction="
/mystruts2/login.action"
method="
post"
>
tableborder="
tr>
td>
textfieldname="
username"
label="
/>
div>
fielderrorkey="
msg.error"
/>
/div>
/td>
/tr>
passwordname="
password"
tdcolspan="
2"
submitvalue="
提交"
/table>
/s:
form>
/html>
2、添加Action:
这里必须重写execute方法,该方法也是Action的主要逻辑处理方法,这个方法必须返回一个String类型的值,这个字符串和struts.xml中该Action标签中某个<
result>
标签的name属性值相同,也就是通过这个值确定页面定向位置。
实例代码如下:
packagecom.coffe;
importcom.opensymphony.xwork2.ActionSupport;
publicclassLoginActionextendsActionSupport{
privateStringusername;
privateStringpassword;
publicStringgetUsername(){
returnusername;
}
publicvoidsetUsername(Stringusername){
this.username=username;
publicStringgetPassword(){
returnpassword;
publicvoidsetPassword(Stringpassword){
this.password=password;
publicStringexecute(){
if(username.equals("
coffe"
)&
&
password.equals("
123"
))
returnSUCCESS;
else
returnERROR;
3、web.xml文件修改
在MyEclipse自动生成的web.xml基础上添加如下过滤器,而且必须添加,否则运行报错。
web-appversion="
2.5"
xmlns="
xmlns:
xsi="
//www.w3.org/2001/XMLSchema-instance"
xsi:
schemaLocation="
welcome-file-list>
welcome-file>
login.jsp<
/welcome-file>
/welcome-file-list>
<
org.apache.struts2.dispatcher.ng.filter.StrutsPrepareAndExecuteFilter
/*<
4、Struts.xml文件修改
在MyEclipse自动生成的struts.xml基础上添加Action的说明,每个Action都必须包含在一个Package标签内,当然可以有多个<
package>
。
实例如下:
/mystruts2"
extends="
login"
com.coffe.LoginAction"
<
/index.jsp<
input"
/login.jsp<
error"
/error.jsp<
5、添加成功页面index.jsp
:
import="
java.util.*"
ISO-8859-1"
%
Stringpath=request.getContextPath();
StringbasePath=request.getScheme()+"
//"
+request.getServerName()+"
+request.getServerPort()+path+"
/"
;
html>
basehref="
%=basePath%>
MyJSP'
index.jsp'
startingpage<
keyword1,keyword2,keyword3"
h1>
Welcome!
/h1>
br>
6、添加失败页面error.jsp:
Error<
Error!
7、测试程序。
四、struts2简单用例3
在struts2中加入parameter。
1、Struts.xml文件如下:
(在action中加入paramName1参数)
xxx"
com.coffe.myAction1"
paramname="
paramName1"
1<
/param>
2、action中访问paramName1的方法。
Struts2使用注入法将paramName1的初始值注入到action对象中,action定义paramName1内部成员作为依赖对象,并提供getter和setter方法。
如下:
publicclassmyAction1extendsActionSupport{
privateStringparamName1;
publicStringgetParamName1(){
returnparamName1;
publicvoidsetParamName1(StringparamName1){
this.paramName1=paramName1;
paramName1="
paramName1:
+paramName1;
//逻辑运算
returnSUCCESS;
}
3、jsp中访问paramName1:
${paramName1}<
4、访问程序:
8080/struts2test/mypath/xxx.action
五、struts2简单用例4
在struts2中加入两个action,action之间进行跳转。
在程序中存在myAction1和myAction2,myAction1即是前例的action。
要求访问myAction2,然后通过myAction2跳转到myAction1。
global-results>
gotoXXX"
redirectAction"
xxx<
/global-results>
sss"
com.coffe.myAction2"
2、myAction2的代码:
publicclassmyAction2extendsActionSupport{
return"
3、访问程序:
8080/struts2test/mypath/sss.action
 升级会员
升级会员 