人事管理.docx
《人事管理.docx》由会员分享,可在线阅读,更多相关《人事管理.docx(16页珍藏版)》请在冰豆网上搜索。
人事管理
Struts2+Spring+Ibatis整合的简单人事管理系统作者:
李红
首先,用MyEclipse新建一个webproject(包com.bjnt.ibatis.map(存放ibatis配置文件)com.bjnt.ibatis.domian(存放实体类)com.bjnt.)
一.Ibatis
先是Ibatis的配置:
1.把ibatis-2.3.4.726.jar复制到项目的WEB-INFO/lib下刷新eclipse
2.建立ibatis的包,在此我创建了com.bjnt.ibatis.map包(存放ibatis配置文件).
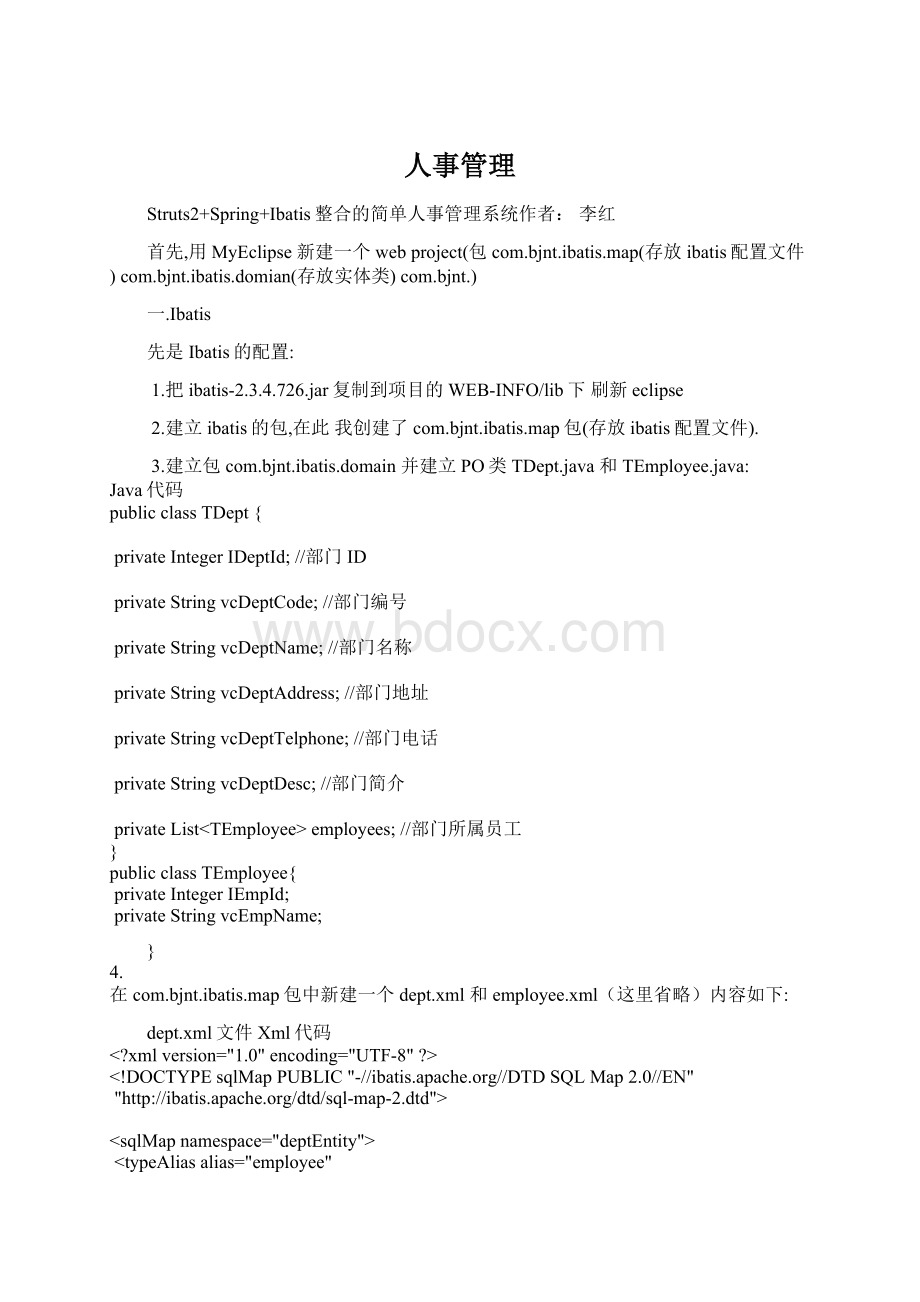
3.建立包com.bjnt.ibatis.domain并建立PO类TDept.java和TEmployee.java:
Java代码
publicclassTDept{
privateIntegerIDeptId;//部门ID
privateStringvcDeptCode;//部门编号
privateStringvcDeptName;//部门名称
privateStringvcDeptAddress;//部门地址
privateStringvcDeptTelphone;//部门电话
privateStringvcDeptDesc;//部门简介
privateListemployees;//部门所属员工
}
publicclassTEmployee{
privateIntegerIEmpId;
privateStringvcEmpName;
}
4.
在com.bjnt.ibatis.map包中新建一个dept.xml和employee.xml(这里省略)内容如下:
dept.xml文件Xml代码
xmlversion="1.0"encoding="UTF-8"?
>
DOCTYPEsqlMapPUBLIC"-//ibatis.apache.org//DTDSQLMap2.0//EN"
"http:
//ibatis.apache.org/dtd/sql-map-2.dtd">
type="com.bjnt.ibatis.domain.TEmployee"/>
select*
fromT_DEPTasdept
dept.DEPTID=#value#
resultClass="employee">
[CDATA[
selectemp.EMPIDasIEmpId,emp.EMPNAMEasvcEmpName,emp.GENDERasIEmpGender,emp.AGE
asIEmpAge,emp.IDCARDasvcEmpIdCard,emp.PARTYasvcEmpParty,emp.SCHOOL
asvcEmpSchool,emp.MAJORasvcEmpMajor,emp.TITLEasvcEmpTitle,emp.POSTasvcEmpPost
fromT_EMPLOYEEasemp
whereemp.DEPTID=#value#
]]>
resultMap="get-dept-result">
select*
fromT_DEPTasdept
dept.DEPTNAME=#value#
resultMap="get-dept-result">
select*
fromT_DEPTasdept
dept.DEPTCODE=#value#
insertintoT_DEPT(
DEPTID,DEPTCODE,DEPTNAME,ADDRESS,TELPHONE,`DESC`
)values(
?
?
?
?
?
?
)
5.创建com.bjnt.ibatis.dao并创建数据库dao接口TDeptDao.java:
Java代码
publicinterfaceTDeptDao{
/**
*查找所有的部门
*@return
*/
publicListfindAllDept();
/**
*根据部门Id查找特定部门
*@paramdeptId
*@return
*/
publicTDeptfindDeptById(IntegerdeptId);
/**
*根据部门名称查找特定部门
*@paramdeptName
*@return
*/
publicTDeptfindDeptByName(StringdeptName);
/**
*根据部门编号查找特定部门
*@paramdeptCode
*@return
*/
publicTDeptfindDeptByCode(StringdeptCode);
/**
*新插入一个部门
*@paramdept
*@return
*/
publicIntegerinsertDept(TDeptdept);
}
6.在com.bjnt.ibatis.dao.impl实现这个接口,TDeptDaoImpl.java:
Java代码
publicclassTDeptDaoImplextendsSqlMapClientDaoSupportimplementsTDeptDao{
@SuppressWarnings("unchecked")
@Override
publicListfindAllDept(){
return(List)getSqlMapClientTemplate().queryForList("findDeptById");
}
@Override
publicTDeptfindDeptById(IntegerdeptId)throwsDataAccessException{
return(TDept)getSqlMapClientTemplate().queryForObject("findDeptById",deptId);
}
@Override
publicIntegerinsertDept(TDeptdept){
return(Integer)getSqlMapClientTemplate().insert("insertDept",dept);
}
@Override
publicTDeptfindDeptByName(StringdeptName){
return(TDept)getSqlMapClientTemplate().queryForObject("findDeptByName",deptName);
}
@Override
publicTDeptfindDeptByCode(StringdeptCode){
return(TDept)getSqlMapClientTemplate().queryForObject("findDeptByDeptCode",deptCode);
}
}
7.在项目的WEB-INF下新建配置文件SqlMapConfig.xml:
Xml代码
xmlversion="1.0"encoding="UTF-8"?
>
DOCTYPEsqlMapConfigPUBLIC"-//iBATIS.com//DTDSQLMapConfig2.0//EN"
"
lazyLoadingEnabled="true"errorTracingEnabled="true"maxRequests="32"
maxSessions="10"maxTransactions="5"useStatementNamespaces="false"/>
到此,Ibatis配置的差不多了.
二.配置Spring:
1.拷入commons-collections-3.2.jarcommons-dbcp-1.2.2.jarcommons-logging-1.0.4.jarcommons-pool-1.4.jarlog4j-1.2.14.jarretrotranslator-runtime-1.2.0.jarretrotranslator-transformer-1.2.0.jarspring.jar到WEB-INF/lib
2.在WEB-INF目录下建立配置文档jdbc.properties:
Java代码
jdbc.driverClassName=com.mysql.jdbc.Driver
jdbc.url=jdbc:
mysql:
//localhost:
3306/bjnt_database?
characterEncoding=UTF-8
jdbc.username=root
jdbc.password=root
3.在WEB-INF目录下建立配置文档applicationContext.xml(Spring的配置文件):
(待修改~~~)
Xml代码
xmlversion="1.0"encoding="UTF-8"?
>
xmlns="http:
//www.springframework.org/schema/beans"
xmlns:
xsi="http:
//www.w3.org/2001/XMLSchema-instance"
xmlns:
aop="http:
//www.springframework.org/schema/aop"
xmlns:
tx="http:
//www.springframework.org/schema/tx"
xsi:
schemaLocation="
http:
//www.springframework.org/schema/beanshttp:
//www.springframework.org/schema/beans/spring-beans-2.0.xsd
http:
//www.springframework.org/schema/aophttp:
//www.springframework.org/schema/aop/spring-aop-2.5.xsd
http:
//www.springframework.org/schema/txhttp:
//www.springframework.org/schema/tx/spring-tx-2.5.xsd
">
--以下四个文件中的内容可以直接写在applicationContext.xml本文件中-->
--以上四个文件中的内容可以直接写在applicationContext.xml本文件中-->
WEB-INF\\jdbc.properties
--以下代码是使用AOP方式对事务的管理-->
--
config>
advisorpointcut="execution(*com.bjnt.struts.action.*.*(..))"advice-ref="txAdvice"/>
config>
adviceid="txAdvice">
attributes>
methodname="execute*"/>
methodname="insert*"/>
methodname="update*"/>
methodname="*"read-only="true"/>
attributes>
advice>
-->
--===================实现外观类对业务逻辑组件的注入=======================-->
4.在WEB-INF目录下建立配置文档dataAccessContext.xml
Xml代码
xmlversion="1.0"encoding="UTF-8"?
>
DOCTYPEbeansPUBLIC"-//SPRING//DTDBEAN2.0//EN""http:
//www.springframework.org/dtd/spring-beans-2.0.dtd">
--spring的事务处理代理配置-->
class="org.springframework.transaction.interceptor.TransactionProxyFactoryBean"
lazy-init="true"abstract="true">
--它有个属性叫“事务经理”,下面会声明的-->
--这里就声明了具体的事务-->
PROPAGATION_REQUIRED
PROPAGATION_REQUIRED
PROPAGATION_REQUIRED
PROPAGATION_REQUIRED
PROPAGATION_REQUIRED
PROPAGATION_REQUIRED,readOnly
--spring的数据源的配置-->
--spring的事务处理类配置-->
--spring的ibatis配制-->
 升级会员
升级会员 