Myeclipse安装Axis2插件并开发V10.docx
《Myeclipse安装Axis2插件并开发V10.docx》由会员分享,可在线阅读,更多相关《Myeclipse安装Axis2插件并开发V10.docx(33页珍藏版)》请在冰豆网上搜索。

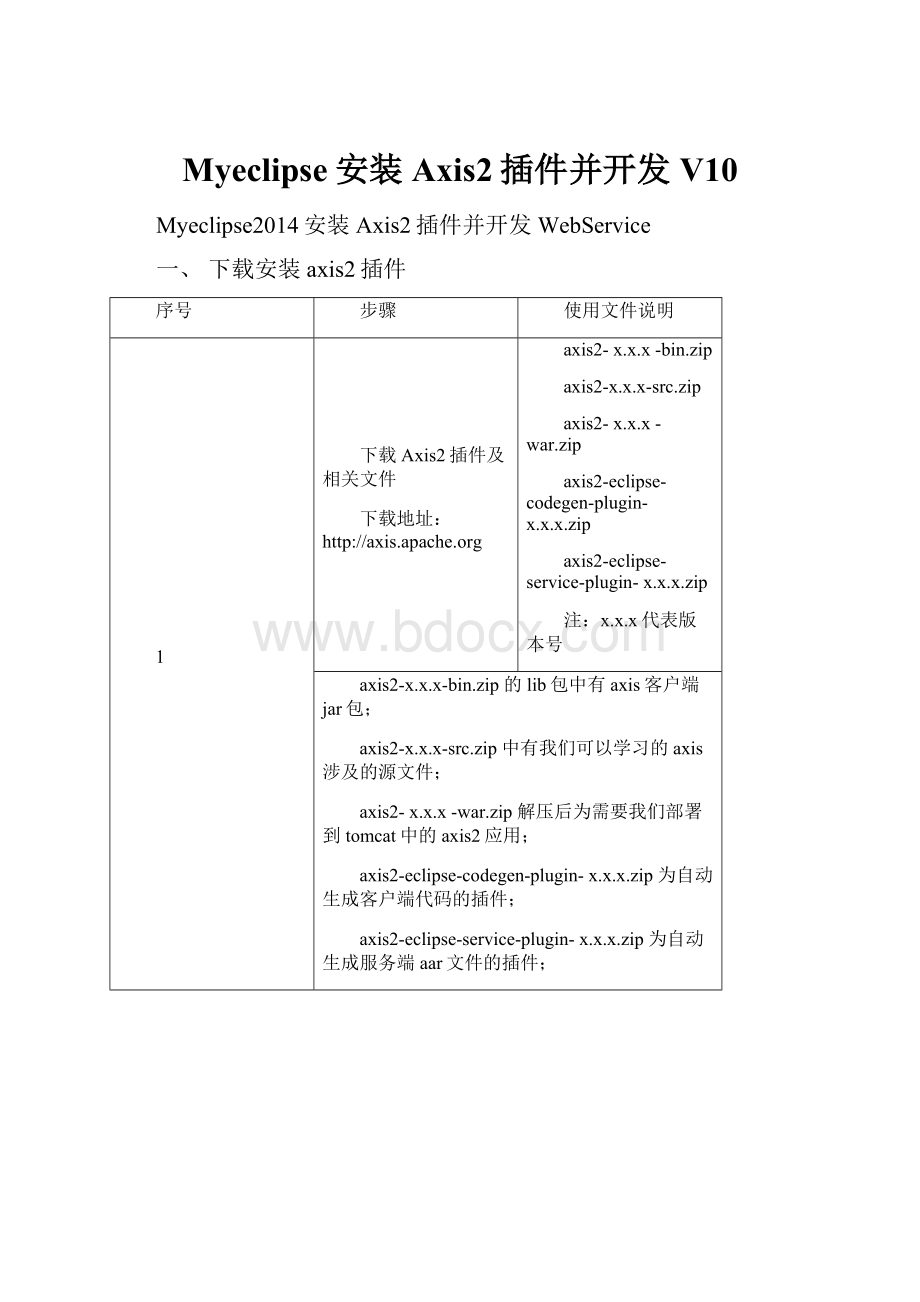
Myeclipse安装Axis2插件并开发V10
Myeclipse2014安装Axis2插件并开发WebService
一、下载安装axis2插件
序号
步骤
使用文件说明
1
下载Axis2插件及相关文件
下载地址:
http:
//axis.apache.org
axis2-x.x.x-bin.zip
axis2-x.x.x-src.zip
axis2-x.x.x-war.zip
axis2-eclipse-codegen-plugin-x.x.x.zip
axis2-eclipse-service-plugin-x.x.x.zip
注:
x.x.x代表版本号
axis2-x.x.x-bin.zip的lib包中有axis客户端jar包;
axis2-x.x.x-src.zip中有我们可以学习的axis涉及的源文件;
axis2-x.x.x-war.zip解压后为需要我们部署到tomcat中的axis2应用;
axis2-eclipse-codegen-plugin-x.x.x.zip为自动生成客户端代码的插件;
axis2-eclipse-service-plugin-x.x.x.zip为自动生成服务端aar文件的插件;
2
将axis2-x.x.x-war.zip解压后得到的axis2.war放入到tomcat目录下的webapps目录下,启动tomcat,打开页面http:
//127.0.0.1:
8080/axis2,出现如下页面说明axis2启动正常。
3
将axis2-eclipse-codegen-plugin-x.x.x.zip和axis2-eclipse-service-plugin-x.x.x.zip解压后,得到的两个jar文件放入到myeclipse2014下的plugins文件夹下
然后打开MyEclipse2014下的\configuration\org.eclipse.equinox.simpleconfigurator\bundles.info文件,在文件最后追加,org.apache.axis2.eclipse.service.plugin,x.x.x,plugins/org.apache.axis2.eclipse.service.plugin_x.x.x.jar,4,false
org.apache.axis2.eclipse.codegen.plugin,1.6.2,plugins/org.apache.axis2.eclipse.codegen.plugin_x.x.x.jar,4,false
例如,追加:
org.apache.axis2.eclipse.service.plugin,1.7.3,plugins/org.apache.axis2.eclipse.service.plugin_1.7.3.jar,4,false
org.apache.axis2.eclipse.codegen.plugin,1.7.3,plugins/org.apache.axis2.eclipse.codegen.plugin_1.7.3.jar,4,false
重启myeclipse后,点击new->other,如果出现如下图所示,说明axis2插件安装成功。
二、开发业务java类并生成aar文档并部署Web服务
(向Tomcat中axis2应用中部署aar)
序号
步骤
1
新建WebProject----WeatherWS
2
新建业务类Weather(普通的Java类)
3
编写业务代码
4
生成aar文件:
FileNew-Other-Axis2Wizards
使用Axis2ServiceArchiver将java类生成为webservice的向导
5
部署aar文档,并启动tomcat,查看WSDL路径。
将新生成aar文件放到tomcat安装目录的\webapps\axis2\WEB-INF\services
如E:
\apache-tomcat-6.0.36\webapps\axis2\WEB-INF\services
双击E:
\apache-tomcat-6.0.36\bin下的startup.bat启动。
访问localhost:
8080/axis2,获取Web服务的WSDL路径如下,并记录好以备开发Web服务客户端使用:
http:
//localhost:
8080/axis2/services/WeatherWS?
wsdl
三、开发Web服务客户端并测试Web服务的调用
序号
步骤
1
新建JavaProject----WeatherWSClient
2
使用Axis2CodeGenerator生成客户端代码
(此时请保证Web服务处于运行状态,即部署Web服务的tomcat启动,因为此过程中需验证WSDL地址)
把下载的axis2-x.x.x-bin.zip解压到某一目录下,如D:
\yxm,解压后产生D:
\yxm\axis2-1.7.3目录,此目录则为AxisHome;
3
生成后的代码结构如下,代码中报错,需手动把axis2-x.x.x-bin.zip解压后的jar包添加到BuildPath中:
src目录下为生成的客户端源文件
4
创建测试类调用Web服务
5
客户端测试代码
publicstaticvoidmain(String[]args){
try{
WeatherWSStubstub=newWeatherWSStub();
TodayWeathertodayWeather=newTodayWeather();
TodayWeatherResponsetodayWeatherResponse=stub.todayWeather(todayWeather);
TomorrowWeathertomorrowWeather=newTomorrowWeather();
TomorrowWeatherResponsetomorrowWeatherResponse=stub.tomorrowWeather(tomorrowWeather);
SpecialDayWeatherspecialDayWeather=newSpecialDayWeather();
specialDayWeather.setSpecialDay("2016-08-13");
SpecialDayWeatherResponsespecialDayWeatherResponse=stub.specialDayWeather(specialDayWeather);
System.out.println(todayWeatherResponse.get_return());
System.out.println(tomorrowWeatherResponse.get_return());
System.out.println(specialDayWeatherResponse.get_return());
}catch(Exceptione){
e.printStackTrace();
}
}
6
运行结果(此时请保证Web服务处于运行状态,即部署Web服务的tomcat启动)
说明:
工程的BuildPath中添加jar也可以采用userlibrary的形式;
Userlibrary为工程添加jar包提供了更方便的途径。
附:
创建一个userlibrary库,使用UserLibrary
创建一个userlibrary库,再向该library中添加工程需要的jar包,最后向工程加入该library。
序号
步骤
1
点击window菜单,选择“Preference”
2
在preferences窗口中选择java->UserLibraries,然后点击窗口右边的New...按钮,在弹出的子窗口中输入userlibrary的名称,如输入axislib,建议名称能体现功能。
3
向该userlibrary中添加jar包。
选中axislib,然后点击“AddExternalJars”,选择你要添加的jar后,点击“打开”按钮,则axislib库中就会出现你刚添加的jar文件信息。
4
最后点击窗口下的“OK”按钮,完成userlibrary的添加和其jar的添加。
5
向工程添加userlibrary库的方法
5.1
鼠标右键单击要添加userlibrary库工程名称,然后点击BuildPath->AddLibraries....菜单,
5.2
在弹出的子窗口中选中UserLibrary,单击Next按钮,在新窗口中选中你要加入的library名称后点击finish按钮即可,这样就在该工程下会出现你刚加入的library名称。