实验一 两台电脑用直通线连接至一台交换机上.docx
《实验一 两台电脑用直通线连接至一台交换机上.docx》由会员分享,可在线阅读,更多相关《实验一 两台电脑用直通线连接至一台交换机上.docx(17页珍藏版)》请在冰豆网上搜索。
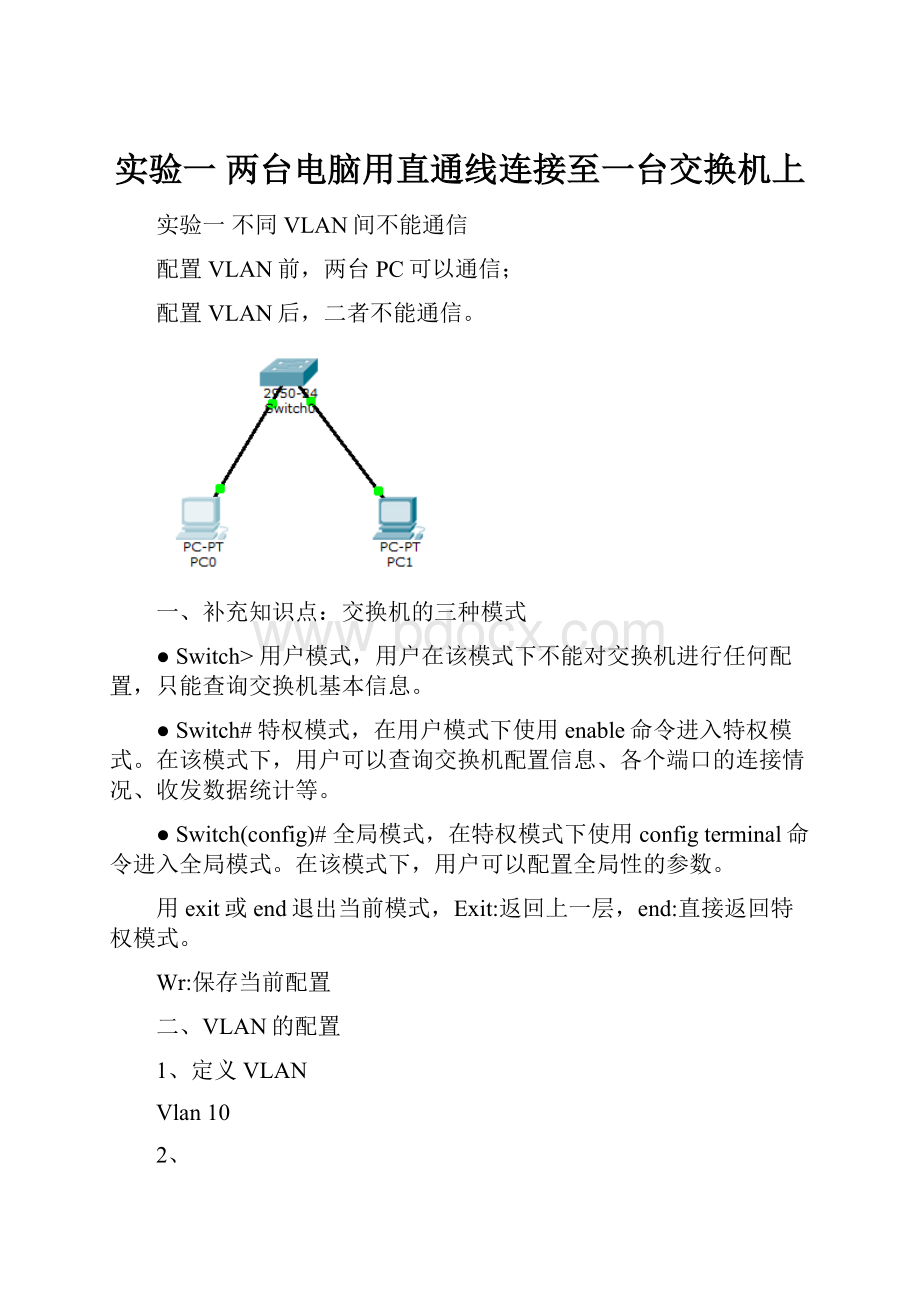
实验一两台电脑用直通线连接至一台交换机上
实验一不同VLAN间不能通信
配置VLAN前,两台PC可以通信;
配置VLAN后,二者不能通信。
一、补充知识点:
交换机的三种模式
●Switch>用户模式,用户在该模式下不能对交换机进行任何配置,只能查询交换机基本信息。
●Switch#特权模式,在用户模式下使用enable命令进入特权模式。
在该模式下,用户可以查询交换机配置信息、各个端口的连接情况、收发数据统计等。
●Switch(config)#全局模式,在特权模式下使用configterminal命令进入全局模式。
在该模式下,用户可以配置全局性的参数。
用exit或end退出当前模式,Exit:
返回上一层,end:
直接返回特权模式。
Wr:
保存当前配置
二、VLAN的配置
1、定义VLAN
Vlan10
2、
将端口加入到某个VLAN中
interfacefa0/2
switchportmodeaccess
switchportaccessvlan10
exit
将一组端口加入某个VLAN中
interfacerangefa0/1-5,0/7
switchportmodeaccess
switchportaccessvlan10
exit
实验二、同一VLAN间能够相互通信,不同VLAN间不能通信。
实验三、配置VLANTRUNK使跨交换机的同一VLAN间相互通信。
A、未配置TRUNK之前,跨交换机的相同VLAN间是不能通信的;
配置TRUNK之后,则能通信。
B、
补充知识点:
●交换机端口的三种模式:
access、trunk、hybrid
Access类型的端口只能属于1个VLAN,一般用于连接计算机。
Trunk类型的端口可以允许多个VLAN通过,一般用于交换机之间的连接。
Hybrid类型的端口可以允许多个VLAN通过,可以用于交换机之间连接,也可以用连接计算机。
●将端口配置成TRUNK端口
Interfacefa0/1
Switchportmodetrunk
注:
将端口配置成TRUNK端口后,
1、默认情况下,缺省VLAN号是1,所有的VLAN都允许通过。
2、TRUNK链路两端必须一致。
●查看端口工作模式
showinterfacesfa0/1switchport
●修改许可VLAN列表中的某个VLAN
Switchporttrunkallowedvlan{all|[add|remove|except]}vlan-list
All:
许可列表包含所有支持的VLAN;
Add:
将指定VLAN列表加入许可VLAN列表;
Remove:
将指定VLAN列表从许可VLAN列表中删除;
Except:
将除列出的VLAN列表外的所有VLAN加入许可VLAN列表。
实验四、端口聚合TRUNK
端口聚合(又称为链路聚合),将交换机上的多个端口在物理上连接起来,在逻辑上捆绑在一起,形成一个拥有较大宽带的端口,可以实现负载分担,并提供冗余链路。
192.168.10.1192.168.20.1192.168.10.2192.168.20.2
VLAN10VLAN20VLAN10VLAN20
按照拓扑图连接网络时注意,两台交换机都配置完端口聚合后,再将两台交换机连接起来。
如果先连接再配置会造成广播风暴,影响交换机的正常工作。
【实验步骤】
步骤1. 交换机Switch0上的基本配置:
Switch0# configureterminal //进入全局模式
Switch0(config)#vlan10 //创建VLAN10
Switch0(config-vlan)#exit //返回到全局模式
Switch0(config)#intf0/1 //进入到f0/1接口模式
Switch0(config-if)#switchportmodeaccess
Switch0(config-if)#switchportaccessvlan10 //将f0/1划入到VLAN10中
用同样的方法把f0/2划入到VLAN20中
步骤2. 交换机Switch1上的基本配置:
Switch1# configureterminal //进入全局模式
Switch1(config)#vlan10 //创建VLAN10
Switch1(config-vlan)#exit //返回到全局模式
Switch1(config)#intf0/1 //进入到f0/1接口模式
Switch1(config-if)#switchportmodeaccess
Switch1(config-if)#switchportaccessvlan10 //将f0/1划入到VLAN10中
用同样的方法把f0/2划入到VLAN20中
步骤3. 交换机Switch0上的端口聚合配置:
Switch0# configureterminal //进入全局模式
Switch0(config)# interfaceagg1 //创建端口聚合链路1
Switch0(config-if)# switchport modetrunk //定义端口聚合链路1的封装模式为trunk
Switch0(config-if)#noshutdown //开启端口聚合链路
Switch0(config-if)#exit //返回全局配置模式
Switch0(config)# interfacerangef0/23-24 //进入到f0/23-24的接口模式
Switch0(config-if -range)#port-group1 //将接口f0/23-24加入到端口聚合链路1中
Switch0(config-if -range)#end //返回到用户模式
Switch0#showrunning-config
//查看当前运行的配置,查看端口聚合链路1的接口状态信息,以及绑定到此接口的物理端口号
步骤4. 交换机Switch1上的端口聚合配置:
Switch1# configureterminal
Switch1(config)# interfaceagg1
Switch1(config-if)#switchportmodetrunk
Switch1(config-if)#noshutdown
Switch1(config)# intrangefastEthernet0/23-24
Switch1(config-if-range)#
Switch1(config-if-range)#end
Switch1#showrunning-config
步骤5.用两跟交叉线连接分别连接Switch0和Switch1的f0/23和f0/24。
Switch0# showetherchannel //显示端口聚合链路信息,//可以看到以下信息
Channel-grouplisting:
---------------------- - (UP说明端口聚合链路是开通的)
Group:
1
----------
Groupstate=L2
Ports:
2Maxports=16
Port-channels:
1MaxPort-channels=16
Protocol:
LACP
实验五、SVI实现VLAN间通信
(一)
首先启动三层交换机的路由功能。
Switch(config)#iprouting
实验六、SVI实现VLAN间通信
(二)
通过三层网络设备实现vlan间通信有三种方法:
1.利用SVI的方式实现,使用三层交换机,具有速度高,无冲突影响等优点
2.通过路由接口方式实现,需要每一个路由接口连接一个vlan,需要的路由接口数量较多
3.利用路由器以太网子接口。
通过单臂路由技术来实现。
在这三种方法中,我们只讲解第一种:
利用SVI。
实例---------利用SVI实现不同vlan之间的通信
拓扑图如下;
SW21
Switch>enable
Switch#configt//进入全局模式
Switch(config)#vlan10//创建vlan10
Switch(config-vlan)#namevlan10
Switch(config-vlan)#exit
Switch(config)#vlan20//创建vlan20
Switch(config-vlan)#namevlan20
Switch(config-vlan)#exit
Switch(config)#interfaceF0/1//进入接口F0/1
Switch(config-if)#switchportmodeaccess//将接口模式改成Access模式
Switch(config-if)#switchportaccessvlan10//将F0/1端口划分到vlan10中
Switch(config-if)#exit
Switch(config)#interfaceF0/2
Switch(config-if)#switchportmodeaccess
Switch(config-if)#switchportaccessvlan20
Switch(config-if)#exit
Switch(config)#interfaceF0/3
Switch(config-if)#switchportmodetrunk//将端口F0/3配置trunk
Switch(config-if)#exit
Switch(config)#exit
SW22
Switch>enable
Switch#configt//进入全局模式
Switch(config)#vlan10//创建vlan10
Switch(config-vlan)#namevlan10
Switch(config-vlan)#exit
Switch(config)#vlan20//创建vlan20
Switch(config-vlan)#namevlan20
Switch(config-vlan)#exit
Switch(config)#interfaceF0/1//进入接口F0/1
Switch(config-if)#switchportmodeaccess//将接口模式改成Access模式
Switch(config-if)#switchportaccessvlan10//将F0/1端口划分到vlan10中
Switch(config-if)#exit
Switch(config)#interfaceF0/2
Switch(config-if)#switchportmodeaccess
Switch(config-if)#switchportaccessvlan20
Switch(config-if)#exit
Switch(config)#interfaceF0/3
Switch(config-if)#switchportmodetrunk//将端口F0/3配置trunk
Switch(config-if)#exit
Switch(config)#exit
SW31
Switch>enable
Switch#configt
Switch(config)#vlan10//创建虚接口
Switch(config-vlan)#exit
Switch(config)#vlan20
Switch(config-vlan)#exit
Switch(config)#iprouting//三层交换机有路由功能,启动路由功能
Switch(config)#interfacevlan10//进入vlan10
Switch(config-if)#ipaddress192.168.12.100255.255.255.0//配置vlan的网关
Switch(config-if)#noshutdown//启动Ip配置
Switch(config-if)#exit
Switch(config)#interfacevlan20
Switch(config-if)#ipaddress192.168.10.100255.255.255.0
Switch(config-if)#noshutdown
Switch(config-if)#exit
Switch(config)#interfaceF0/1
Switch(config-if)#switchporttrunkencapsulationdot1q//在于二层交换机相连时,要封装协议(锐捷设备无需封装!
)
Switch(config-if)#switchportmodetrunk//配置trunk
Switch(config-if)#exit
Switch(config)#interfaceF0/2
Switch(config-if)#switchporttrunkencapsulationdot1q
Switch(config-if)#switchportmodetrunk
Switch(config-if)#exit
实验七、生成树STP
有选择性的阻塞网络中的冗余链路,避免网络中环路的产生;
若网络出现故障导致链路失效,又能提供相应的备份链路,以保证网络的稳定运行。
 升级会员
升级会员 